We are going right back to the very basics of 3ds Max. We are assuming that you’ve managed to open 3ds Max
and have your glasses on if you need them to see. That’s all we’re expecting. This is going to be very basic and will take you through 3ds Max right from the very start. If you are not sure where to start and are in fact daunted by the interface, then we will break everything down for you into easily manageable chunks. We will start off by looking at the tools available for modeling.
Step 1: Primitives
These are a set of very basic 3D objects that you can use to build your 3D models. They are found, by default, in the panel on the right-hand side. That panel is split up into 6 different tabs and you need the first one. It’s called the ‘Create’ tab. Believe it or not but this tab lets you create stuff! It could be geometry, shapes, lights, or cameras to name only a few things. We’re going to be focusing on the first part which is geometry. Make sure ‘Standard Primitives’ are selected from the drop-down.

Step 2: Primitives Part 2
You should now see a set of buttons with names like ‘Box’ and ‘Sphere’. If you click on one of these buttons, the box for example, and click and drag in the viewport twice then you should be able to create both the width and length of the box as well as its height. This is the way that you create any of the primitive types, and depending on what you’re trying to create you may need to start with different ones.
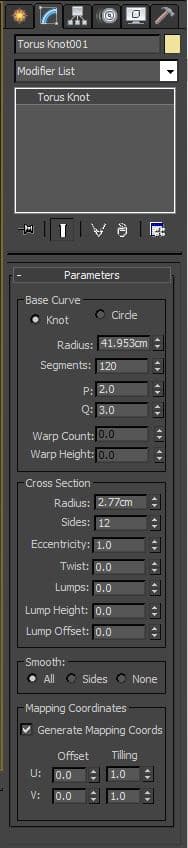
Step 3: Modify
With your primitive created and selected you will likely want to modify its properties. You can do this by heading back to the right-hand side panel and clicking on the second tab. It’s called ‘Modify’ and you should see the properties of your box in the panel. For this particular primitive you have the length, width, and height, as well as the number of segments for each of those. All of these parameters are editable and will update in real-time in the viewport. This modified panel is perfect for creating exact primitives.
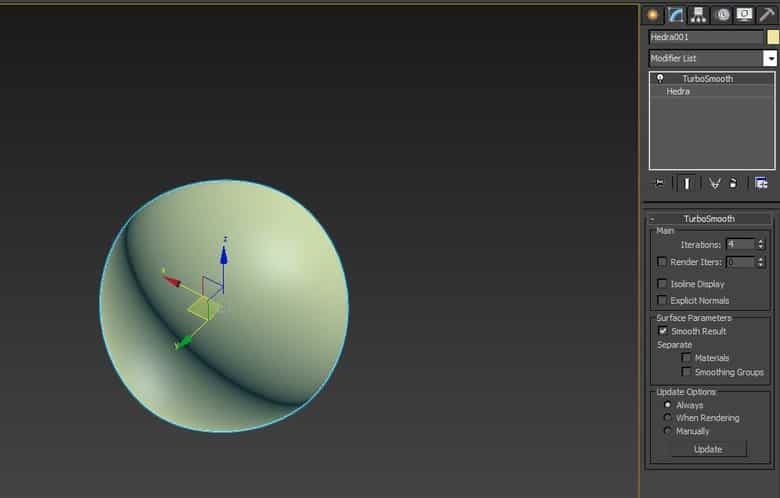
Step 4: Modifiers
Now that your primitive is as perfect as it can be, I need to introduce you to modifiers. These enable you to extend the capabilities of your primitive. They are found in the modify panel in a drop-down list. There are lots of types that we don’t have time to go through, but when you select one you will notice that it adds the modifier to the list below, called the modifier stack. If the modifier is then selected in that stack, you’ll notice that the modified panel displays a new set of properties specific to that modifier. Multiple modifiers can be stacked.
Step 5: Edit poly
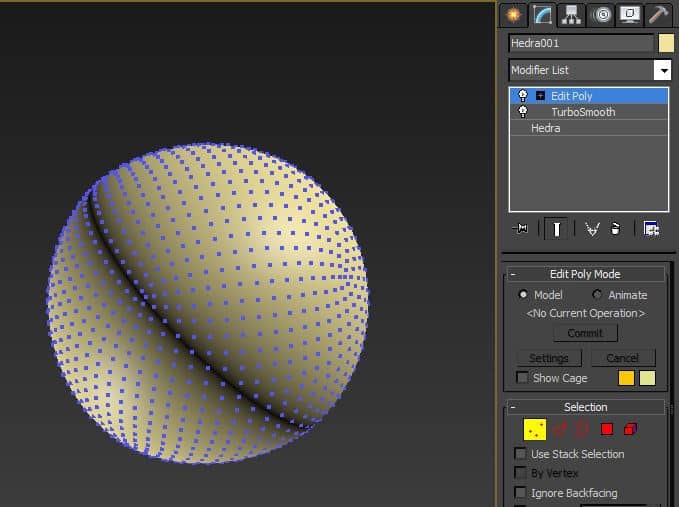
One of those modifiers which you’ll need is the ‘Edit poly’ modifier. This lets you edit the shape of the primitive with absolute control. The modify splits everything into rollouts which can be minimized and maximized. If you go to the ‘Selection’ rollout, you’ll see 5 small icons in a row. These enable you to select either vertices, edges, borders, polygons or elements. Select the ‘vertex’ icon and notice your box display blue vertices. Selecting one or more of these will then enable you to transform them.
Step 6: Transform
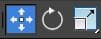
We’ll focus on moving, rotating, and scaling. You can use these transform tools either on the object as a whole or by using sub selections as described in the previous step. The 3 tools are located on the top toolbar but you can use the shortcut key ‘W’ to move, ‘E’ to rotate and ‘R’ to scale. With your object and one of these tools selected you’ll notice a red, green, and blue ‘gizmo’ appear. Drag one 1 or more of these axes to transform the object.
Step 7: Snaps
Often you will want to move or rotate your object to a specific location or rotate to a specific angle. On the top toolbar, there are some snap icons displayed with magnet images. The first one lets you snap to other objects and the second one snaps the rotation in increments. All settings are customizable. Select the move snap icon and a vertex. Use the move tool to move a vertex on top of another vertex on the object. You’ll notice that when you move in the region of the 2nd vertex, it snaps into place. It is a similar principle with the rotation snap.

Step 8: Copies
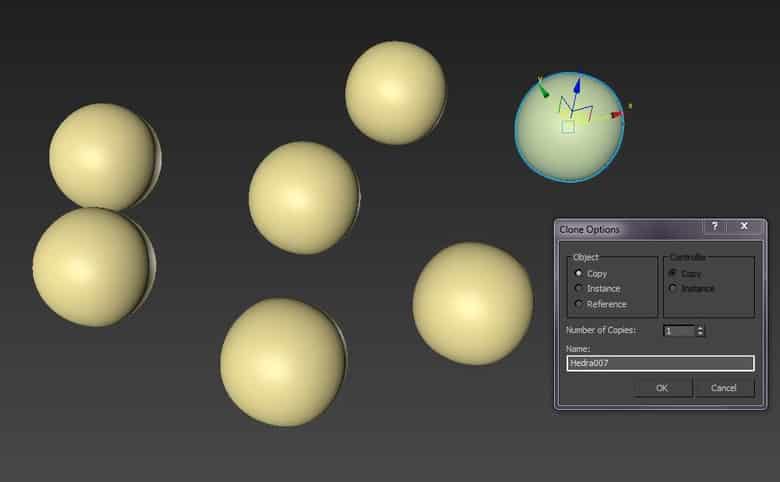
With our object created we may think that it’s so good we just have to create multiple versions of it. This could be for replicating chairs throughout a restaurant or cars in a car park. To make a copy the simplest thing is just to do Ctrl+C followed by Ctrl+V. This brings up a dialogue box that enables you to pick the type of copy. The two main options are ‘Copy’ which just copies the object, but ‘Instance’ creates a link between the object being copied and the new object being created. Any change to one will be reflected in the other.
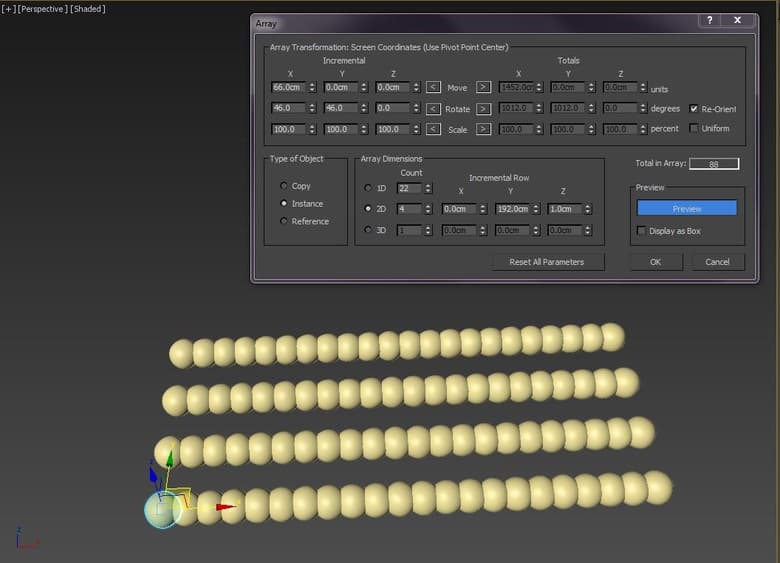
Step 9: Arrays
You may want to create more complex arrangements of copies and that is where the ‘Array’ tool comes in really handy. Press ‘X’ to bring up the search feature and type ‘Array’. This enables you to set the type of copy, the count and the transform properties applied to the object. Make sure you press ‘Preview’ to see the results live in your viewport.
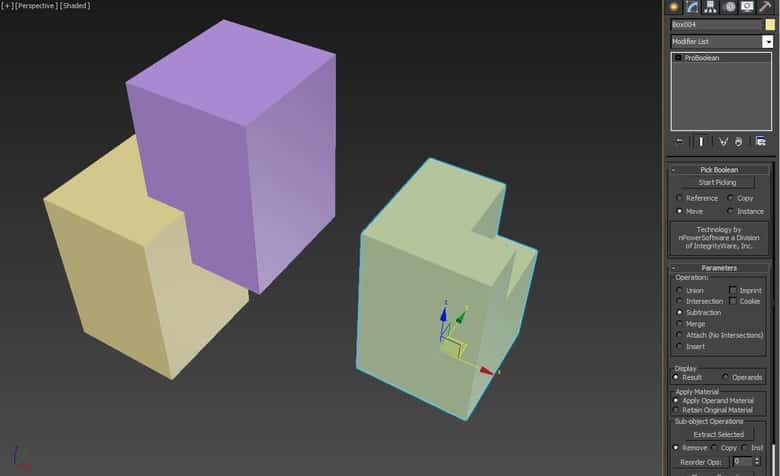
Step 10: Compound objects
Now things are getting a little more complex. Every so often you’ll want to either merge two objects or cut one out of the other. With one of the objects selected, go to the ‘Create’ tab in the right-hand side panel. In the drop-down select ‘Compound objects’. You should see a ‘Start Picking’ button. Click that and select your second object. Depending on the compound operation you have set in the modify panel, a different compound operation will be processed.
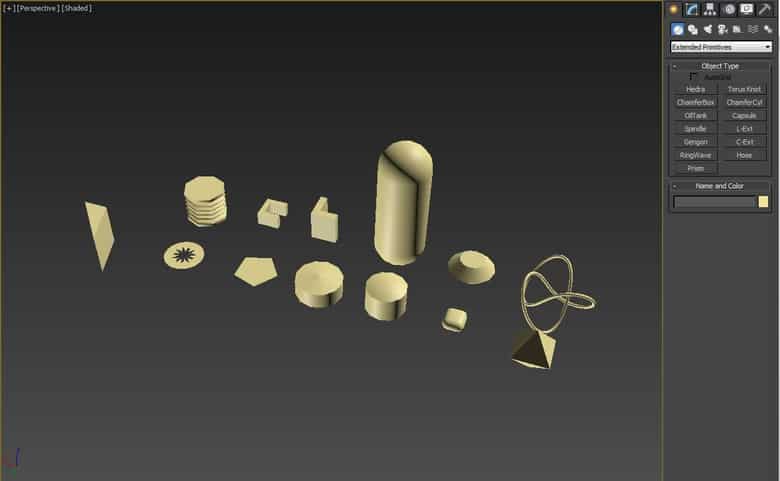
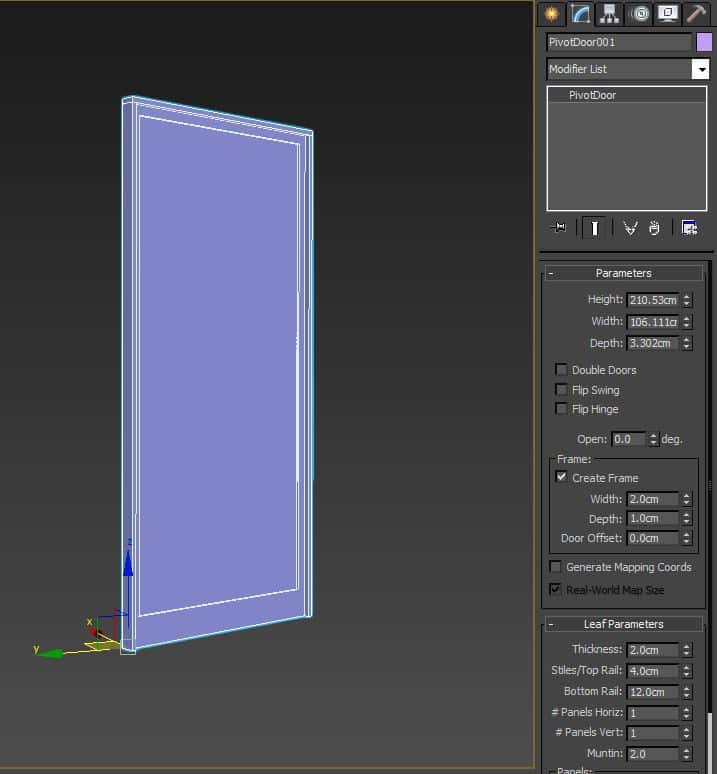
Step 11: Pre-built objects
Finally in the ‘Create’ panel drop-down, there are some pre-built objects which you can use in your scene. Things like windows and doors which can speed up your workflow no end. These work just like primitives. That means that you can create them and then head over to the modify panel to adjust their parameters.
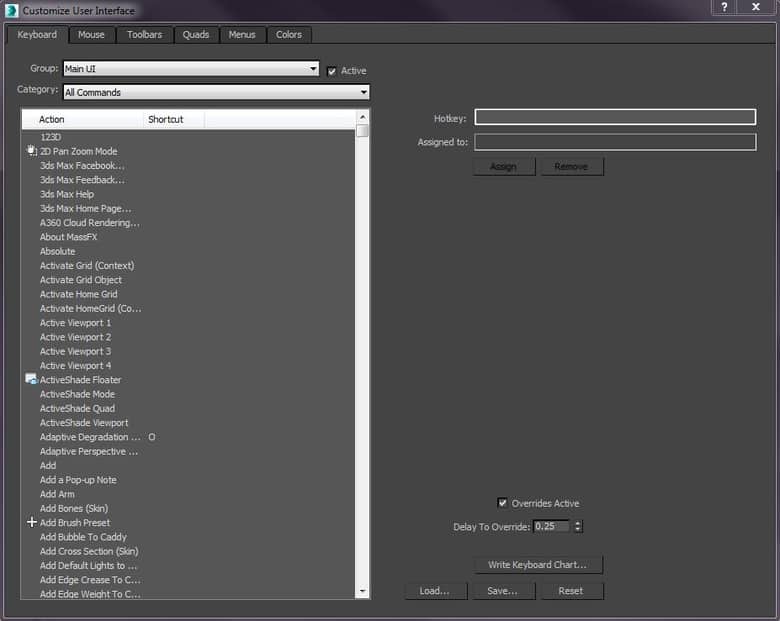
Top tip: Speed modeling
If you want to model quickly then you’ll need to use shortcuts. There are plenty of websites with lists of the defaults but if you want to create your own, go to ‘Customize’ at the top and ‘Customize User Interface’. Find the particular tool you want and assign it a hotkey.