Cleaning resin prints is a critical part of SLA post-processing. Learn how to clean resin 3D prints in three easy steps.
Post-processing lets you take full advantage of your SLA printer and resin. Following the correct process will maximize the quality and mechanical performance of your prints. Stumbling blind, however, can make it difficult or even disastrous.
In this article, we’ll walk you through the necessary steps to give your resin prints a great finish, and the various methods for approaching each of them.
Before we get started, make sure that you understand the safety precautions involved with handling SLA resins. These resins are toxic and should be handled properly: direct contact with the skin should be avoided. Spills can also get messy, so make sure that you have a clear work area where you can move around unencumbered and with good ventilation, as some of the products can emit toxic fumes.
For safe and proper handling, you’ll need nitrile gloves, safety glasses, and a clear workspace with an open window or ventilation setup. If you’re post-processing many parts or those that take more than a few minutes, an FFP2 mask (or similar) may be warranted, too.
If resin accidentally comes in contact with bare skin, wash immediately with soap and water. Avoid leaving resin trails on items you touch. If a spill occurs, clean it right away before the resin hardens – a paper towel may just do the trick.
Keep in mind that gloves and goggles should be used at all times, and not just when handling the prints.
With that out of the way, let’s get started with post-processing!
Step 1: Rinse Off the Part
When your part comes out of the printer, it’s covered with uncured resin. You’ll have to rinse it off before going further with post-processing.
Method 1: Washing Stations
Washing stations are perhaps the most common option for those who repeatedly need to clean their resin prints. Plenty of manufacturers provide these 2-in-1 machines in which you have a washing container and a turbine or a similar technique to swirl the liquid and clean the print. Options include stations that are meant for both washing and curing, which we’ll get to later, but you can also find those that are strictly dedicated to washing.
Method 2: Ultrasonic Bath
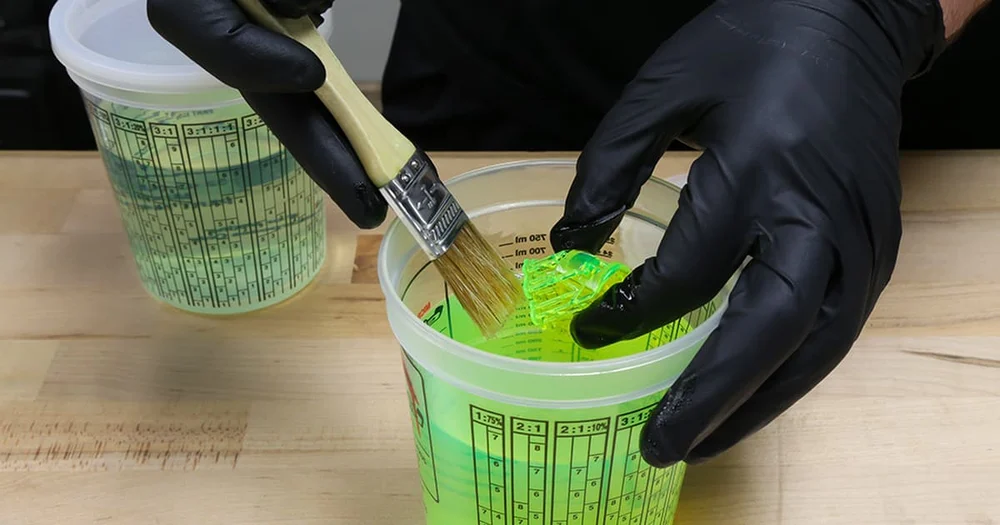
An ultrasonic bath, like one for cleaning jewelry, is a professional (and somewhat expensive) way of cleaning SLA prints. Fill the bath with cleaner fluid to cover your print and let it sit for a couple of minutes. This will take off the fine layer of uncured resin stuck to your model, leaving behind a smooth, clean finish.
In most cases, the fluid of choice will be isopropyl alcohol (IPA) in relatively high concentration, but other options exist, as well. For example, if IPA availability is limited, or if you’re looking for something non-flammable, tripropylene glycol monomethyl ether (TPM) and dipropylene glycol monomethyl ether (DPM) can be used (the latter especially in industrial applications). Formlabs recommends TPM over DPM for the average consumer.
Method 3: Dunk & Rinse
If you don’t have an ultrasonic bath, simply dunking your part into a tub of IPA works as well. Move your part around and rinse it well to get the resin off. This method is simple and quick, but will not achieve as thorough a clean as the ultrasonic bath. Two rinses or more may be necessary to strip off the resin clinging to the surface.
Water-Washable Resin
A more eco-friendly option nowadays – and perhaps one that also represents fewer hazards – is water-washable resin. While this type of resin may not be as strong as traditional resins (it has properties that react to water, so if the part is meant to be exposed to it, it may not be the best choice), it’s easier to clean. Keep in mind that you’ll still have to wear gloves to cure the prints!
The Best Water-Washable Resins of 2021
Step 2: Remove Supports
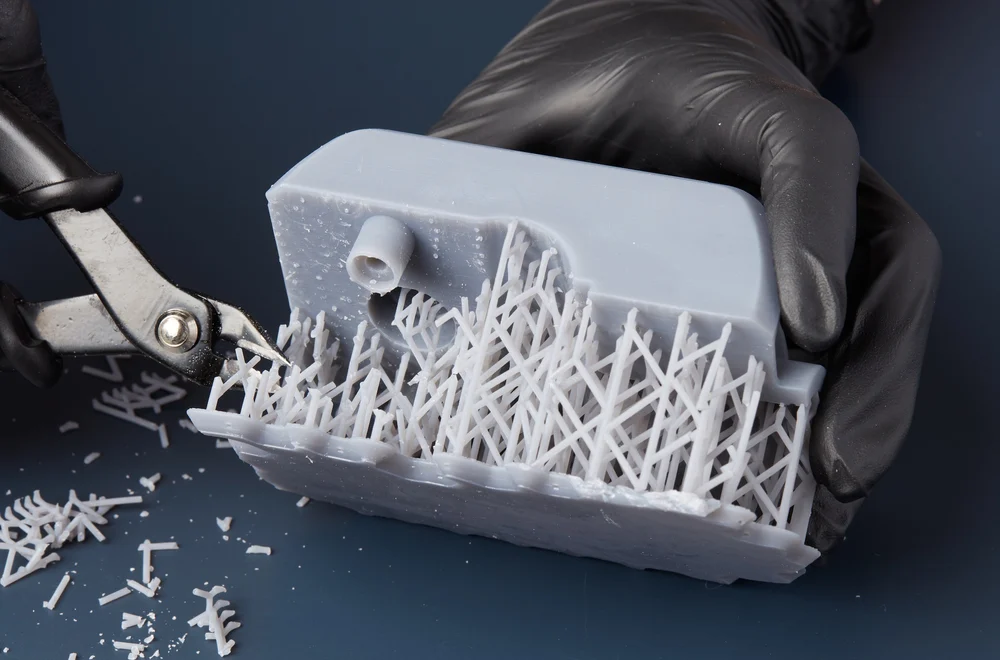
Next, remove the tree-like support structures attached to your model. This can be done before or after curing, but doing it before will be easier. Always watch out for stray bits of plastic that go flying, and collect them to ensure that your workspace remains clean and free of debris.
Method 1: Break Them Off by Hand
If you’re not worried about small details, breaking the supports off by hand is the quickest way to go. If your model has fine features, however, it’s best to use more caution.
Method 2: Use Flush Cutters
For more intricate parts, use flush cutters to carefully snip off the supports. Get as close to the model as possible without marring the surface.
With both methods, small nubs will be left on your print. This is inevitable but easily remedied with a little sandpaper and some patience.
Step 3: Cure the Print
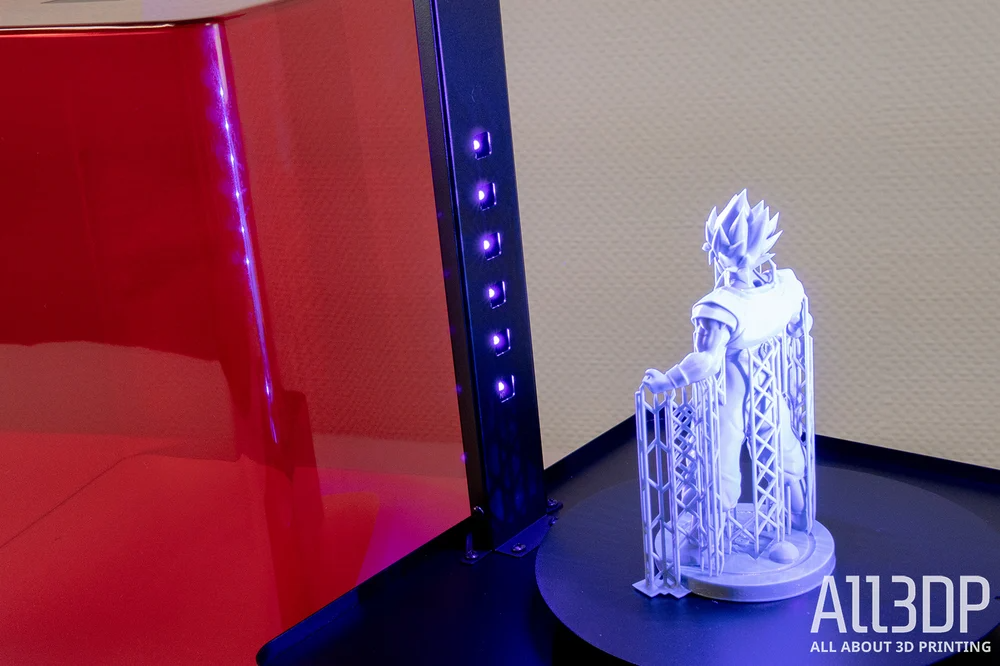
The last step in post-processing is to UV-cure your print. This is necessary for many functional prints because it finalizes the material properties of the model. Keep in mind that different resins may require different curing times, depending on specific properties, so we recommend checking the manufacturer’s instructions or doing an additional search.
Method 1: Curing Station
Many SLA printer manufacturers also sell curing stations. These are specifically optimized for their resins, allowing for finely tuned curing times. This is especially useful for larger prints and professional environments. For more information, you can check out our resin washing and curing station buyer’s guide.
Method 2: Nail Polish Curing Lamp
This is an inexpensive and accessible method of quickly curing your model. Simply place it under a nail polish lamp and let it sit overnight. Adding a turntable can help get a more even exposure.
Method 3: DIY Curing Chamber
Many hobbyists will build their own, inexpensive curing chambers, makeshift versions of commercial curing stations. Different setups can require different materials and technical skills, but it can also easily be done by placing a UV light in a box lined with aluminum foil. Placing the model on a solar or battery-powered turntable will help get an even exposure.
Method 4: Solar Power
To go fully green, use good-old solar power. Place your part outside on a sunny day, and you’ll have a nice, even, UV light. The main drawback of this approach is the extra patience required. You’ll have to sit back and let the sun do the work; around six hours – if not more – should do the trick, depending on the size of the print. Keep in mind that curing machines (even DIY ones) will only take five minutes of your time. The result should show an opaque finish, instead of a glossy one.
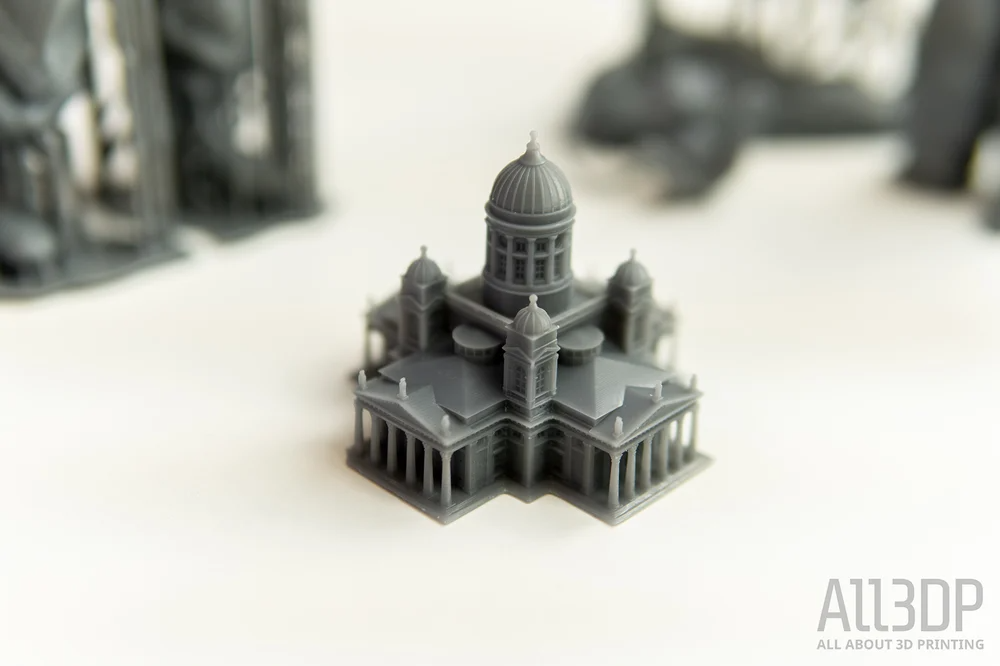
With these three easy steps, your SLA print is post-processed and ready to go! From here, you can put it straight to use or prime and paint it as you wish.
Once you finished cleaning your prints, don’t forget to properly dispose of your resin.
Happy printing!