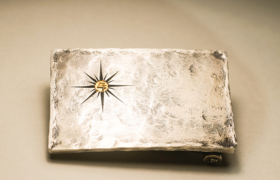
Most of our clients like brand new prints but sometimes the aging effect also has a unique vibe. For example, old silver eventually obtains a muted opaque look, generally with darker areas where the wearing isn’t removing the tarnish.
The solution is simple. Age the metal to conceal the recent genesis of your parts while creating a striking decorative finish. Unlike such materials as glass or tile, metal may even look better with a little antique patina than it does in its unblemished state—so much so that you might want to age all your metal accents. Fortunately for DIYers, the prospect of aging metal yourself doesn’t have to give you gray hairs. Read on to learn how to take the shine away from silver, copper, and cast iron with a minimum of steps and materials.
To help you figure out the best way to age metal, we outlined the following three methods:
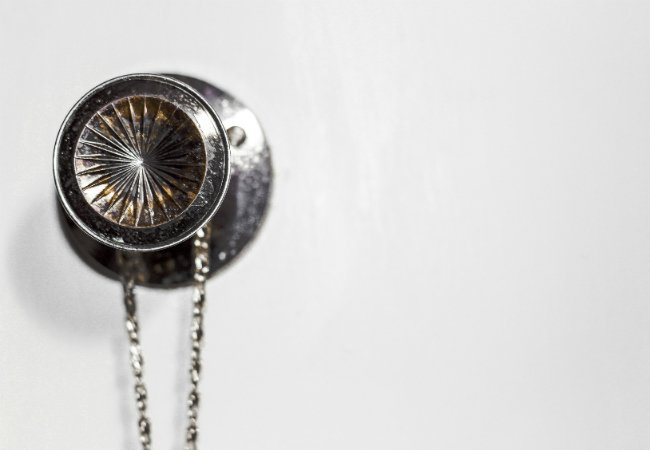
- Place silver in a freezer bag with the yolk of a hard-boiled egg to achieve a rich patina.
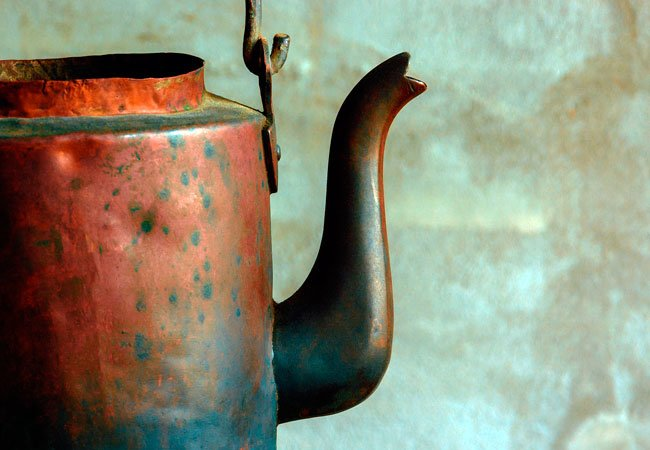
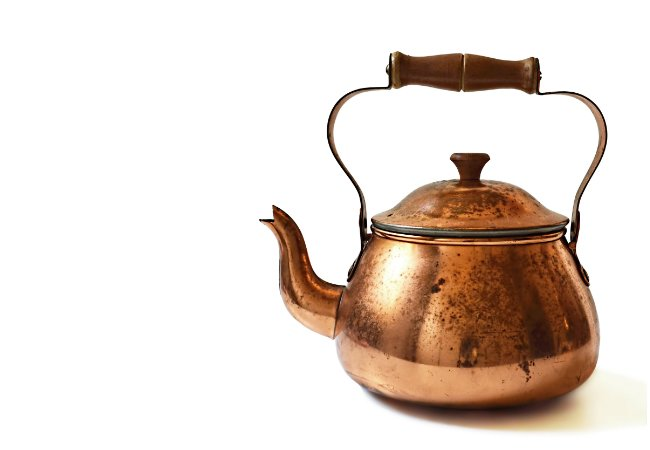
- Soak copper in a solution of water and rapid fixer to age the metal. Or, for a blue-green patina, soak it in a mixture of water, vinegar, and salt.
- Lightly ding cast iron with a hammer, or run sandpaper across the surface.
Method #1: When Sulfur Met Silver
MATERIALS AND TOOLS Available on Amazon
– Dish soap
– Plastic gloves
– Large pot
– Water
– Eggs (one or two)
– Plastic freezer bag
– Paper towel (optional)
– Soft cloth
NOTE: This technique works best on sterling silver of 92.5% purity or lower.
STEP 1
Before aging silver, hand-wash it with soap and cold water to remove surface oils. Put on a clean pair of gloves before handling the washed silver to prevent the oil on your fingers from transferring to the piece.
STEP 2
Bring a pot of water to a boil, toss in one egg (or two, for larger silver pieces), and cook until the egg is hard-boiled. Remove the egg from the pot and crack it open, separating the yolk from the white.
STEP 3
Place the silver into a freezer bag with the crumbled yolk of the hard-boiled egg, but don’t let the yolk touch the silver. (If they touch, you may end up with spotting in your new patina.) For larger pieces of silver, you may need to use a paper towel to separate the metal from the yolk. Seal the bag, and let it sit for six to eight hours. The silver will soon begin the aging process, thanks to the sulfur in the eggs.
STEP 4
It’s time to unleash the power of science! Open the bag outdoors so the sulfur fumes don’t invade your home. Remove and clean the aged silver with soap and water, gently buffing the high points with a clean cloth to reveal a rich patina.
Method #2: Photo-Finish Copper
MATERIALS AND TOOLS Available on Amazon
– Soap
– Water
– Steel wool
– Shallow plastic tray
– Rapid fixer (found in camera stores)
– Vinegar (optional)
– Salt (optional)
– Gloves
– Soft-bristle brush
– Copper sealant spray
STEP 1
Clean the copper with soap and water to remove surface residue, then scrub it with steel wool.
STEP 2
Fill a shallow plastic tray with a solution of two tablespoons water and a tablespoon rapid fixer—a fluid used for photographic processing. If you prefer copper with a blue-green complexion, swap the rapid fixer for a solution of equal parts vinegar and salt.
STEP 3
Put on gloves, and submerge the clean copper in the solution for up to 10 minutes. You can also use a brush to coat the surface of the copper.
STEP 4
Remove the copper from the bowl and let it air-dry completely to reveal either a dark patina or a timeworn turquoise tint, depending on the ingredients you selected in Step 2.
STEP 5
Rinse the copper in cool water. Allow the piece to dry fully before coating it with a fast-drying copper sealant spray, which will maintain its beauty for years to come.
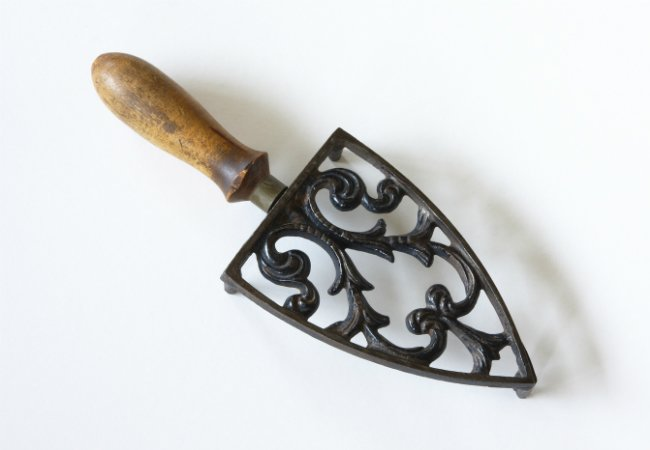
Method #3: Make an Impression on Cast Iron
MATERIALS AND TOOLS Available on Amazon
– Hammer
– Sandpaper (optional)
– Dust mask (optional)
– Soft cloth
– Paintbrush
– Antiquing solution
– Cast iron paint
– Clear varnish
STEP 1
Lay any decorative piece of cast iron flat on a sturdy surface. Using the claw end of a hammer, ding random locations on the cast iron until you have achieved a rugged, uneven pattern. If you prefer a less rough-hewn patina, run a piece of fine-grit sandpaper across the cast iron to create more subtle blemishes. Don’t forget to wear a dust mask when using sandpaper so you don’t inhale any fine metal shavings.
STEP 2
Wipe off any metal dust from the cast iron with a soft cloth.
STEP 3
To complete the look of a realistically rustic cast-iron surface, apply a store-bought antiquing finish or a few coats of cast iron–friendly paint, followed by clear varnish.
