3D printing isn’t just limited to hard plastics — from phone cases to adorable octopuses, rubber-like filaments open up a whole new world of printable ideas. But how do you print with flexible filament? Here are some tips and tricks.
Before You 3D Print Rubber-Like Filament

So you have an exciting idea for a rubber-like 3D printed model. Great! Before rushing off to print it, keep these modelling tips in mind:
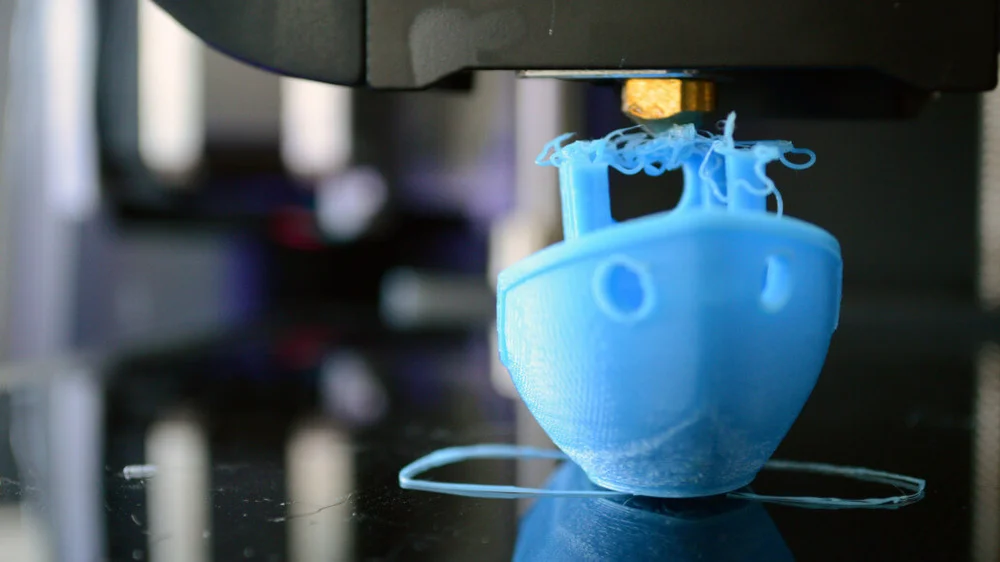
- Prepare for some cleanup. Since most rubber-like filaments must print with little or no retraction, models can come out very stringy. If possible, orient or edit your model so that it’s easy to clean up where needed.
- Anticipate stretching. If you’re printing something that needs a snug fit (eg. a phone case) model it slightly smaller than needed. This way, you won’t need to worry so much about the model stretching out over time. About two to three millimeters can really make a difference, though it depends on the elasticity of the rubber-like filament you use. Feel free to experiment in this area.
- Pick your filament. There are many different blends and brands of flexible filaments, all with different elasticities and price tags. Find one that’s right for you! For more detailed information, check out our filament guide for more information on rubber-like filaments such as TPE or TPU.
While 3D Printing Rubber-Like Filament

Printing with flexible filaments can be tough for most 3D printers. Generally, the more elastic the filament is, the more difficult it is to print with. To ease the pain, follow these steps:
- Reduce or turn off retraction on your printer. With sturdier, plastic filaments, printers usually retract the plastic back into the nozzle while travelling so the melted plastic doesn’t ooze all over the place. With elastic, rubber filaments, retraction tends to simply bend the filament and cause jams.
- Print slowly. 3D printed rubber models take much longer to print than typical hard prints since rubber-like filaments don’t do well under high speeds. Since 3D printing rubber filaments requires more traction from the extruder, slow things way down. For most, 15-20 mm/s is a good place to start.
- Reduce travels outside the model. Make the print head travel within the model walls instead of taking the shortest path over open air. This allows the oozing from the rubber-like filament to stay inside the model, where it can’t be seen, rather than scar the outside. Most slicers have a setting for this. In Simplify3D, enable “Avoid crossing outline for travel movement” under Advanced settings. In Ultimaker Cura, turn on “Combing mode” under Travel settings.
- Get the temperature just right. When 3D printing with rubber-like filaments, hitting the Goldilocks temperature of not-too-hot and not-too-cold is vital. Start off within the recommended temperature for your rubber-like filament. Go up or down three degrees until you reach your desired print quality. If the print looks underextruded or separates easily between layers, it’s likely too cold. If the print suffers from lots of blobs on the edges or extreme stringiness, it’s likely too hot.
- Look for help. Search online to read about other people’s experiences with your particular 3D printer or rubber-like filament brand. Often you can find specific settings and tips that they found worked best.
Print still not looking good? Don’t fret — this article on common 3D printing problems can help you troubleshoot.
Alternative: Hire a 3D Printing Service

Due to the difficulty of printing with rubber-like filaments, it’s often much easier to hire a 3D printing service. Services such as Shapeways or i.Materialise have high-end printers, quality filament, and professionals with experience in 3D printing.
If you’re looking for a truly high-quality model mailed to your door, this is the way to go. You can save not only money buying a whole roll of rubber-like filament, but also time fine-tuning settings on your printer.
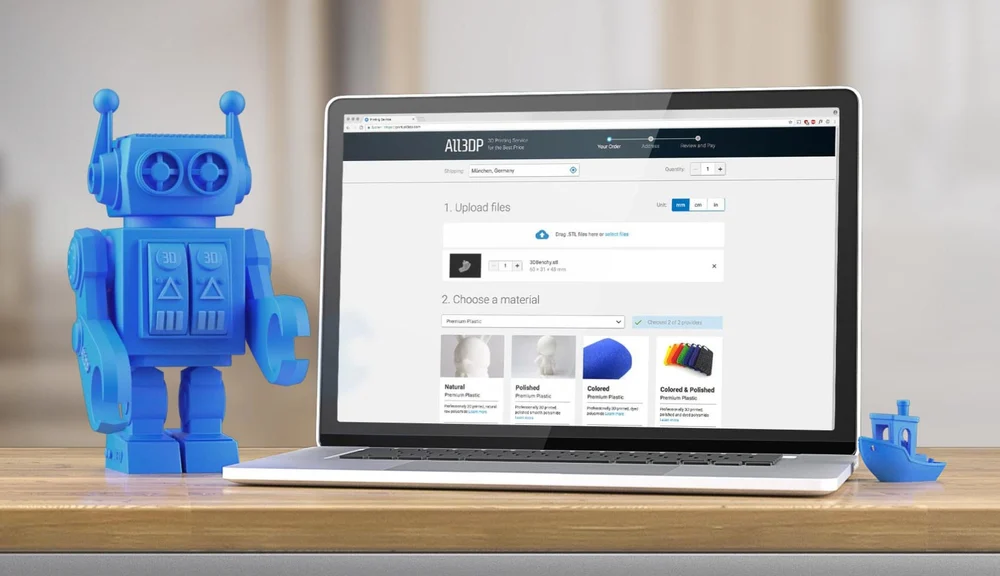
Provided the model fits within their guidelines, these services provide excellent prints for reasonable prices. To find the best deals, use our 3D printing price comparison service. Simply upload the 3D model file digitally, choose which material to print it in (in this case, flexible plastic), and instantly compare prices between different services.