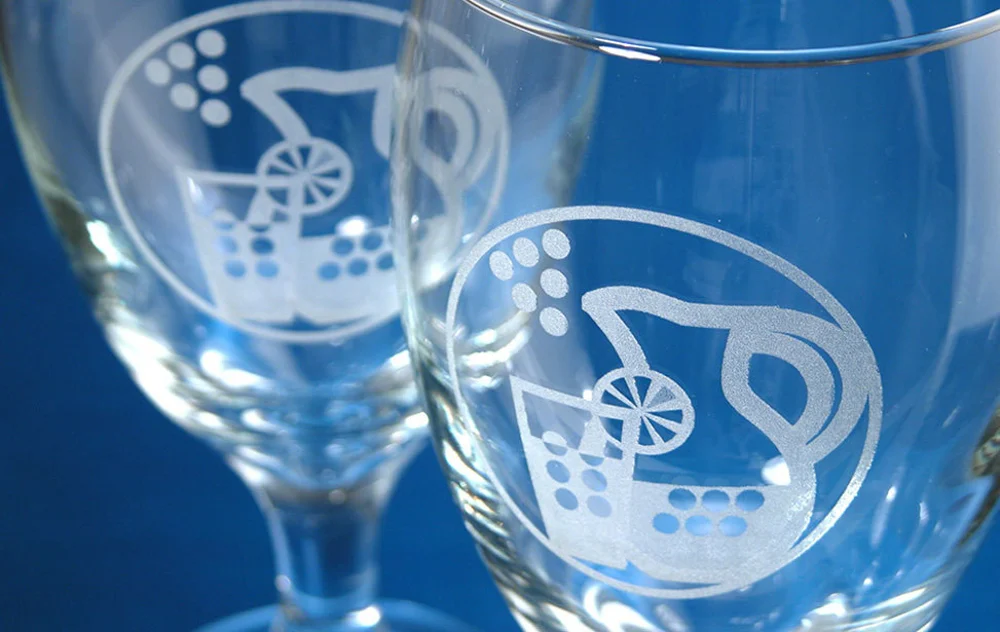
Glass laser engraving and etching have become popular techniques for producing images, patterns, and logos. Learn the basics of both methods as we prepare you to fire up that beam.
Controlled Destruction
A laser is a machine that produces a beam of light through an optical amplification process. Today, lasers have become critical components of the products we use in our daily lives, ranging from bar code scanners to DVD players.
In manufacturing, lasers are used for drilling, cutting, and engraving a wide range of materials. In glass manufacturing, for example, laser engraving and etching provide several possibilities for personalization without changing the characteristics of the glass.
Laser engraving cuts out a portion of the material, leaving a cavity that reveals a design, with the engraved part being noticeable both through sight and touch. Laser engraving is performed with a high-heat laser that vaporizes the material. Engraving depths typically vary between 0.02″ and 0.125″ in harder materials.
Laser etching, on the other hand, does not cut into the material, but instead removes only the top layer using a less powerful machine. The depth of the “cut” is usually no more than 0.001″.
In fact, etching is a subset of engraving and is considered a chemical process, while engraving is regarded as a physical process. Both techniques have become popular for adding images, logos, and numbers on glass.
In the following, we’ll take a deeper look at both, including how they work, their benefits, and how they’re executed.
How Does Engraving Work?
In a nutshell, the high-temperature laser beam vaporizes the material and cuts into it physically, leaving a cavity. With glass, this works because of its inner composition.
Glass is made by heating silicon, which melts at high temperatures and turns into a thick fluid. The molten material is then manipulated in various ways, causing it to trap air and moisture.
Whenever a laser beam hits the glass, the air and moisture between elements of silica and metal react, not the other glass elements like silicon. Specifically, they expand, and since the glass is rigid, this causes microscopic fractures at the surface of the material. It is the resulting fracturing and chipping that we see and feel as engraving.
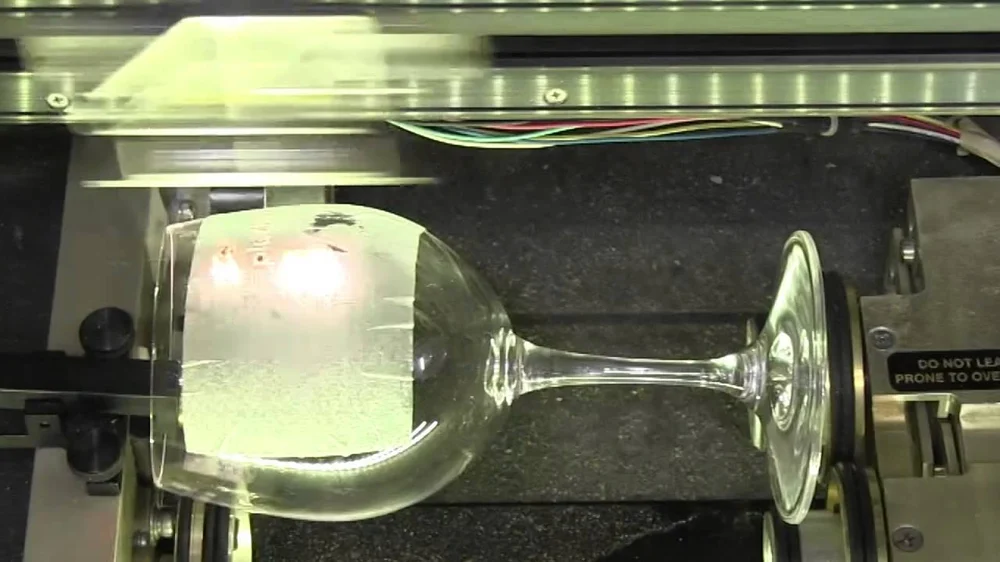
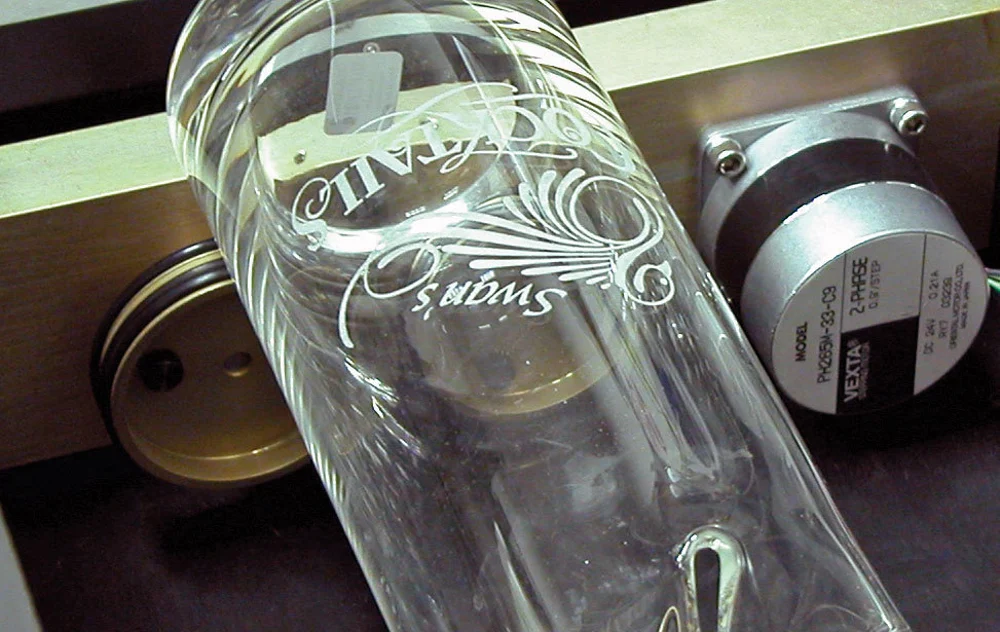
Engraving Curved Glass
Lasers are generally easier to use on a flat surface, where there is a given focal length and distance between the lens and the surface of the material.
Engraving a curved surface (like bottles, vases, and steins) can pose a challenge, but there are workarounds allowing for some flexibility. For example, using a rotary attachment is an option. Plugged into a laser machine, it allows the glass object to rotate as the laser does its magic. Naturally, complex angles and variations in curvature can still cause problems.
Neatness and Cleaning
Although engraving glass comes down to fracturing and chipping the material, the goal is to, as much as possible, produce a shard-free pattern. To do this, most engravers place wet paper towel or newspaper over the glass.
Cleaning is always be required after engraving. For this, one can use rubbing alcohol and a paper towel or a nail brush if there are shards. Other processing options involve the use of application tape.
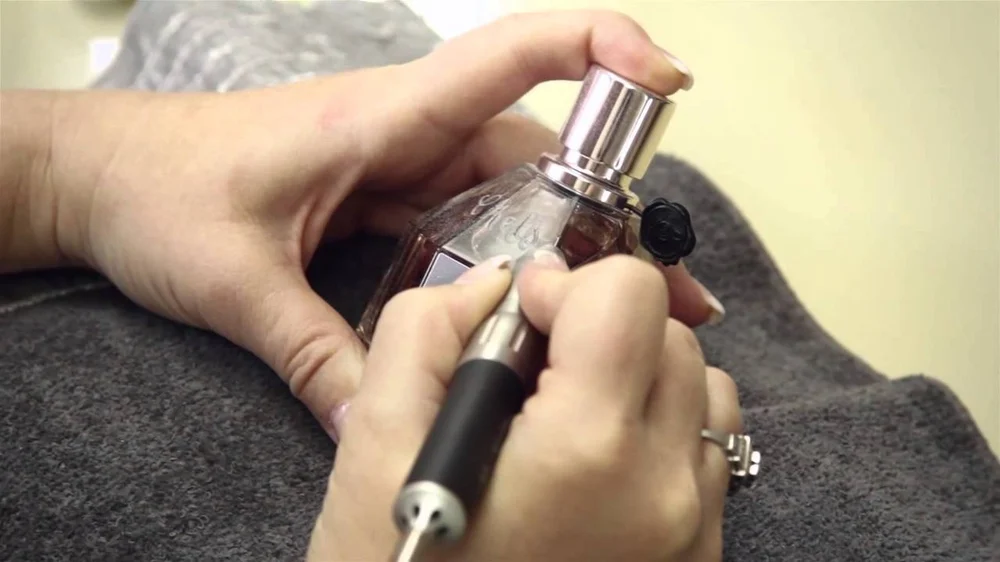
How Does Etching Work?
Laser etching is a subset of engraving and works the same way, except that the depth of the cut is usually no more than 0.001″. This does little more than alter the appearance of the surface, affecting properties like reflexivity. Laser etching is sometimes considered the sweet spot between laser marking and laser engraving, ideal for thin materials or jewelry.
Two Machines in One
Technically, a laser engraving machine is also a laser etching machine with the only difference being the intensity of the laser beam.
Laser engraving and etching are performed at different frequencies (wavelengths of light produced by the laser), which affect how the laser interacts with different materials. When etching is done right, it leaves the glass with a beautiful, sophisticated look because, as the laser strikes the glass, it does not destroy the material, but it leaves a frosted appearance.
Benefits
Laser engraving and etching have several characteristics that make them favorable over other methods, like sandblasting or mechanical engraving:
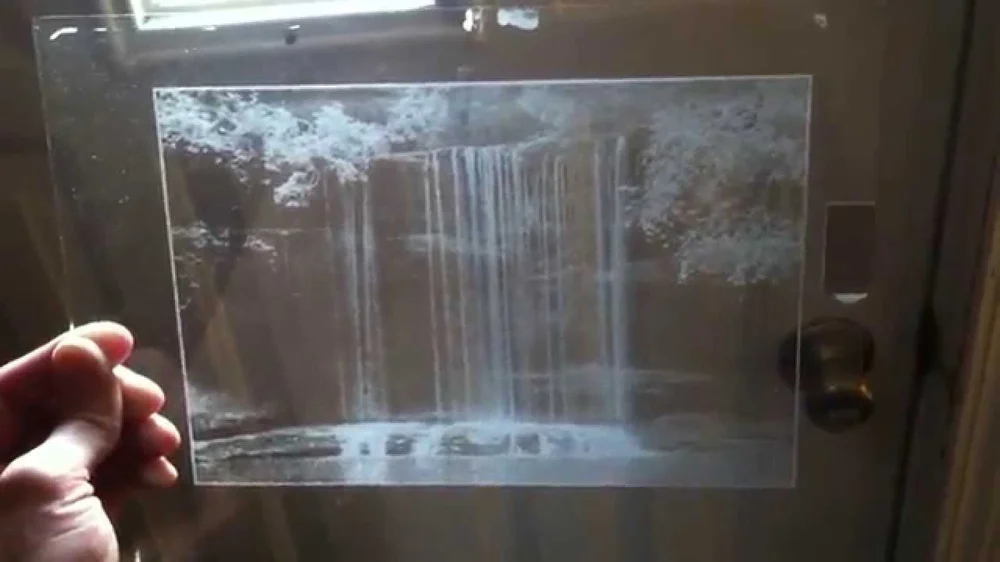
- Precise and fast: Lasers give your designs the highest precision with a high degree of detail. Even the most detailed pictures can be engraved with high precision. This also makes it possible to achieve highly detailed patterns.
- Robust and consistent: Designs are saved as files and can therefore be reproduced with the same level of quality. Contactless marking means no clamping of glass sheets and less breakage.
- Affordable and efficient: Laser engraving and etching are relatively inexpensive and don’t require as many tools (like drills and cutters).
- Flexible and easy to execute: Compared to mechanical engraving or sandblasting, lasers are more forgiving.
- Clean: Compared to a process like sandblasting, lasers require very little cleaning.
Suitable Glass Types
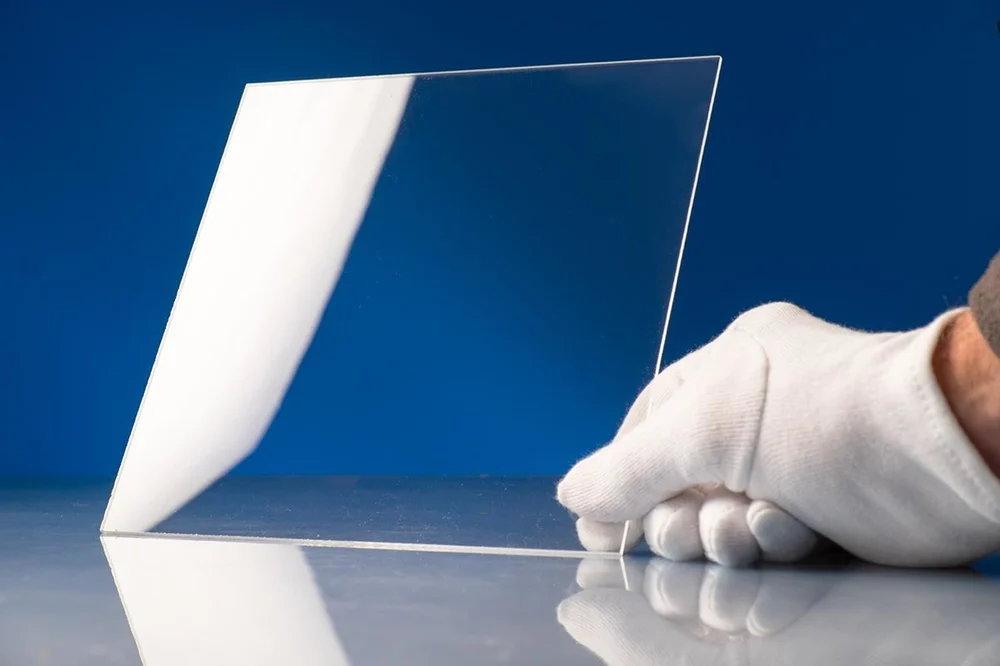
The best types of glass are those with a lower lead content. Soda-ash glass – the most commonly used glass for consumer products – is your best bet. Just so you know, cheap glass available at discount retail shops will work just fine.
What you want to stay away from is leaded crystal glass or other types of glass with high metal components. Glass with more metal elements are harder to laser because the laser will effectively “skip” over sections, leaving some spots unmarked. In addition, these types of glass may fracture in undesirable or unpredictable ways as a result of aggravation through heat stress.
When you have to work with something high-end like crystal, be extra careful. Lead tends to expand at a different rate compared to the rest of the crystal, and this can cause cracking and breakage.
Regardless of the material you’re using, it’s always a good idea to test the glass before starting to engrave or etch. Also play around with speed and power settings, optimizing the configuration and identifying any problems.
Designing
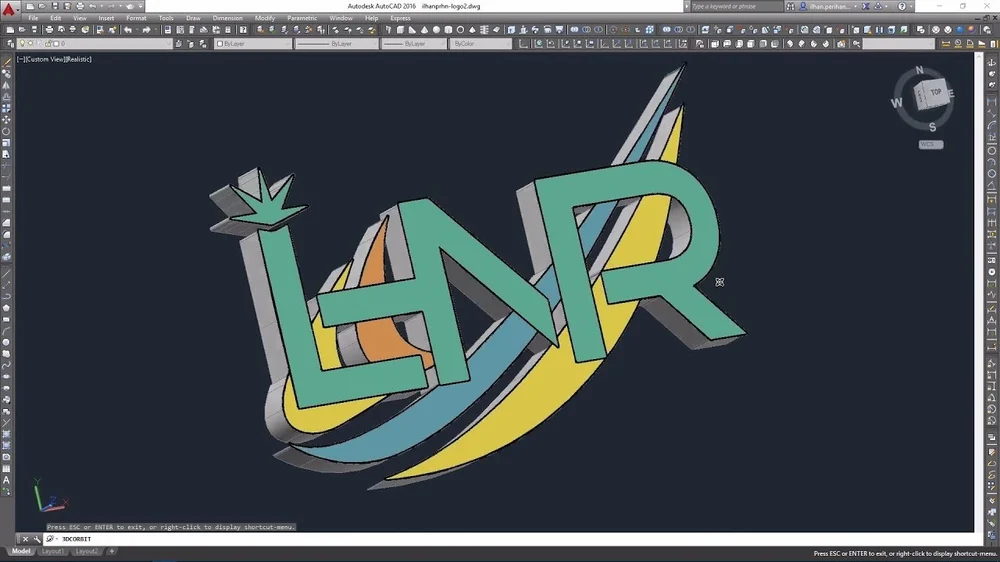
Given that laser engravers are CNC machines controlled by computers, typically, one must produce their design using CAD software. The resulting digital file is then sent on to the device.
Most laser machines work much like an inkjet printer. The machine has specific drivers that convert the design from your computer into a readable format. The standard process is raster engraving, where a raster file (a bitmap) is engraved line by line, with material removed pixel by pixel. Raster file types include GIF, PNG, and JPG.
For 2D designs, some of the most common tools used include AutoCAD, CorelDraw, Inkscape, Adobe Illustrator, and QCAD. Some common 3D design platforms include Onshape, Fusion 360, Tinkercad, SketchUp, and Blender.
In design, ideation is the very first step, and whatever you are going to engrave is only limited by your creativity.
Safety
Accidents are bound to happen when you become complacent in your routines. Here are some tips to minimize those accidents:
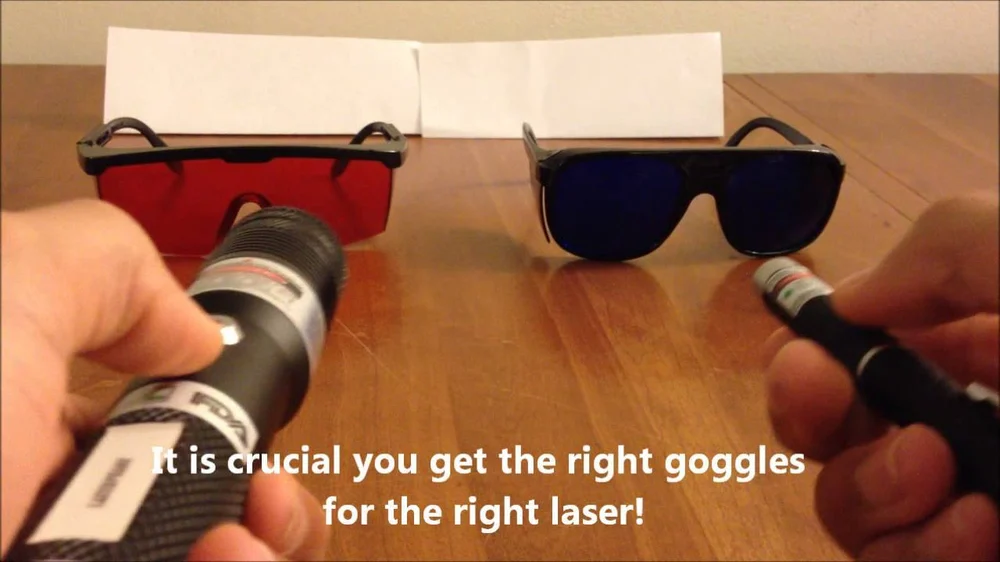
- Always wear laser goggles to prevent direct exposure to your eyes. Additinally, avoid staring directly at the beam.
- Keep a fire extinguisher handy.
- Install a fume exhaust system to ensure any fumes or smoke generated from the machine are quickly removed from your workspace.
- Shut covers or cases on the laser device to avoid reflections or exposure.
- Never leave the laser device unattended. This is an obvious fire safety risk.
Basic Steps
With the proper setup and safety precautions in place, the basic steps of laser engraving or etching are relatively simple:
- Ideation: Come up with an idea.
- Design: Realize your design with the aid of design software. Just make sure that the laser engraver is compatible with the files generated by your tool of choice. Some machines come with their own software while others are compatible with several software options.
- Execution: Send the design to the machine.
Depending on the software and the device, you can control variables like depth of the cut, speed, strength of the laser, line thickness, and number of passes. This is why it is critical to test your glass under a variety of conditions to determine the settings that will give you the best result.
Some tips to ensure crisp engraving and etching:
- A lower resolution, like 300 DPI, will produce better results. This is mainly because dots will be engraved at greater distances from each other.
- 80 percent grayscale is recommended to improve engraving quality, as it converts black to a less intense shade.
- Applying a thin coat of liquid dish soap over the area to be engraved helps in dissipating the heat when engraving. Masking also helps with heat dissipation as long as you make sure that there are no wrinkles on the paper towel or wet sheet of newspaper.
Feature image source: troteclaser.com
Source: https://all3dp.com/2/glass-laser-engraving-etching-all-you-need-to-know/