Some ordinary desktop (FDM) 3D printers print products with subtle flaws, especially when printing models quickly. For higher-end full-color 3D printers, although the print quality has been greatly improved, the appearance and visual effects of the original prints produced under the current technology are actually not satisfactory.
With the optimization and improvement of 3D printing quality, post-processing is more affordable, efficient and reliable. We can often see almost 100% restored post-processing on movie props and portrait 3D printed works, which requires professional technical and artistic capabilities. But for beginners with general needs, it is much easier, and simple post-processing can achieve the expected look and feel.
Support Removal
For most models, support is essential, but it always leaves traces on the model surface after removal. To solve this problem, it needs to be properly optimized when slicing, and it requires a little skill to remove. Being proficient in using suitable cutters is necessary.
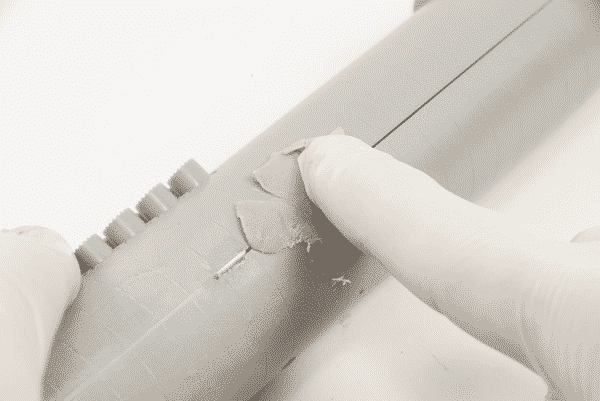
Prints in ordinary material
Removal of the support is usually simple, but some key parts of the support may be damaged during removal and need to be more careful.
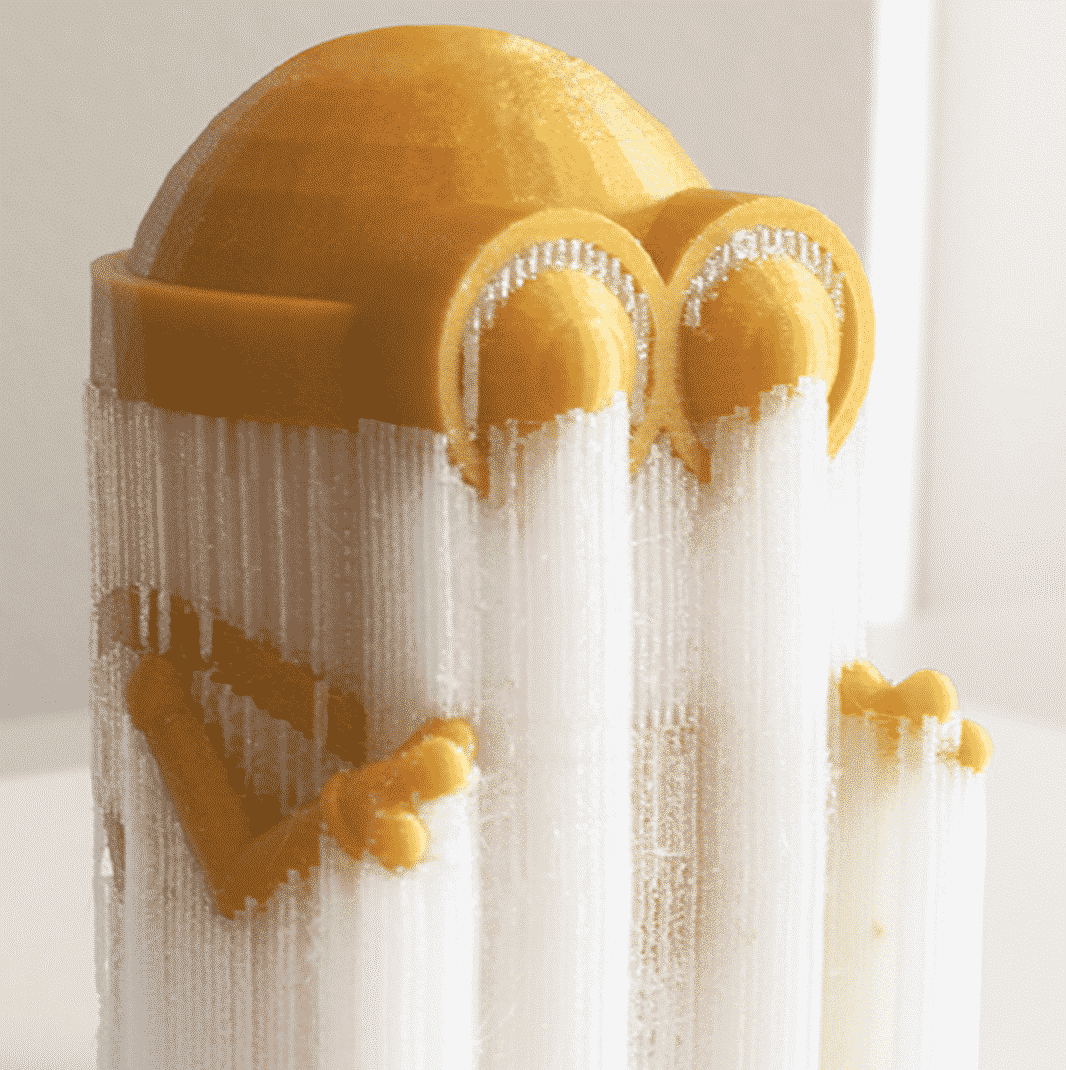
Prints in a water-soluble material
This kind of material will completely dissolve when immersed in water, which not only increases the design freedom of the model but also is very convenient to remove. Soluble support is easier to remove but you should own a 3D printer that has two nozzles or be able to print with two materials.
Mirror Polishing
Mechanical mirror polishing
Mechanical mirror polishing is a polishing process on metal materials to achieve a flat and bright mirror-like surface. The layer-by-layer texture on the FDM printed product can still be seen, especially under conditions that require support.
Sanding is a cheap, effective, and the most widely used method. Files and sandpaper are the most commonly used abrasive tools. It is necessary to pay attention to the fact that they must be polished with water to prevent the material from overheating and fluffing.
Generally, these two tools can be used to complete the grinding. The large supporting residual protrusions are removed with a file, and the small particles and grains are polished with sandpaper from a low mesh to a high mesh. For high surface quality requirements, special polishing tools and abrasive pastes are required for fine grinding.
- Advantages: require simple tools; can achieve a smooth surface no matter how rough it was before; suitable for FDM printed objects; cost-effective.
- Disadvantages: it takes time and patience; some parts may not be ground properly; dusting may occur during the grinding process.
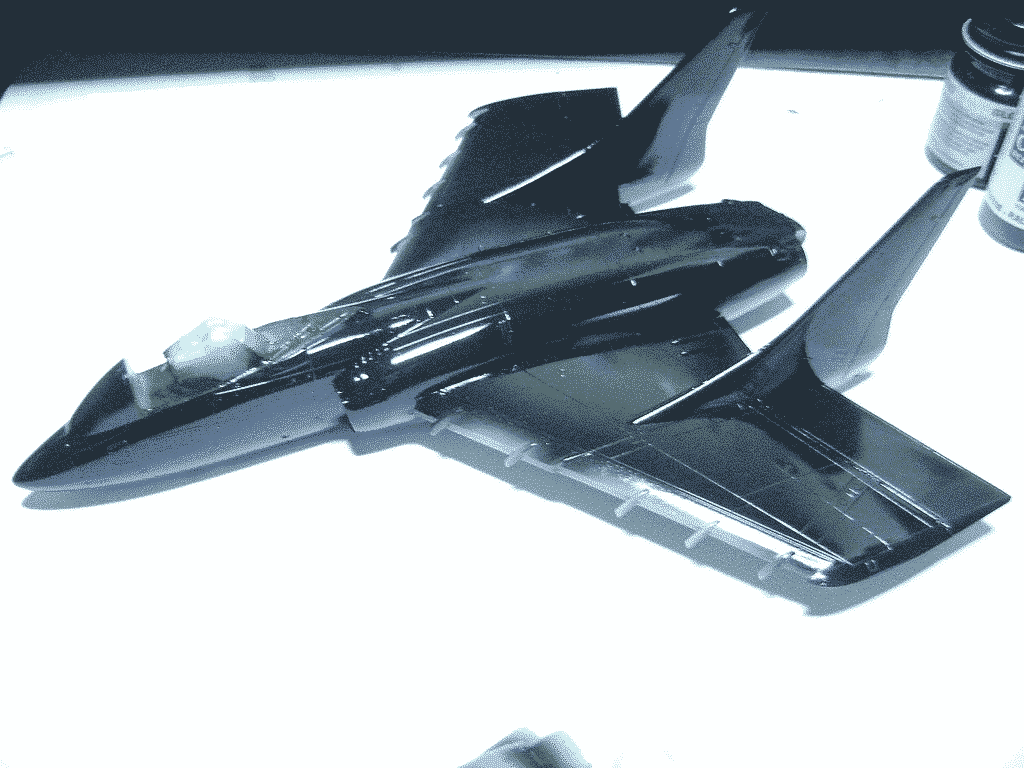
Chemical mirror polishing
Chemical mirror polishing is to soak the print using a chemical solution, remove the oxide on the surface to achieve a bright effect.
ABS models can be polished with acetone. This method is inspired by nail polish. Acetone can dissolve ABS materials, boil acetone in a ventilated place to fume the printed product; or place the model and acetone in a closed environment (such as a glass cover), the acetone steam will slowly corrode the surface and make it smooth.
PLA materials cannot be polished with acetone, and a PLA-specific polishing oil is required. On the whole, chemical polishing is immature and popular, but it is not widely used, and it can be used as an alternative solution for post-processing polishing.
- Advantages: good shiny effect; acetone is relatively cheap; the process is fast and simple.
- Disadvantages: Only effective for ABS materials; acetone is a toxic chemical material, it is best to be in a ventilated environment during operation; the accuracy of specifications cannot be fully controlled; acetone is flammable and requires professional knowledge for operation.
Putty Filling
The putty filler is simply used to fill small gaps, tightly bond to plastic models and make the surface perfectly smooth. In addition, the putty filling can also make the pigment adhere closely, and the subsequent coloring effect is better. However, the cost of putty filler is relatively high, and it is generally applied to models with high-quality requirements.
Common putty fillers include A+B epoxy putty, water putty filler, fast curing resin, etc. Some daily necessities can also be replaced, such as toothpaste, 502, talcum powder, etc. Water putty filler is the more commonly used one among them. It has a fast drying speed, high adhesion, and hardness.
Coloring
Simple coloring
There are only a few steps, and it is more suitable for coloring industrial parts, where the color requirements (generally monochrome, color matching according to Pantone color values) are not high, such as industrial products, equipment shells, simple ornaments, etc.
Spray painting is one of the main coloring processes of current 3D printing products. Because the paint has a high degree of adhesion, it has a wide range of applications. After sanding the finished product, generally large color blocks are simply overlapped or added together, mostly single-color or two-colors.
The products are mainly sprayed, and the paint used for spray painting is mainly plastic paint as well as industrial paint, neither of which involves gradient colors. In terms of color gloss, affected by the original mirror surface of the product, the gloss of spray painting is second only to the effects of electroplating and nano-spraying.
The general steps for simple coloring can be divided into two steps:
- Ground coloring
The ground coloring is mostly realized by spray coating, which increases the adhesion of paints and other pigments to make the surface color uniform.
- Simple coloring
Simple coloring mainly emphasizes the integrity between color blocks, such as color saturation, uniformity and thickness of color spraying, and smooth contour lines of color blocks.
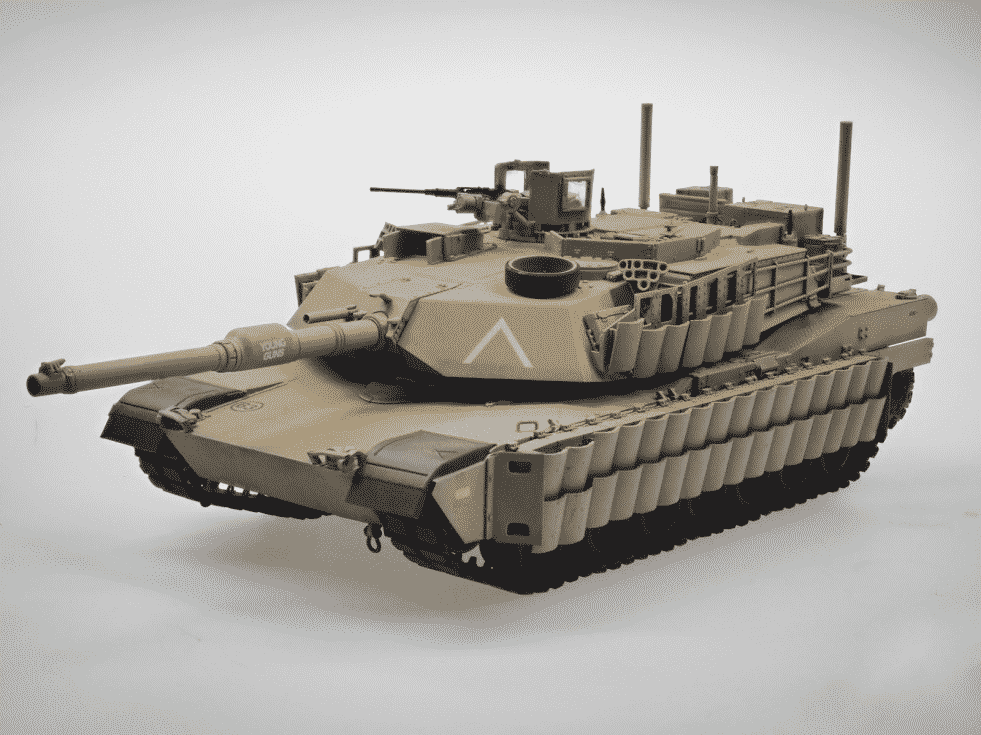
Fine coloring

Mainly based on simple coloring, fine coloring is done by experienced colorists using imported paints and other high-end raw materials. Our colorists have unique coloring skills, more than ten kinds of coloring tools and equipment to meet customer’s coloring needs.
Fine coloring can realize emphasized details, textures, and antique styles, which may add practicality to the finished product. Colors can be more complex and overlapping, overprinting, copper imitation, camouflage, gradient, transitional, etc. The production logic is complicated, generally, with special material performance, the contour of the color block is smooth, suitable for customers with high requirements on color and texture. Applications include high-precision Hand-made, display models, restoration and reproduction of cultural relics, 3D portraits and more.
Fine coloring tools for hand-made models include airbrushes, pumps, etc. The pump is suitable for primer painting, and the airbrush is suitable for coloring small models or fine parts of models. Strokes are more suitable for dealing with complex details. The pigments used are usually oily- or water-based. Care should be taken to choose the corresponding model paint thinner. Coloring can use the cross method, that is, the second layer of fresh pigment is applied before the first layer is quick-drying, and the brush direction of the second layer is perpendicular to the first layer. In addition to coloring techniques, high-quality pigments are also critical, which can make models more vivid and everlasting.
The fine coloring steps are as follows:
- Ground coloring
A primer close to the color of the expecting finished product is selected with a spray gun, and generally, we apply a thin coating and superimpose the layers over and over. The details and the part with a large contrast can be reserved without spraying.
- Block coloring
Generally speaking, the color should follow the process from large areas to small areas, from spraying to hand coating. This will help improve efficiency. First, spray the large-area color blocks, then hand-paint the small-area color blocks, spray and add the hand-paint to complete the overall color drawing.
- Color adjustment
In the spray retouching stage, this step is mainly through the layer-by-layer overlay to make color adjustments, such as overlay, overprint, gradient, transition, etc., and emphasize the color structure and details.
- Coloring of local details
It mainly focuses on the details, such as the motif of the characters, details of clothing, distressing, imitation copper, etc. By depicting the details, the original image of the model is highly restored, the modeling features are highlighted. That’s how the most realistic model is created.
- Gloss adjustment
The gloss adjustment is mainly divided into two categories: matte processing and bright processing. According to customer needs, use matte oil or varnish to adjust the texture to create overall matte or light, and partially matte or light to achieve a highly simulated model texture.
Main Printing Methods
Screen printing
- Suitable for flat and single coloring.
- Suitable for low-volume printing as plate making is relatively costing.
- This process can only be used on relatively flat surfaces. If there is any unevenness, it tends to fail.
- Ink volume cannot be controlled, thus only experienced operators are competent for this job.
Water transfer printing
- Suitable for pasting irregular and colorful patterns on the curved surface.
- The transfer paper is expensive and is suitable for customization of details.
- Transfer paper has a size limitation, thus suitable for small and fine model personalization. Common transfer paper only has A3 and A4 paper sizes.
- The quality of the transfer paper has an impact on the success rate of pasting, which is demanding on the experience.
Pad printing
A pad printing pad is the ink transfer mechanism in a pad printing machine. The pad compresses onto the ink-filled etch to “pick-up” the image. The pad then slides over the part and once again compresses to apply the image. It’s applicable to the uneven surface.
Laser engraving
Laser engraving (or Laser etching) uses a laser beam to change the surface of an object by creates high heat that will vaporize the matter, thus exposing cavities that will form the final image. This method is quick, as the material is removed with each pulse of the laser. The depth of the marks is controlled by the number of times the laser beam is passing on the material.
UV varnishing
The UV coating is printing a layer of UV varnish on top of the printed sheet. The UV varnish is of extremely high quality and improves the quality of the product. The printed layer doesn’t only serve as protection against exterior influences but also betters the look of the product – it enhances the colors and gives a luxurious touch. You can choose between a gloss or matte UV varnish.
Bonding and Stitching
For oversized or multi-part models, it is often necessary to use glue splicing components. Plastic materials can be easily bonded and connected using common adhesives. The ABS model can also be bonded with acetone, which can guarantee the strength of the joint parts is ideal.