FDM/FFF 3D printing involves extrusion of a polymer filament, heating it to its melting temperature and depositing the material in the required geometry to successively build the object layer by layer. But FDM/FFF 3D prints have a rough surface finish, the layer lines are clearly visible and more often than not these parts require post-processing.
Many different post-processing techniques are employed and we will try to understand 8 such techniques for post-processing of FDM 3D printed parts.
Post-Processing of FDM 3D Printed Parts
Support removal
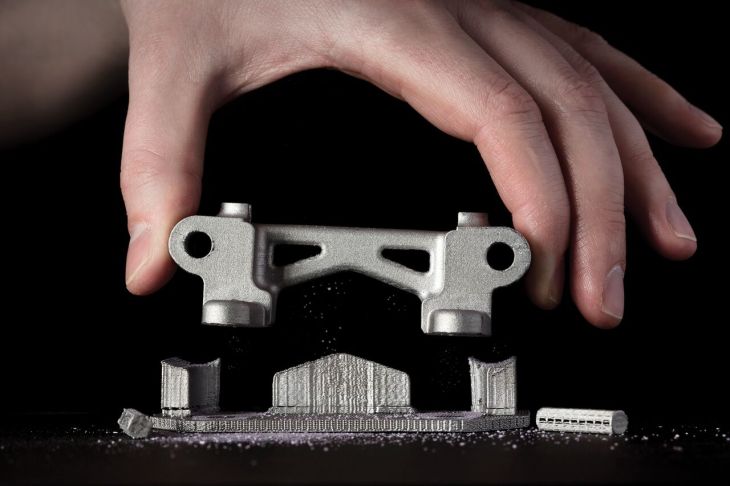
Support removal is the first technique employed for post-processing of FDM 3D printed parts. Mainly, there are two types of support materials, Insoluble and Soluble.
Insoluble: Insoluble materials are generic materials like PLA, ABS, Nylon, PC, etc. These are either removed by hand or by pliers and flush cutters. However, sometimes the supports are located in critical positions and it becomes difficult to reach and remove them.
Soluble: Soluble materials like HIPS (used as a support with ABS material) and PVA (used as a support with PLA material) are far easier to operate with as they dissolve in a chemical called Limonene and water respectively.
Support removal usually leaves some marks on the touchpoints but these can be post-processed further for a smoother finish.
Sanding
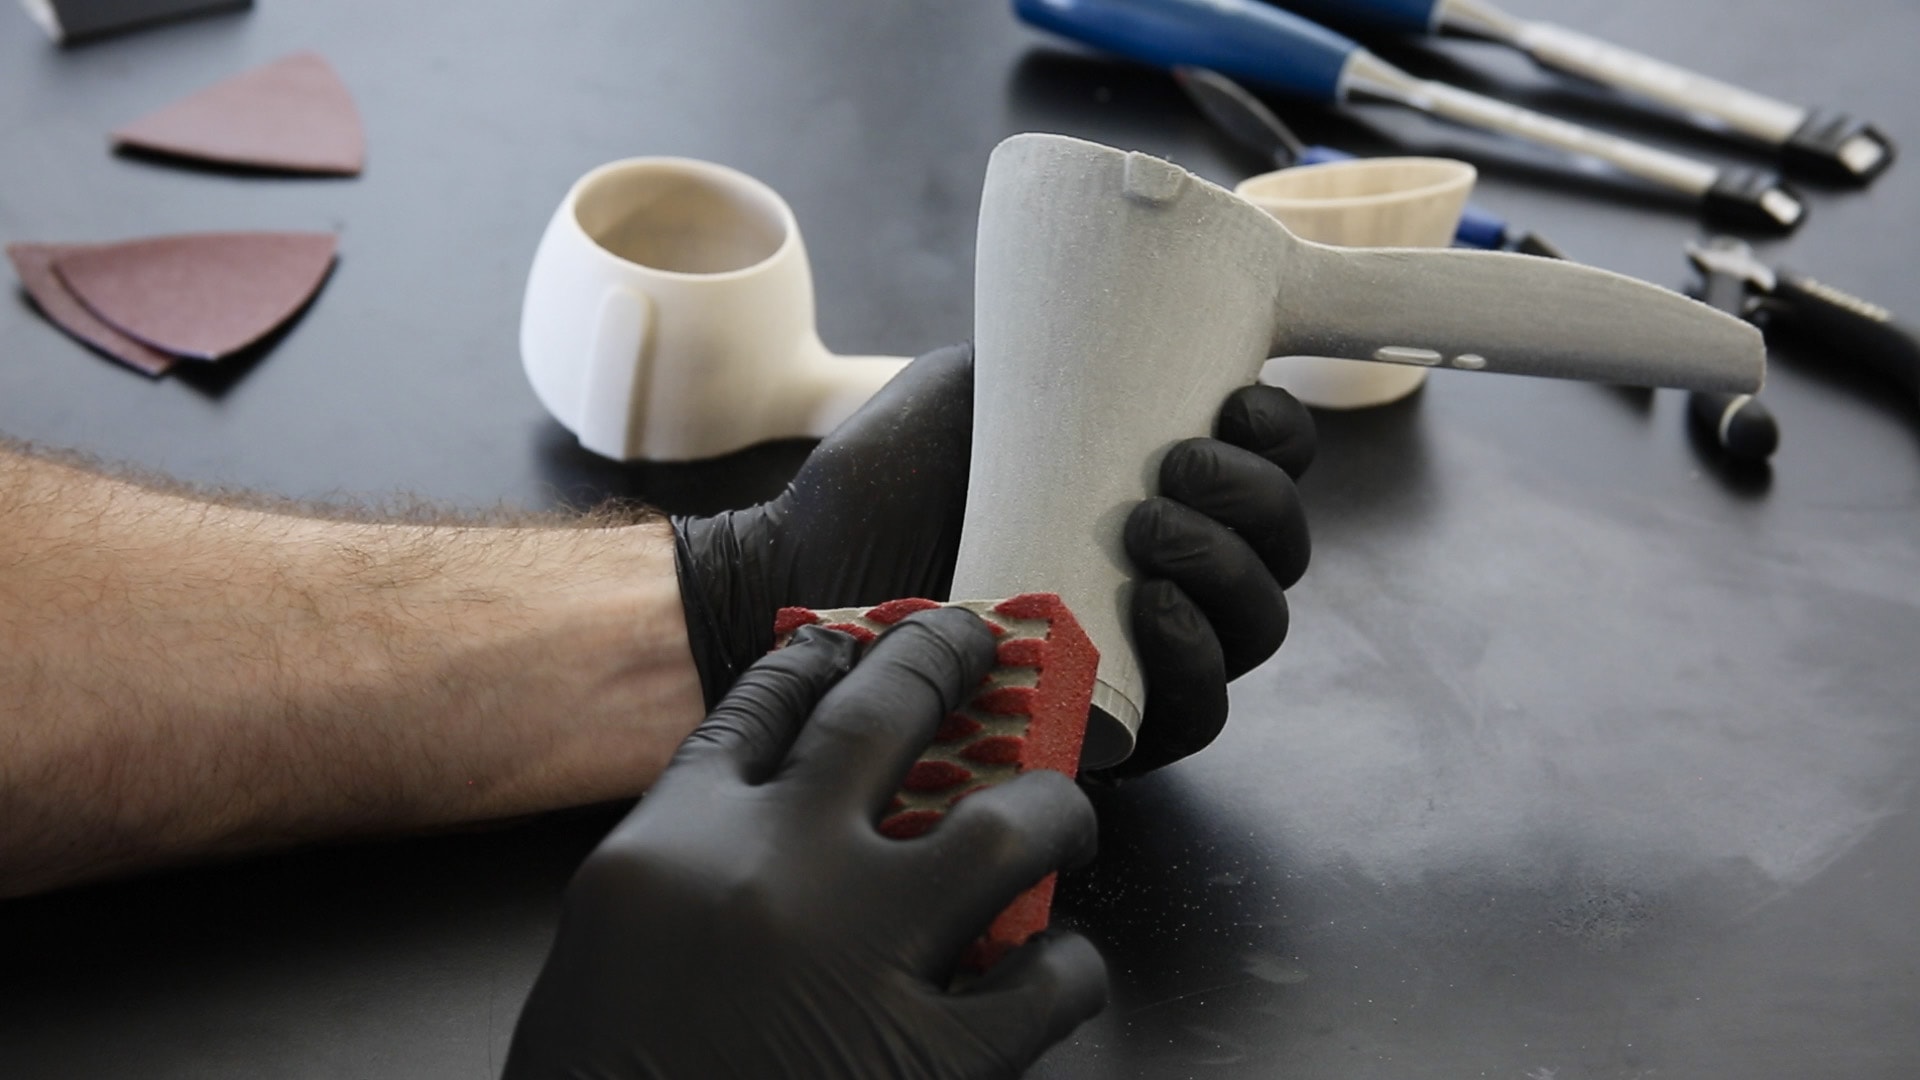
It is one of the simplest method for post-processing of FDM 3D printed parts. It is similar to sanding wood objects but it requires a lot of effort. The sanding has to be carried out in successive stages starting from a low grit sandpaper (usually 150 grit) and moving towards higher grit sandpapers like 400grit, 600 grit till 2000 grit or even more depending on the requirement.
The drawback of sanding is the amount of time and effort it takes. Additionally, the material is unequally removed so the dimensional accuracy of the part will be hampered.
Apart from this, the fine particles of the material are released into the air and can enter the lungs while breathing so it is recommended to use a mask while sanding 3D printed parts.
Vapour smoothing
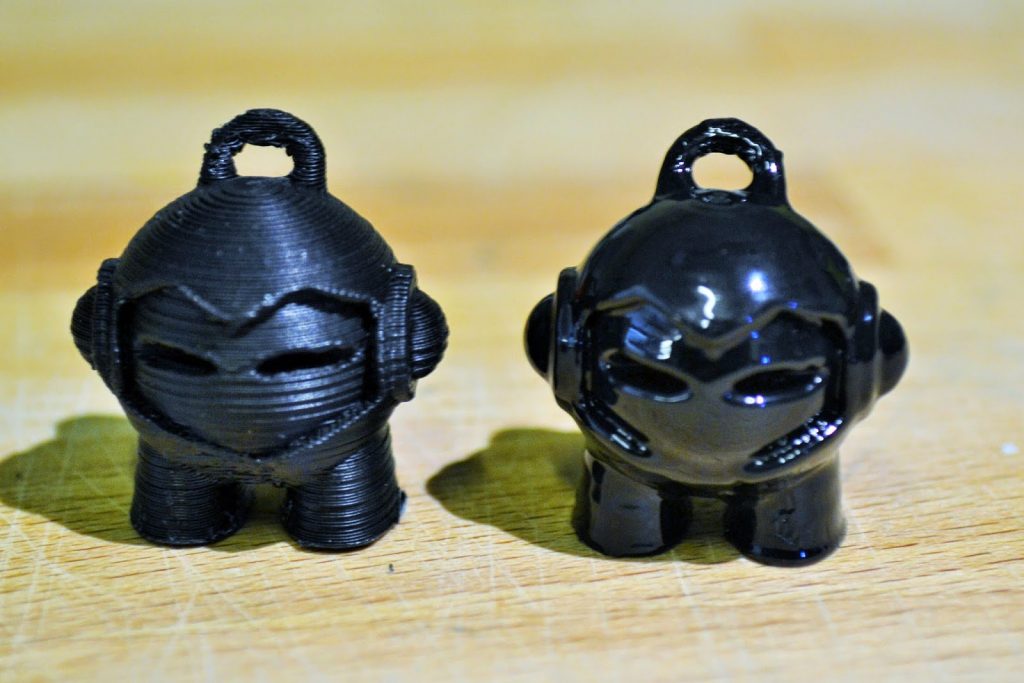
Again the drawback of employing this technique is the unequal removal of the material which affects the dimensional accuracy of the product. Since the process cannot be controlled the part has to be constantly observed and has to be removed from the enclosure once the desired finishing is achieved.
This method can be used for luxury goods where aesthetics are more important than dimensional accuracy.
NOTE: Extreme care should be taken while carrying out this process as acetone is a highly flammable and can explode. Moreover, the fumes are harmful and if they are breathed in, can cause irritation and other harmful effects. The process must be carried out with al precautions and in a well-ventilated area.
Priming & Painting
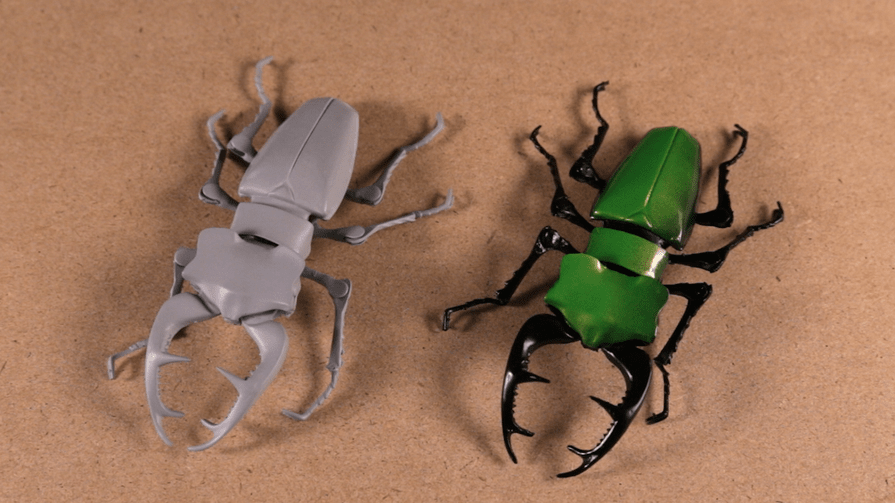
Priming is the process of coating the part with primer. It mostly acts as a base for a further painting job. Priming and painting are one of the most popularly employed post-processing techniques for FDM 3D printed parts.
Priming can be carried out only after the 3D printed part is sanded with a moderate grit sandpaper (close to 600 grit). After sanding the part, spray the primer onto the part in two separate coats. Do take care of the safety precautions before spraying the primer and even while painting in the next step. After the first coat of primer, sand the part again and then follow it up with a second coat of primer. Spray the primer in quick light sprays.
After priming, let the model dry and then painting can be carried out. Painting can be regular painting with a brush or by using sprays. While painting with brush can help in making intricate designs, the spray painting will be a quick approach to paint specific colour regions. One tip is to mask the parts not to be painted by a specific colour, as this will help in sharp colour intersections.
Also Read: How To Strengthen 3D Printed Parts in 5 Simple Ways
Polishing
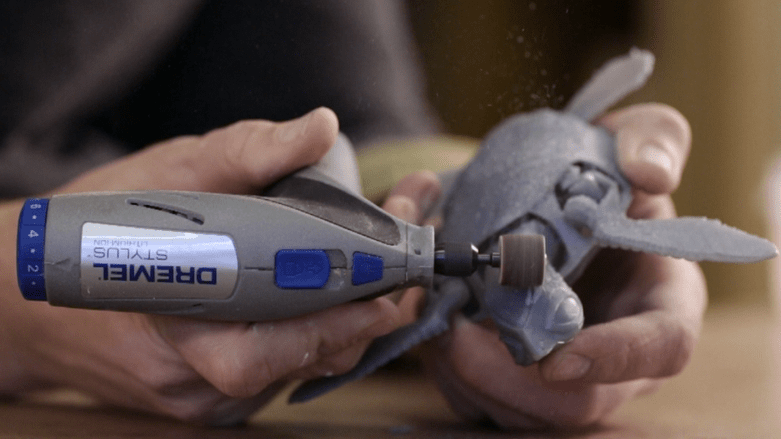
Polishing can be achieved by using a buffing wheel using a Dremel tool. A separate 3D printing Dremel toolkit is available for makers and creators to buy.
Polishing is done only after sanding. This will enhance the finish of the print.
Electroplating
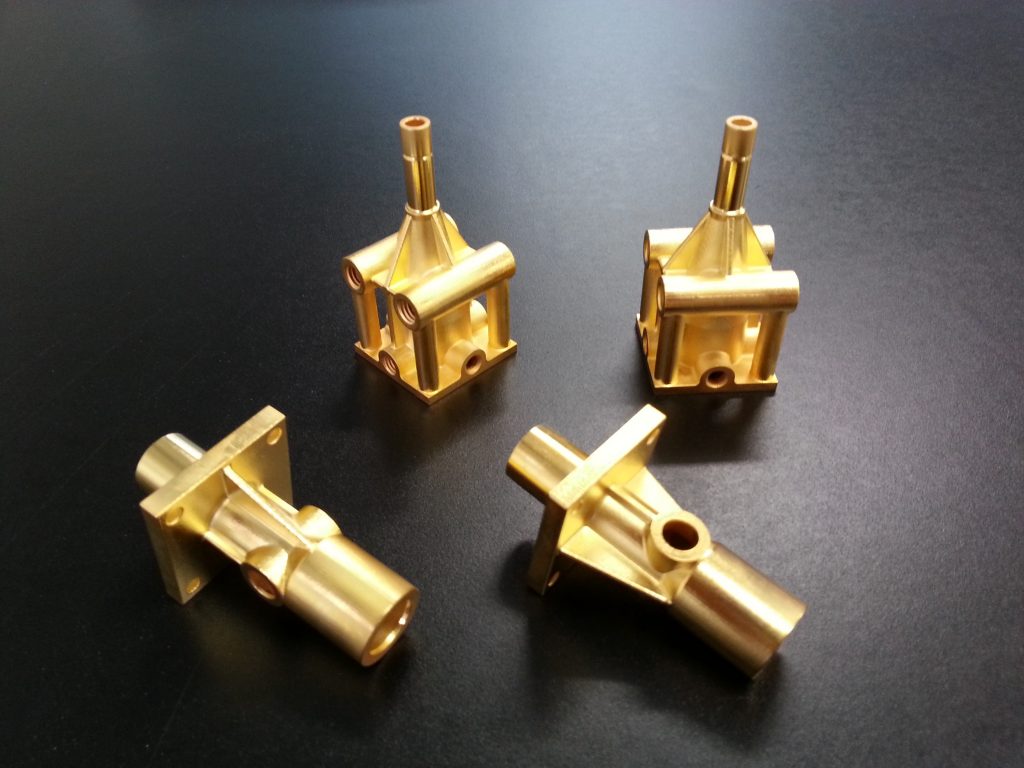
Electroplating is a great option for post-processing of FDM 3D printed parts. Generally, plating services are available. ABS can be easily and readily electroplated and such a care should be taken while choosing the material for the part.
Electroplating can not only enhance the look and feel but also increases the strength of the part.
Glueing and Welding
In case of parts bigger than the build volume of the printer, the part is broken down into multiple pieces. At such times, the PLA parts can be easily glued together by bonding agents like Anabond, mostly used in industrial applications.
ABS prints can be welded together. Welding here is by means of acetone. Light layers of acetone can be applied to the mating surfaces and held together under force or by clamping. This will cause the bond to be chemically glued together. Such bonds are pretty strong. More the surface area of the mating parts, more strong will be the bond.
Hydrographics
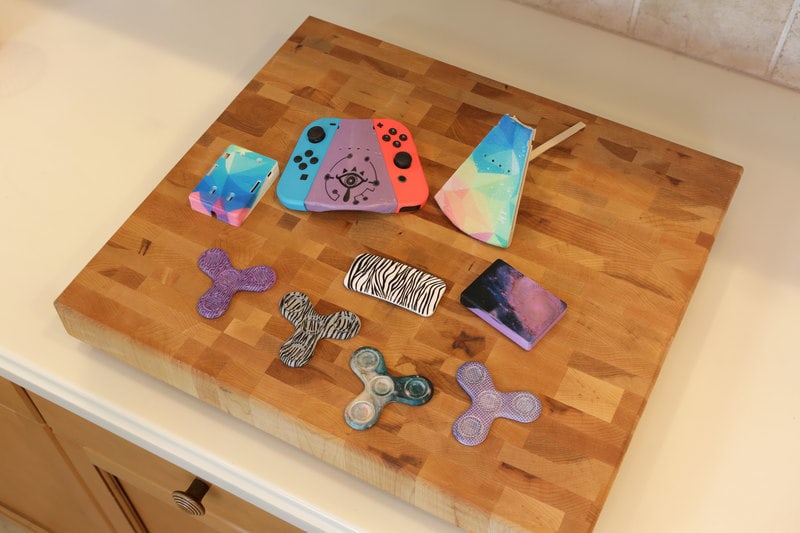
One of the most exciting techniques for post-processing of FDM 3D printed parts is Hydrographics. It is also called Hydro Dipping, Immersion printing Water Transfer printing, water transfer imaging, etc., is a process of applying printed graphic designs to solid objects. This post-processing technique is used on various materials like plastics, metals, wood, glass, etc.