I don’t know how everyone feels when looking at their 3D printed models that are monotonous and uniform in color. If you ask me, I would say they are very dizzy. Monotonous colors not only look bad but also represent a sense of cheapness.
So how to make your friends no longer pick up the model and look down on it? Today FacFox will teach you 5 ways to make your model eye-catching on the showcase. The secret is: post-processing.
Sanding and Polishing
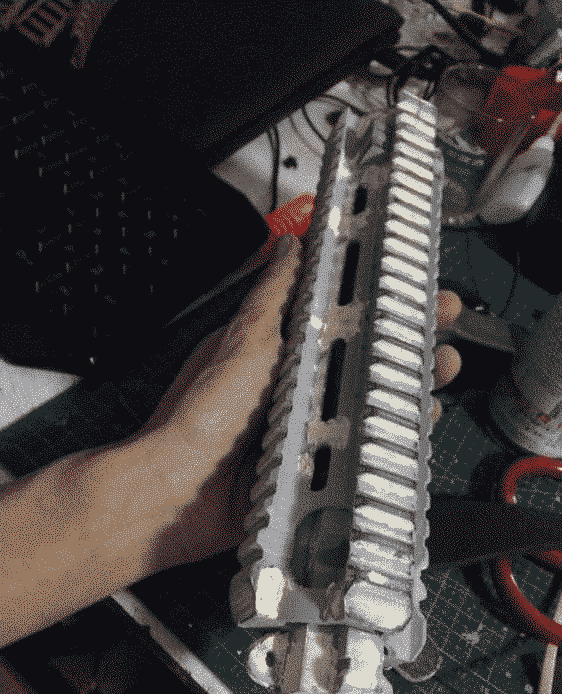
Due to its special molding method, FDM 3D printed models will have layer lines on the surface. These patterns are unavoidable even for the finest FDM printers available today.
Although we can adjust the height or the placement of the model to make the layer lines inconspicuous, they are still there, affecting the overall appearance.
Therefore, in order to remove these lines, we need to use sandpaper or a file to polish the model. Different tools are chosen to sand according to the roughness of the surface.
Generally, you can use a file towards the marks left by the supporting structure. It is much more convenient to use sandpaper on a large area. The sandpaper is divided into different types of grit sizes. A small number such as 20 or 40 indicates a coarse grit, while a large number such as 1500 indicates a fine grit.
80, 120, 600, 800 to 2000 grit sandpaper is often used for 3D printed products made with ABS and PLA. The 800 to 2000 grit sandpaper is mainly used for polishing rather than removing the layer lines.
In a word, when using sandpaper, first remove the layer lines with coarse sandpaper, and finally polish with fine sandpaper. Of course, a lot of dust will be generated during the grinding process, so it is recommended that the sandpaper or model be wetted before polishing, and the dust can be effectively reduced.
- A contrast of before and after sanding:
Model Repairment
I believe that everyone will encounter faults or incompleteness of the models due to some reasons when 3D printing them. In this case, don’t rush to throw the model into the trash can. If it’s not severely incomplete, your model may be repaired somehow.
The most commonly used method is covering the gaps with filler putties. Filler putties are also divided into several categories, including A+B epoxy putty, painter’s putty, water-based putty, and paste-like plastic putty.
For relatively large gaps and defects, A+B epoxy putty is generally used. You can simply mix and mold equal parts of A and B bars. Its advantage lies in excellent plasticity, which is quite good for filling gaps.
Paste-like plastic putty also can fill a gap well.
Sanding after using filler putties, the gaps and cracks are no more easy to find.
- The model is just covered with filler putty:
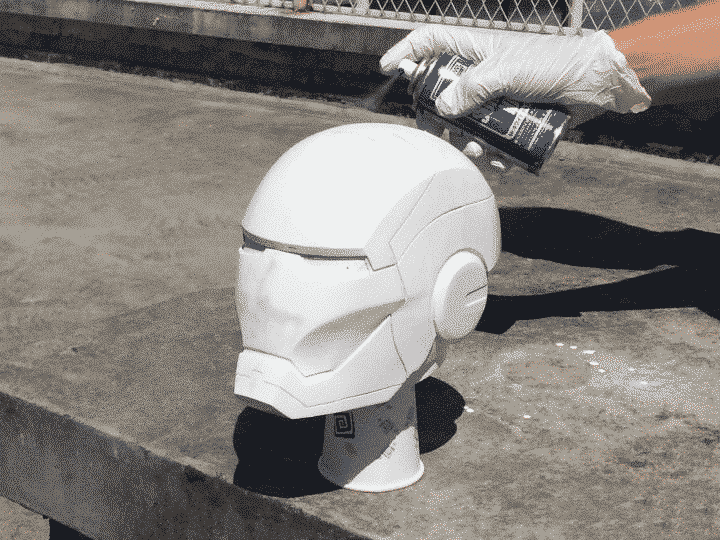
Use Primer
Primer spraying is a necessary step before coloring the model. Generally, water-based filler putty is used as a primer. In addition to filling the small gaps, the main function of water-based filler putty can also magnify defects of the model to facilitate the inspection of the outer surface.
Besides, it is also conducive to coloring the model, and the water supplement can help the pigment adhere to the model. The color of the primer can be chosen according to the main color. After the primer is dry, sanding is necessary with coarse sandpaper until it is smooth.
If the model has a smooth surface after the above steps, then you can officially color it.
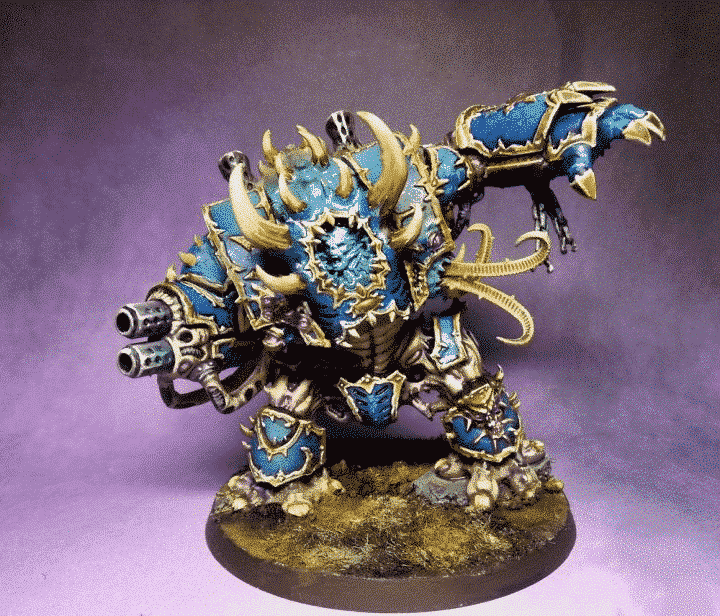
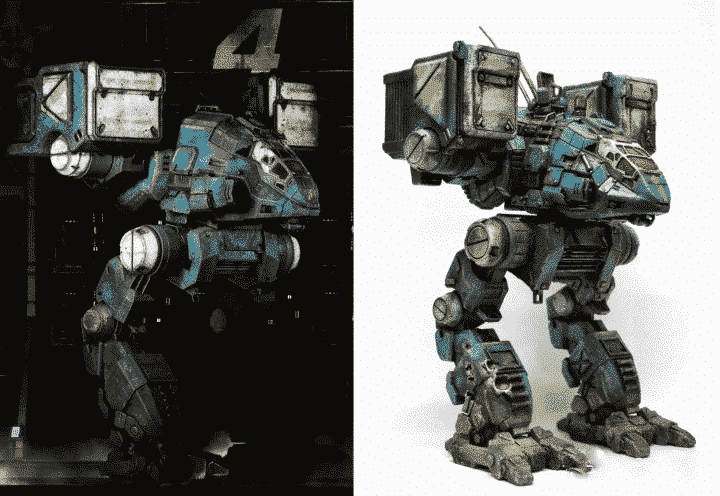
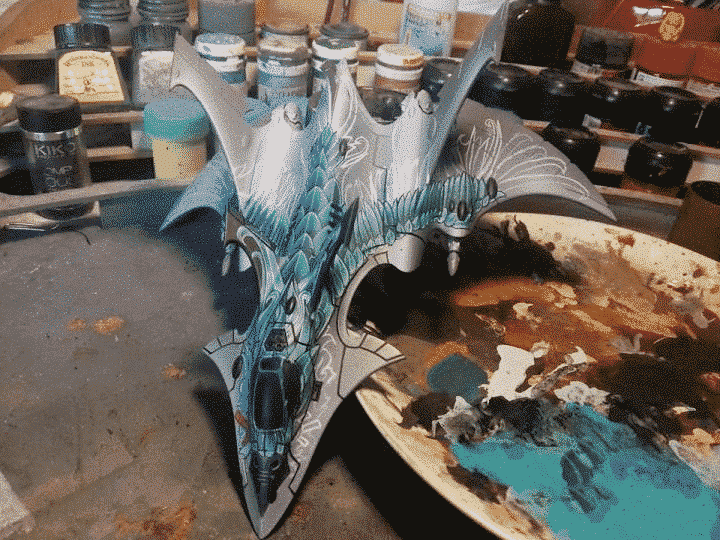
Coloring
In addition to the fineness of 3D printing, the quality of a model depends on its coloring. Coloring is arguably the most interesting place besides design. You can choose one picture as a reference, or create one according to your preferences. Coordinated and meticulous coloring can sometimes save a flawed model. Vice versa, bad coloring can ruin all previous efforts.
Since coloring is so important, how should it be done? First, let’s see what we can use for coloring.
Acrylic paint
It should be the most accessible pigment for us. It is cheap and has various colors for color mixing. It is the easiest option for novices. But if you want to color the whole model with acrylic paint, you need to work hard to get a smooth and uniform color effect. Therefore, it is not recommended to use acrylic pigments for large-area coloring.
Pattern Coating
The best choice for large-area coloring of models. Compared with acrylic paint, the color effect of pattern coating is more uniform and smooth.
Of course, if you want to paint small areas, you need to use a small professional spray gun, and the requirements of the spray gun users are relatively high. Every time you finish one color, color matching and cleaning are required.
However, a marker pen spray gun has appeared on the market recently. You can change the color by changing the marker pen, which is more convenient than the traditional spray gun.
Marker Pen
The best choice for coloring and ticking the details of the model. Marker pens are very rich in colors and vary in the price range. If you want to color the model, it is recommended to buy the special marker pen.
The difference between ordinary watercolor pens and marker pens is still very large. Marker pens are mainly divided into oil and water-based. In comparison, oil-based pens can do more uniformly coloring, and overlap two colors with natural transition. Marker pens have thick and thin points, the thinnest of which is 0.03 mm for inking.
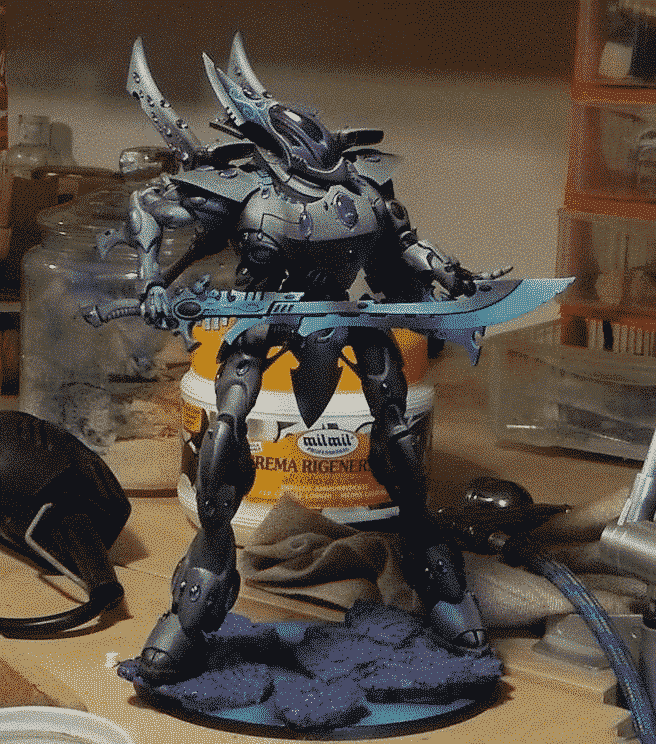
Adding Various Effects
I believe that your model has become very delicate and beautiful through the above steps. Now you can display your work, but you can also add some effects to make it perfect.
For example, in some parts of the model, darker colors are used to show the light and dark relationship, so that the model is more steric. For some military models can be properly treated to add some textures.
In this area, it can be said to be a science and a watershed in the quality of works. It is suggested that you can try a variety of styles to make your work on the showcase more rich and diverse.