Getting 3D printed objects to stick to the build plate is not always easy. Read on for our guide to 3D printer bed adhesion!
Bed adhesion is the ability of 3D printed plastic to “stick” to the build plate while printing. When 3D prints don’t stay in place on the build plate, you can get curled, shifted, potentially disastrous results. Makers use varying types of 3D printing surfaces to help different materials stick to the plate while printing.
Most commonly, 3D printers use aluminum, stainless steel, glass, BuildTak, Kapton tape, PET tape, masking tape, or PEI film. But there is not a single bed type that works best for the adhesion of every type of filament. So, let’s discuss what the important factors are influencing bed adhesion.
What’s Important?
Bed adhesion comes down to three factors:
- How well the plastic “wets” the build plate
- Thermal expansion
- How level the bed is
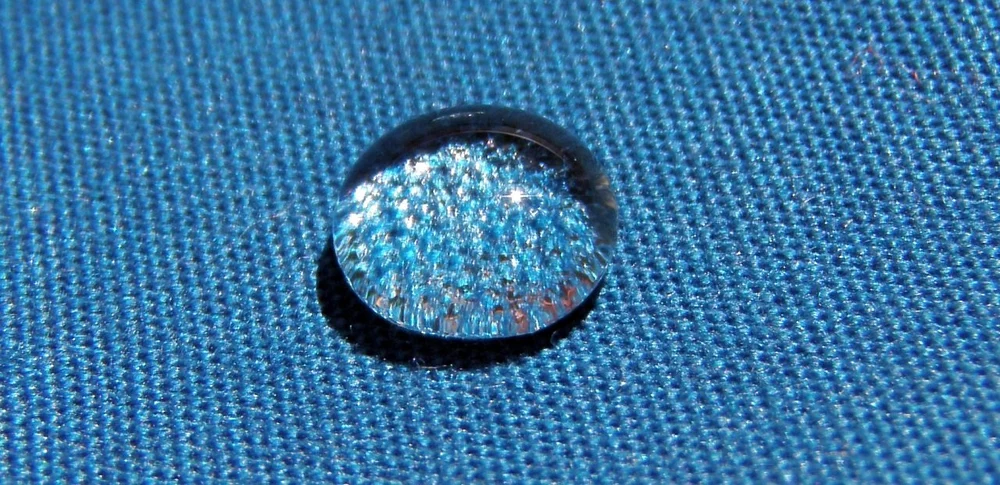
Wetting the build plate
Wetting refers to the ability of a liquid to conform and stick to a solid surface. When filament is extruded onto a build plate, it tries to conform to the build surface during printing. Ideally, the plastic will stick to a build surface that has a high surface area between it and the plastic. For large parts, the surface area contacting the build plate is large. Therefore, the ability of the print to stick to the build plate is usually quite good. This is why adhesion assistants like brims are often added to the base of prints in order to increase the contact surface area. This improves adhesion significantly.
Thermal Expansion
Thermal expansion describes the change in dimensions of an object at various temperatures. Temperature differences between the bottom of a print and the top can cause the edges of an object to peel up during 3D printing. This is problematic for materials like ABS that require heated build plates for printing. Unfortunately, there is a delicate balance between thermal expansion and 3D printing. Plastic layers must cool down somewhat in order to build a 3D object at all, but not so much as to cause this edge-peeling, also known as warping.
All of that said, thermal expansion can be dealt with as long as appropriate precautions are taken during printing.
The temperature of the bed and the enclosure are both important aspects of bed adhesion. This sets the temperature of the bottom layers and the temperature of the surrounding air to reduce thermal expansion. A uniform temperature during 3D printing makes warping less likely and better adhesion will be obtained.
Level Printing
To adhere filament to the bed, it is important that the nozzle is a consistent and reasonable distance from the build plate. There is a distance where the filament is close enough to the build plate that it will stick to it. However, too close and the nozzle will rip previously printed materials off the build plate. This is further elaborated upon in our troubleshooting guide.
Basic Solutions
There are many things you can do to create a good surface for 3D prints to stick to:
- Level the build plate: Leveling the build plate will ensure that the molten filament is close enough to the build plate to stick. This is the first thing that should be checked when prints are not sticking to the build plate.
- Clean the build plate: A good stick starts with a good surface. If in doubt, clean the build plate with rubbing alcohol and a microfiber cloth each time before printing. Naturally, you must check to ensure that the build plate material you are using is chemically compatible with rubbing alcohol. (If you are using glass, a very common bed material, you should be fine.) This ensures contaminants on the build plate don’t prevent the plastic from sticking to the build surface.
- Adjust nozzle temperature: A large temperature difference between the extruded plastic and the cooling plastic will likely lead to warping in a print. This happens when printing with ABS since the temperature range (210–250 °C) can cause thermal expansion forces in the print. This contributes to the edges of the print warping during printing.
- Use a 3D printed brim: Brims are used to increase the surface area that the print has in contact with the build surface. More contact equals more holding force, thus using a brim always improves print adhesion.
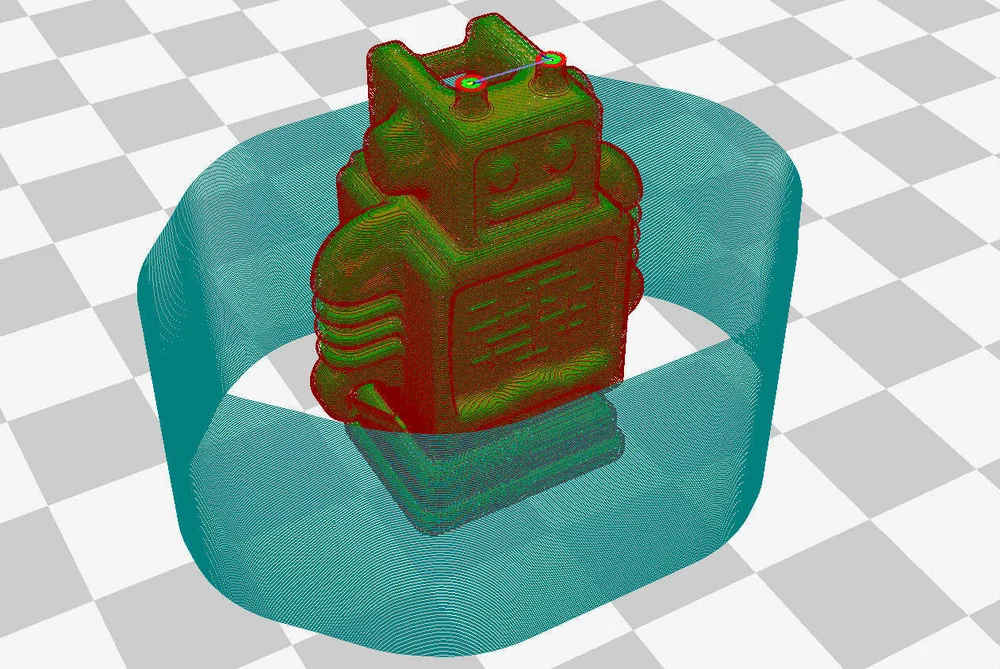
- Use a 3D printed raft: Rafts are used to remove the print’s potentially problematic bottom layer from the equation, offsetting it with an easy-to-print platform. If you’re having bed adhesion problems, a raft takes the hit for your print. It should be noted that the print finish on the raft may look poor. This is due to the part floating on top of the raft when printing. Thus, if the surface contacting the raft doesn’t need to look perfect, this may be the best method to improve adhesion.
- Alter fan speed: The speed of the fan during the first layer and the entire print can have an effect on print adhesion. In general, the longer the plastic is molten, the better it will adhere. Therefore, less fan speed usually results in better results. However, this has to be balanced with the cooling needs of the plastic. Without any cooling at all, the filament will be too molten and the geometry of the print will be compromised.
- Use a 3D printed draft shield: Draft shields help prevent warping by keeping some residual ambient heat around the print during printing. This creates a smaller temperature difference between the print and the surrounding air and, therefore, fewer forces pulling the print off the build surface.
- Configure first layer details: Many other settings exist that affect the first layer. We recommend you read about perfecting first layer settings in order to achieve the best adhesion possible. This will give you details regarding what your first layer should look like. In addition, it explains how to print the first layer with regards to settings like speed.
Paid Solutions
There are a few other things you can try to improve the adhesion of your built plate, from simply adding a coating to the surface, to upgrading the bed by adding a heating element.
Adding a Heated Bed
Higher bed temperatures ensure that the printed filament stays molten for a longer time, which helps the filament stick to the bed by giving it more time to do so.
However, too much heat and the print can lose dimensional stability. This occurs when the weight of higher layers squish lower layers before they have cooled sufficiently. If a print is warping off the build plate, increasing the bed temperature 5 degrees at a time can help. If the print “looks melted” when finished, try decreasing the bed temperature by 5 degrees.
Coating the Bed
These techniques essentially “glue” the print to the build surface.
- A salt solution works by enabling a molten filament to better wet the build surface by changing its composition.
- Aqua Net hairspray works quite well due to the lack of interfering additives in it. You can use other brands of hairspray, but they should have few additives to work well for bed adhesion.
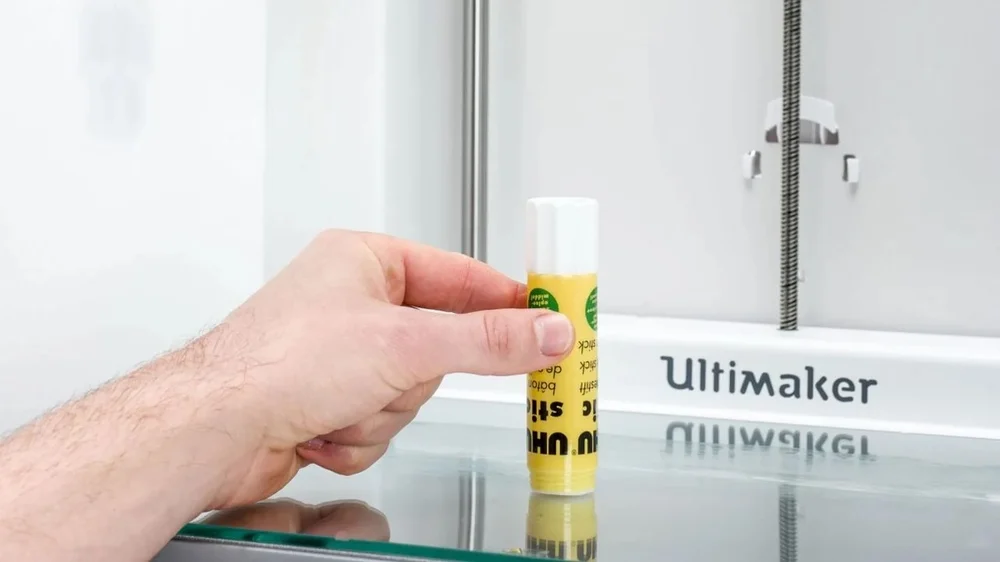
- Disappearing purple glue stick works well because you know you have covered the build plate visually. (In contrast, with clear glue stick it’s sometimes a bit harder to tell if sufficient coverage has been applied.)
- Wolfbite is a glass bed adhesive that helps stick your prints to the print bed when they would otherwise warp. Conveniently, there are multiple types of Wolfbite specific to each type of filament.
Still Can’t Get Prints to Stick?
If you’ve tried the above methods and still can’t get your prints to stick, here are two unorthodox methods of getting prints to stick that should help you save some large and unruly prints.
Roughing Up the Bed
In addition to increasing visible surface area using a brim, microscopic surface area (i.e. roughness) can be increased on a build plate via sanding to improve 3D printing adhesion. This method led to makers printing with frosted/roughened glass beds for print adhesion.
Typically, it is enough to use a fine grit sandpaper (600 or above) to lightly scratch the glass. This creates microstructures for the print to stick to without harming the glass in the long term. This method results in a slightly more matte finish than printing directly on polished glass.
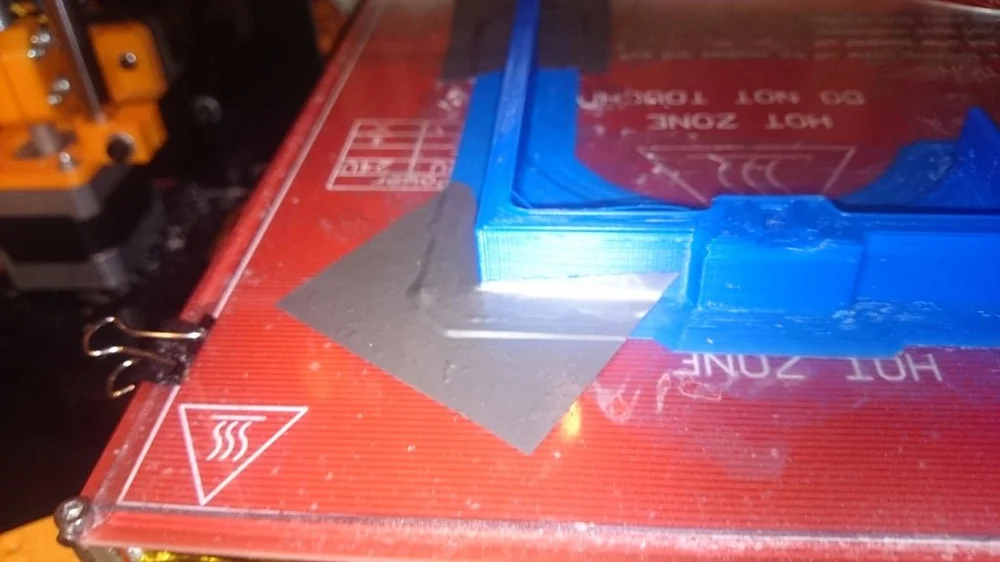
Duct Tape During Printing
If you have an otherwise perfect print that keeps peeling up halfway through, use duct tape! As pictured above, you can pause the print and tape the brim edges that are warping back to the build plate. As strange as this sounds, it works – though it may not be a long-term solution.
Source: https://all3dp.com/2/3d-printer-bed-adhesion-all-you-need-to-know/