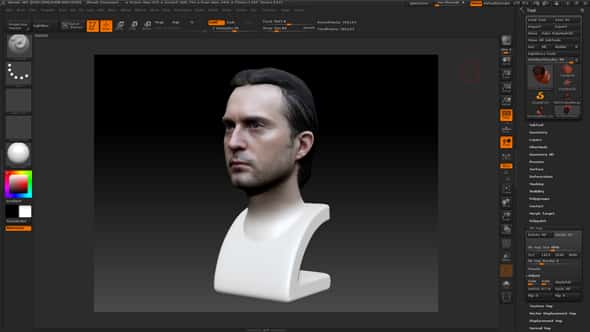
Scanning and 3D printing are a match made in heaven. However, scans typically need some cleaning up before we can send them to a 3D printer. Luckily, 3D sculpting software ZBrush is perfect for doing the trick. ZBrush is great for design programs for 3D modeling and 3D sculpting organic objects. You can start from scratch or import scans to work on. In this tutorial character artist, Matt Bagshaw will show us how to scan your head for free and how to prepare the 3D model for 3D printing in ZBrush.The head bust below was created by using a combination of 123D Catch and ZBrush. 123D Catch is a free scanning app that allows turning smartphone photos into a 3D model. For 3D printing, however, this model needs to be cleaned up and edited. Here we will focus on the work you have to do in ZBrush once you import your 3D scan.
In this ZBrush tutorial, we will learn how to prepare a bust for 3D printing.
Getting a 3D scan
We captured my head using a 3D scanner.
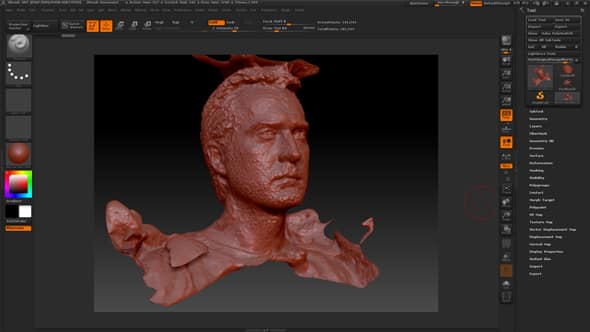
Cleaning up the 3D model in ZBrush
I cleaned the head up using Pixologic’s ZBrush. First I polished out the unwanted lumps and bumps from the original capture with the smooth tool. I also cut out the unwanted bits of mesh (for some reason my head had decided to sprout a tree!). Next, I painted out the stickers and filled in the holes. The retopology tools enabled me to make a cleaner, simpler mesh, and project all the detail back onto it.

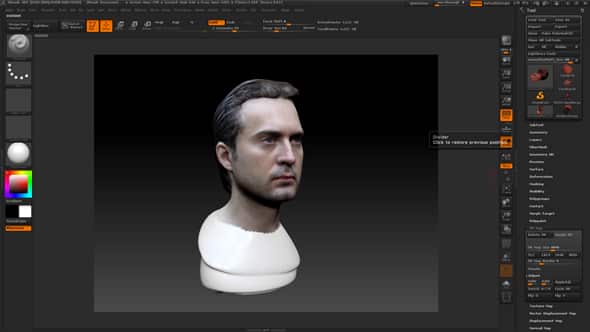
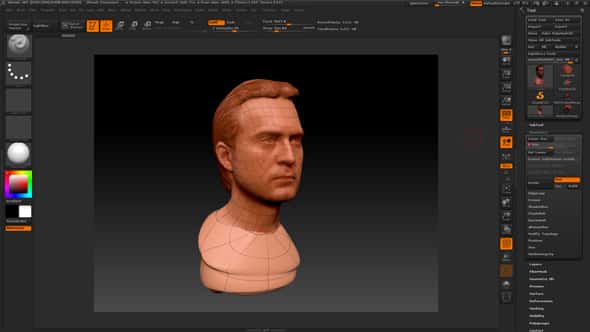
Creating a bust and hollowing a 3D model in ZBrush
In ZBrush, I made a base to support the bust, rather than a classical style I decided to go for something clean and contemporary looking- thinking it would be suitable for my model, being created using new technology rather than traditional sculpture. I combined the objects and used ZBrush’s Dynamesh tool to create a single continuous mesh. Dynamesh also enabled me to hollow out the bust which saves a few euros at print.
Reducing meshes in ZBrush
At this point, the mesh was around 6 million polygons, so I used the ‘Decimation Master‘ plug-in to reduce it to about 1.5 million.
Export ZBrush files for 3D printing
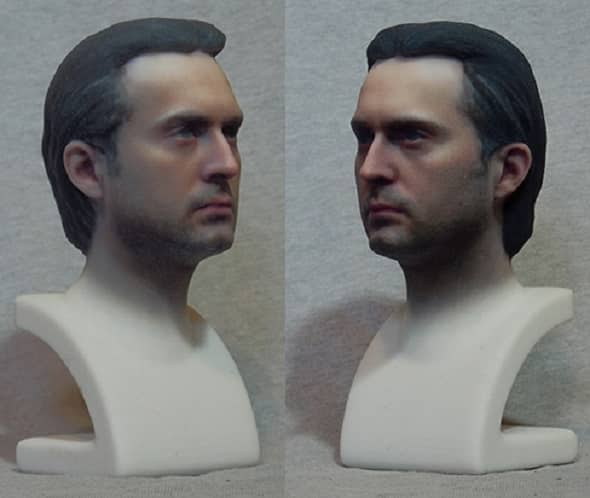
Finally, I used the 3D Print Exporter to save the mesh from Zbrush to a WRL file. Once exported I zipped up the file and sent it off to i.materialise online 3D printing service. i.materialise then printed the bust in its multicolor material in the highest quality.