Achieve crystal clear 3D printed parts with our guide to the methods, tips, and best clear resins and filaments for transparent 3D printing.
From decorative figurines to research using microfluidics, transparency is a very useful feature in 3D printing. Product designers need clear and transparent bottle prototypes, dentists value clear 3D printed surgical guides, and transparency is a prized trait in 3D printed light fixtures, architectural models, and eyewear.
Exciting business and engineering opportunities are enabled by transparent 3D printing. Consider the Dutch startup Luxexcel, which produces 3D printed prescription lenses. These include everything from standard lenses all the way up to those integrated with smart technology and AR/VR tech. Car manufacturer Chrysler, meanwhile, has used transparent 3D printing to test lubricant flow and efficiency in its various axle differential housings.
There are many types of translucent materials available for 3D printing. Here, we’ll focus on the growing availability of truly transparent – i.e. totally clear – materials. First, we will cover the main methods of transparent 3D printing (SLA and FDM) before moving on to best practices for attaining quality results. Finally, we offer a list of the filaments and resins available for clear 3D printing.
Although you’ll find many tips in this article, flawless transparent parts may be out of reach for many 3D printers. Instead of printing parts yourself you can always turn to 3D printing services, such as Craftcloud’s price comparison service to easily find the best service at the best price.
Now, let’s explore the available methods for printing clear and transparent 3D parts.
3D Printing Tech
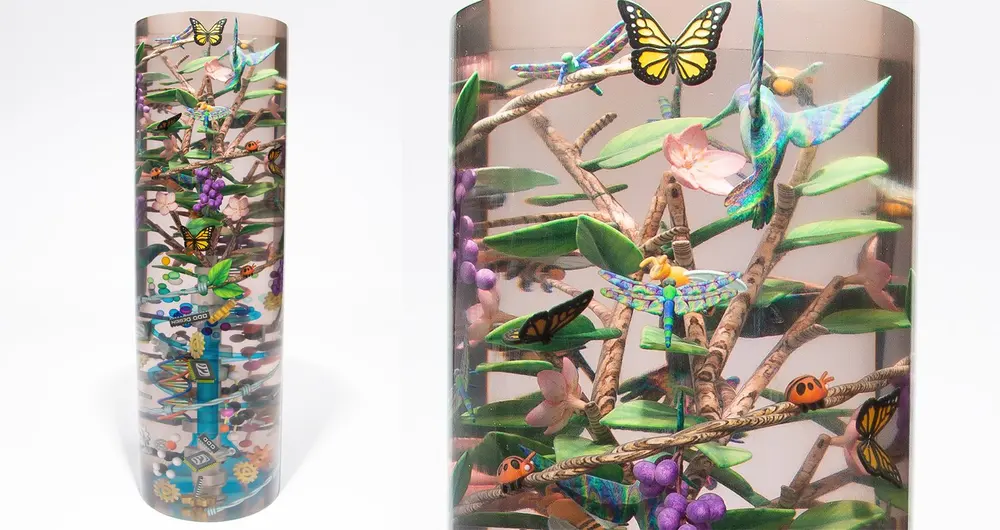
Resin-based printing is the obvious first choice for transparent parts since the layer lines are far less apparent than filament-based methods. There are several resin-based technologies that can use a clear resin. Transparent resins, when cured in UV light, create clear parts but there are some tips to getting the clearest prints, such as printing at 100% infill density. Printing with 100% infill density, while taking longer to print, produces parts that can be crystal clear, even functional camera lenses.
- Vat polymerization is a 3D printing process where you can achieve clear parts by using a clear resin in a vat cured by UV light. Among the methods in this category are the most common and affordable stereolithography (SLA), the slightly faster digital light processing (DLP), and masked stereolithography (MSLA).
- Material Jetting is another resin-based method where UV-curable resin is deposited drop by drop onto a surface and cured instantly with UV light. Polyjet is the material jetting method developed by 3D printer maker Stratasys. To get clear prints using Polyjet, you begin with a clear resin (such as VeroClear by Stratasys). For best results, Polyjet parts must typically be finished with a lacquer, polish, or photobleaching process. 3D printer maker Mimaki’s proprietary technology is also a type of material jetting. It uses inkjet print technology to deposit UV-curable liquid resin in white, clear, and CMYK, along with soluble support material on a bed layer by layer. Each layer is cured by the UV light.
- FDM enables you to achieve transparent parts with transparent filament and just about any FDM printer. This process leaves visible ridges on the edges of finished parts, but with post-processing and some tips we detail below, they can be removed.
Printing Tips
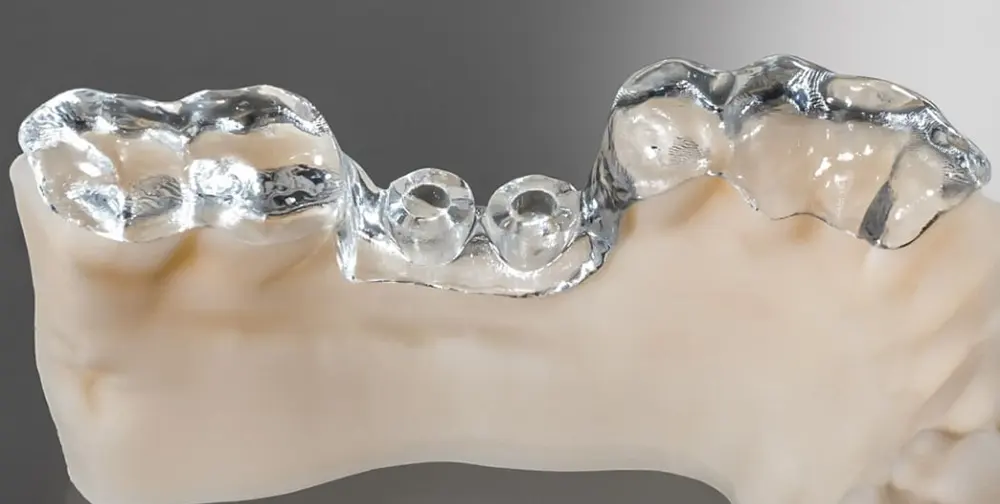
With SLA transparent 3D printing, best practices for achieving true transparency happen mainly in post-processing. One exception here is adding a bit of blue dye to clear resin in order to counteract the UV-yellowing process – though that can result in cloudy prints. SLA post-processing will be covered in the next section.
When printing using material extrusion, or FDM, there are certain steps that can improve print quality. For example, you should use a higher hot end temperature, a larger layer height, and a low infill. These steps will ensure that the clear material is properly melted, spaced out, and hollow enough for optimal transparency.
Also consider your setup: do you need transparency perpendicular to the Z-axis, in the XY-plane, or complete transparency? For making a transparent vase, you most likely will only need transparency in the X- and Y-axes (across it). For making a flat window, you only need transparency through the Z-axis. For complete transparency, you’ll need transparency in all axes.
Achieving transparency in the X- and Y-axes requires large layer heights relative to the nozzle size used. Larger, more spherical layers tend to refract less light, thus leading to a more see-through 3D printed part. According to material manufacturer Taulman3D, printing at 70% – 90% of the nozzle diameter results in more transparent prints.
The following settings are recommended to improve transparency using this technique:
- Print slower (25% – 30% of your normal print speed)
- Print thicker layers by using a larger nozzle
- Print at 70% – 90% of the nozzle diameter to obtain a structure that refracts less light
- Use the highest nozzle temperature within the filament’s range (ensuring fusing of the plastic)
- Use a flow rate above 100% (in this case, 108%)
- Disable your fan or print cooling
Post-Processing
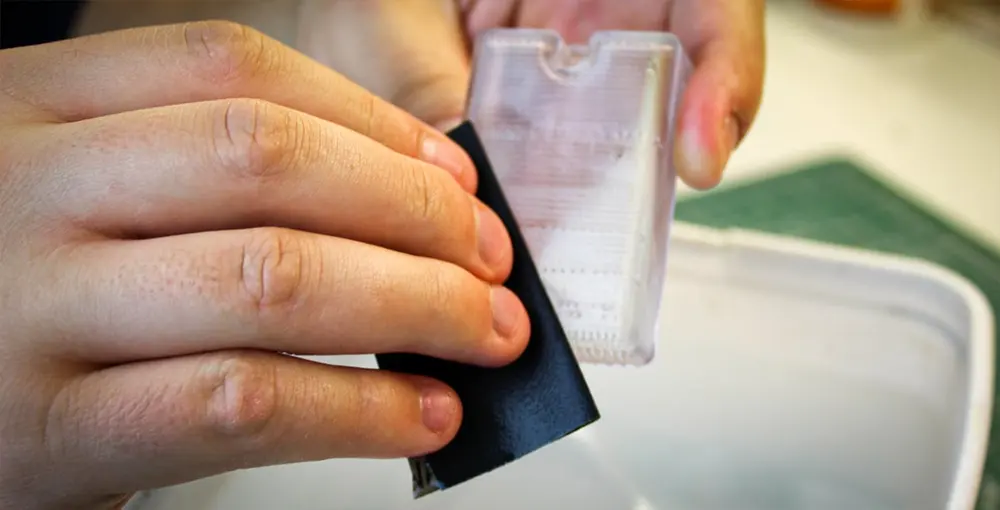
With most 3D printing, post-processing is necessary to achieve the desired results. Transparent printing is no different. In fact, much of the actual transparency is achieved here.
Although SLA can produce truly stunning transparent parts, a major problem with this method is yellowing over time. The finish can also become dull. Several steps can mitigate these effects.
First, parts must be cleaned. Typically this is done with isopropyl alcohol. Then they are cured under UV light.
Avoid over curing to prevent yellowing. Finally, parts must be sanded, polished, and finished with a clear coat or lacquer.
For best results, sanding should begin at 400 grit, moving incrementally all the way to 12,000 grit, at which point parts become reflective. After sanding and polishing, spraying on a clear coat produces a nice finish and also protects from UV exposure which can lead to yellowing. Parts can alternatively be dipped in resin for a truly smooth finish (though this is not ideal for lenses).
Another post-processing method is known as photobleaching. This method requires an additional machine, such as the ProBleacher made by Stratasys.
When it comes to FDM prints, sanding and clear coating is often advised, such as this spray-on polyurethane coating. Some filament-based 3D printed parts can be treated with solvents. PolySmooth filament, for example, is a filament designed specifically for models which are intended to be transparent. PolySmooth can be finished with ethanol, which is sprayed onto the print and left to dry for several days. Several reapplications turn the part transparent. However, the part may lose dimensional stability as a result of the solvent.
Be warned that solvent cannot be used on all FDM prints – using a solvent on ABS parts results in an unpleasant cloudy finish.
Transparent Resins
| Brand | SLA Resin | Price |
| Formlabs | Clear Resin | $149 / liter |
| Formlabs | Dental LT Clear V2 (certified biocompatible) | $349 / liter |
| Formlabs | BioMed Clear (certified biocompatible) | $349 / liter |
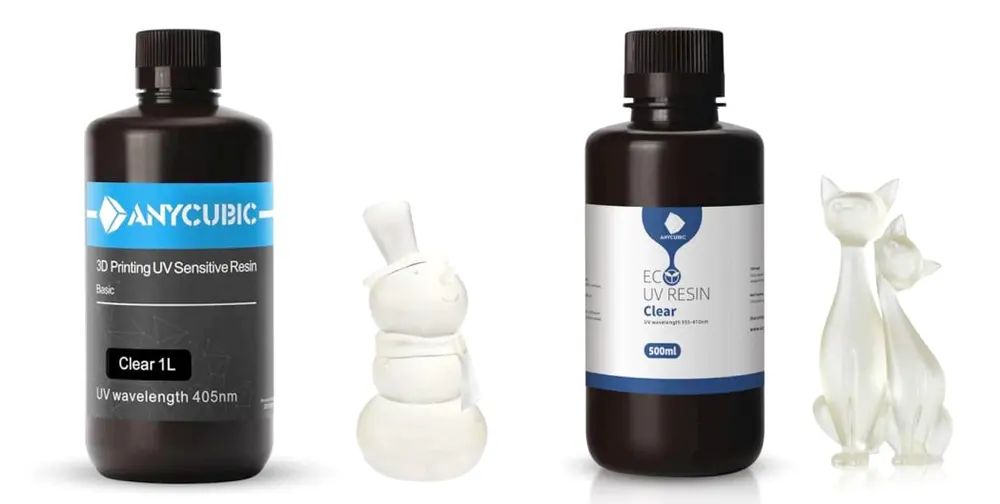
| Anycubic | 355-410nm Clear Eco-resin | $100 / liter |
| Anycubic | 405nm Clear | $42 / liter |
| Liqcreate | Clear Impact | $135 / kg |
| Phrozen | Aqua 3D | $40 / kg |
| BASF | Clear Ultracur3D Rigid RG35 | $119 / kg |
| PhotoCentric | DLP Hard Resin – Clear | $90 / kg |
| PhotoCentric | DLP Flexible Resin – Clear | $90 / kg |
| Nexa3D | NXE xMed 412 Clear | $1,925 / 5 kg |
| Nexa3D | NXE KeyGuide Clear (certified biocompatible) | $1,250 / 5 kg |
| Harz Labs | Dental Clear (under certification process) | $162 / kg |
| Detax | Freeprint Ortho | — |
| SprintRay | Surgical Guide 3 Clear (certified biocompatible) | $249 / kg |
| SprintRay | IDB 2 (certified biocompatible in US) | $299 / kg |
| Keystone | KeyPrint KeySplint Soft (certified biocompatible) | $335 / kg |
| Loctite 3D | 3820 Ultra Clear | $154 / liter |
SPECIALTY RESINS
| Brand | Specialty Resin | Method |
| Stratasys | VeroClear/ VeroUltraClear / VeroUltraClearS | Polyjet |
| Mimaki | Pure Clear Ink MH-110PCL | Mimaki Material Jetting |
Transparent Filament
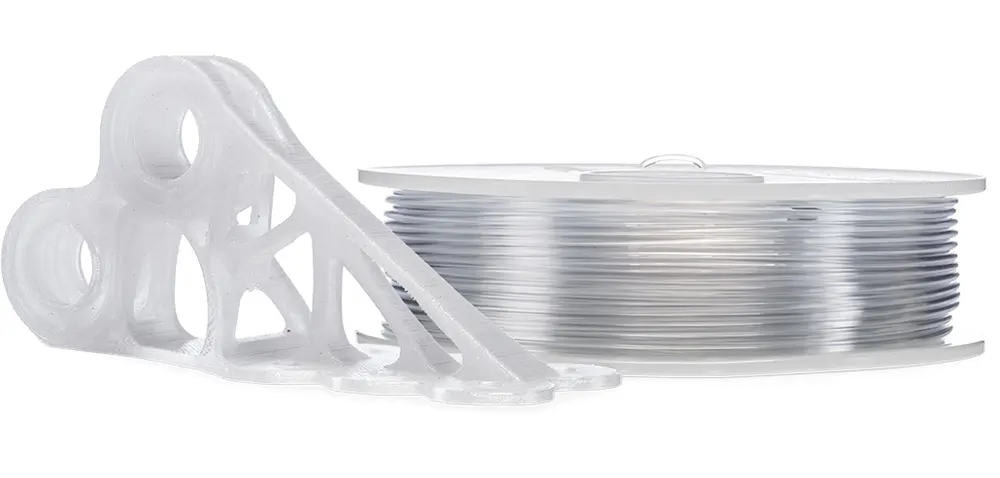
Filaments for 3D printing are available in PLA, PETG, PMMA, ABS, and polycarbonate. PLA and ABS are the most commonly used, while PLA remains one of the easiest filaments to use, with some of the best results in terms of transparency. Read more here about “The Best Transparent/Clear PLA Filaments of 2022.”
ABS is made translucent (not totally transparent) by the addition of an additive. Another material, PETG, produces generally strong but slightly flexible parts with a finish that often does not require post-processing. Polycarbonate can achieve transparency through high-temperature printing combined with acetone finishing. PMMA, meanwhile, has a high degree of transparency and the hardness of glass, making this acrylic material a good option for clear applications requiring high strength.