When laser processing paper and cardboard, a Trotec laser machine is the ideal solution for refining book covers, greeting cards, table décor, packaging and more. Creating unique and highly personalized products that have a noticeable engraving or filigree pattern has never been more efficient with a Trotec laser machine. This page will provide you with some helpful tips and tricks for laser cutting and laser engraving paper and paper products.
Will laser engraving on paper always produce dark results?
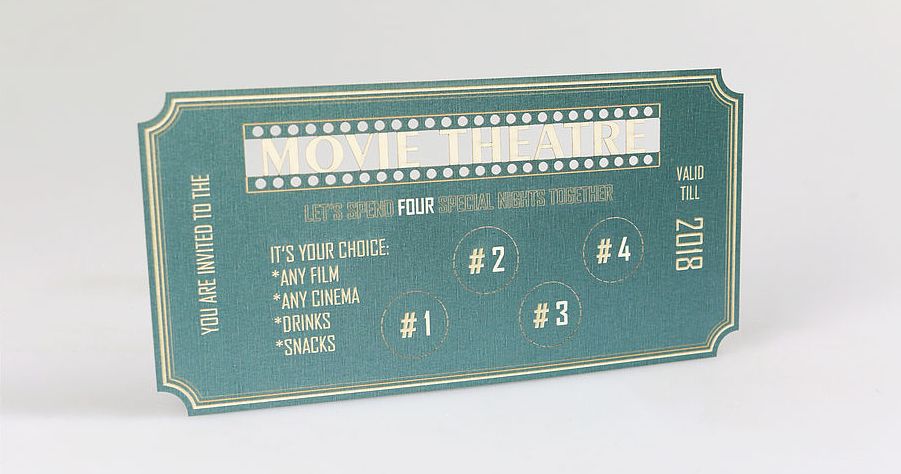
Engraving results will vary drastically depending on many unique factors, and achieving a light as well as dark laser engraving is possible even with dyed-through paper types. Thus, a so-called “color change” from dark to white is possible with the use of a very low power output, as well as a dark haptic engraving by using a higher power output. With paper that offers at least two or more layers, the top cover layer is lightly removed revealing the secondary underlying color.
Below you will find examples of laser parameters as well as a summary of paper processing techniques.
What is the easiest way to locate the correct laser parameters for my paper?
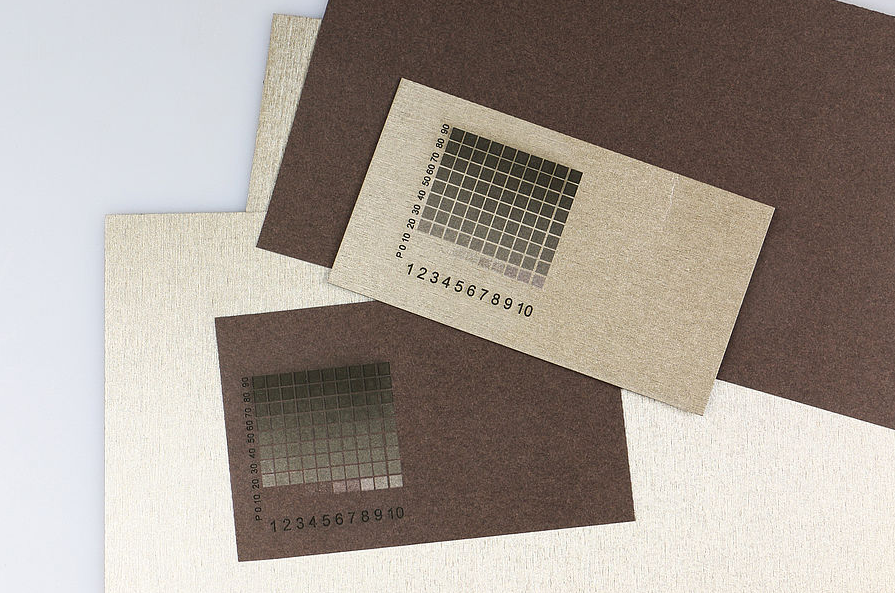
There are nearly endless types of paper and cardboard that can be laser processed, therefore, it is necessary to know the specific properties of each material that you use. With the help of the test matrix, you can easily locate all of the proper parameters that you will need, as well as this will also assist you with efficiently determining the different laser engraving effects possible.
Tip: Fine paper types that feature two different-colored layers can create beautiful, contrast-rich engravings.
How to avoid burnt edges when laser cutting paper
Laser cutting paper at high speeds will remove the material and allow it to evaporate as smoke. During this process, the smoke removes the heat away from the paper allowing it to only be minimally burdened thermally. With the use of Air Assist, Table Exhaust and the ideal parameters for your application, the material can succeed smoke-free without edges that are burned even with the most intricate contours.
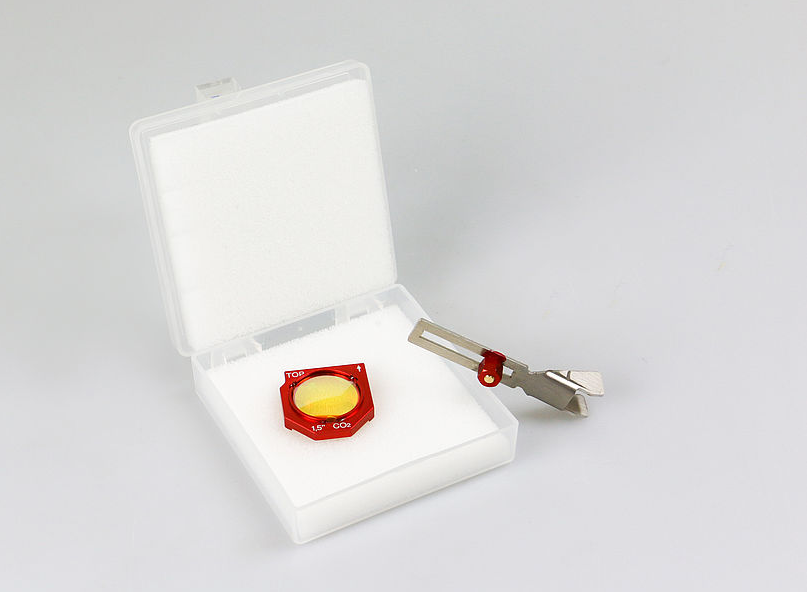
Which lens do I use for paper processing?
For processing paper, we generally recommend using a 1.5″ lens because larger optics are not necessary for the minimal thickness of the paper. The 1.5” lens is also best suited for filigree laser engravings, as fine graphics can be represented in a detailed manner.
Selecting the correct table for processing paper
You can greatly improve your engraving results by using the right table. However, when laser engraving paper all you will need is a vacuum table, which offers optimum vacuum suction when the remaining workspace surface is covered.
When you are prepared to laser cut your paper, we recommend using a comb cutting support in combination with a vacuum table for the best results. This technique will assist with preventing unattractive visible cut marks on your vacuum table with the honeycomb cutting support. Additionally, it will greatly reduce supporting surface of the material as well as minimize accumulating residue that could build up on the material back side.
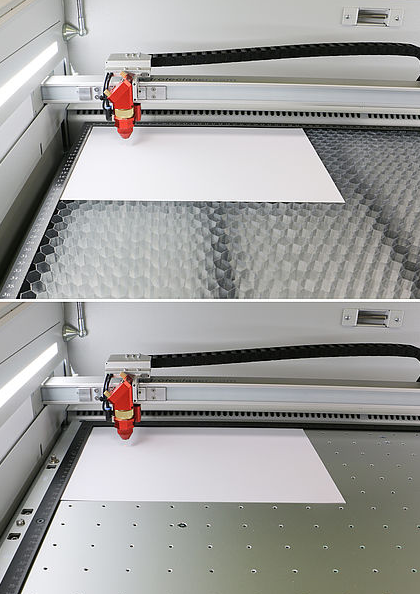
Tip: We suggest completely covering the surface area being processed with covering material, so that you optimize vacuum suction as well as the paper remains in place on the table. Standard printer paper is a great example of a covering material that can be used.
Which resolutions should be used with paper?
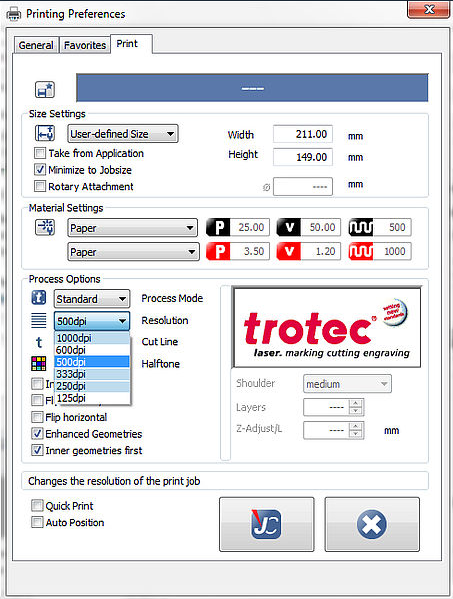
The required image resolution will always depend on the specific application that you are trying to process. When running “normal” engraving jobs, use “500dpi resolution” with “Air Assist On” to combine superior quality matched with faster working speed. Both parameters can also be adjusted in JobControl® via the material database.
When photo engraving on paper, we suggest decreasing the resolution to 250-333 dpi. This will reduce the chances of the slightly enlarged screen points that appear on the paper from overlapping.
Additionally, set the image resolution to 1000 dpi if you only want to process a cut into the paper.
Laser cutting printed paper with precision
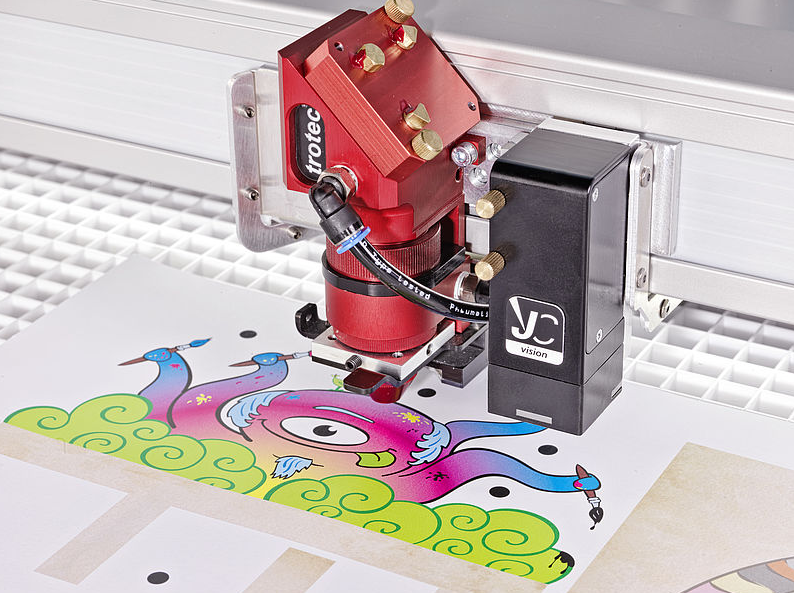
Cutting even the finest and most precise details into printed materials is made easy with the Trotec software, JobControl® Vision. The software operates a camera on the working head of the laser, which reads the printed registration marks for accuracy. A Trotec laser equipped with JobControl Vision will increase production times as well as reduced the amount of wasted materials from incorrect cutting. Furthermore, distortions in the print area are detected and compensated by the software, which ensures that the materials are precisely cut.
Here you can find additional information and tips for creating your graphics and daily use with the cutting software.
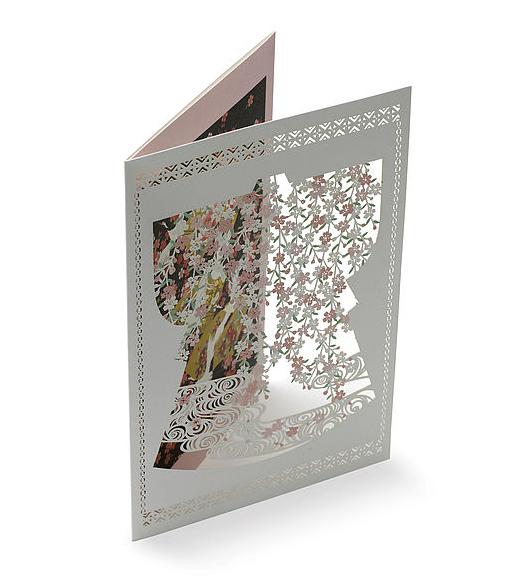
Creating pop-up cards
Whether you are creating pop-up cards, invitations or calendars of greeting cards, intricate and demanding graphics and geometries can be implemented easily with the laser. Here you can find additional information on how to create unique and beautiful pup-up cards using your graphics program.