Urethane casting (UC) is a manufacturing technique allowing for low- to mid-range volume production. It successfully bridges the gap between alternative low-cost methods, which lack scalability, and injection molding. This method allows the creation of production-like parts with high-quality, detailed features and cosmetic similarity both quickly and inexpensively.
UC is primarily aimed towards situations where the cost of hard tooling in aluminum or steel, such as for injection-molded parts, would prevent manufacture. UC can also be referred to as room temperature vulcanization (RTV), where the silicone mold is cured in ambient conditions.
How Does It Work?
The UC process can be broken down into four key steps:
- The master pattern is created using 3D CAD software, converted to an STL file, sliced into layers with 3D printing software, and then 3D printed using stereolithography (SLA) or PolyJet to provide the pattern for the silicone molding process.
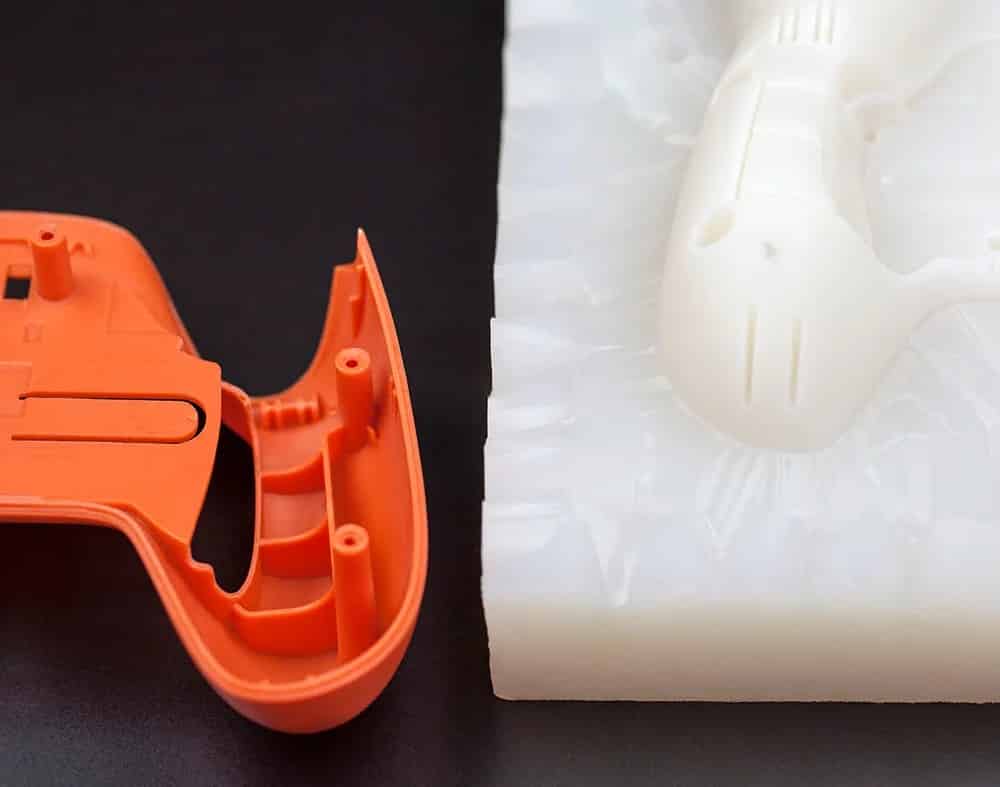
TIP: Once the master pattern is completed, place tape on any of its flat surfaces to allow for clean removal of the cast part during post-processing. - A mold box is built around the master pattern (mimicking a flask used in metal casting), which is then encased in liquid silicone to form the mold tool and left to cure for an average of 18–24 hours.
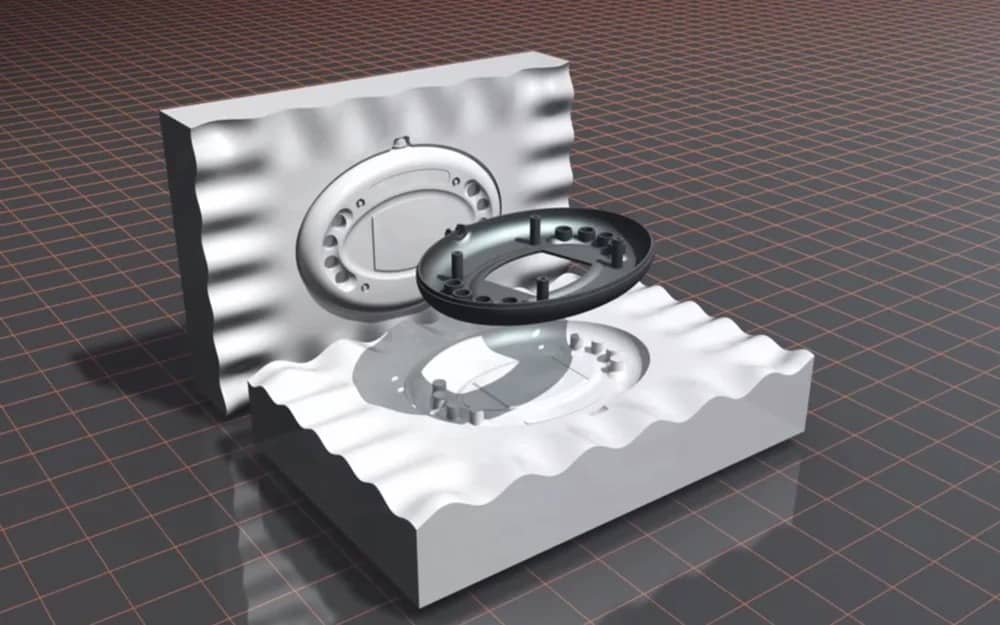
- The mold is then cut into distinct halves with a very sharp cutting implement such that the two halves fit together better. The master pattern is subsequently removed. The cavity that remains is then used for casting the end-use parts.
TIP: Any features that may fatigue as a result of multiple castings (for example through holes) should be replaced with dowels. - Once the tool is created, your chosen resin is then injected into the voids in the mold tool to form the parts. The resin must be left to cure, typically in a heated vacuum chamber, before the finished product is removed from the tool. Any excess material flash or gaiting would then need removing. This is as a result of leakage between the two surfaces of the mold and the entry points of the resin into the mold.
Pros and Cons
The UC manufacturing method has many benefits:
- It allows you to mechanically test your designed part while ensuring the demand is there in your chosen market, facilitating further design development before any mass-production involving hard tooling.
- UC gives you production-quality parts at low volumes.
- A high level of detail is possible. Achievable designs include sharp internal corners that can’t be CNC machined and those that require no draft angles or uniform wall thickness, which can’t be vacuum formed or injection molded.
- Your product arrives faster to market. Parts are typically made in under two weeks (compared to eight or more for injecting molding or vacuum forming), and design options can be tested concurrently to reduce lead times even further.
- A wide variety of materials are available for casting. Resins currently in general supply can simulate the properties of HDPE, ABS, nylon, styrene, PC, and TPE, among others, providing a mix of both rigid and flexible options.
- Multiple colors, finishes, and textures are available to suit the consumer’s end-user needs.
- Very low shrinkage rate (+/- 0.15%) due to thermal expansion of the liquid and response of the flexible mold compared to anywhere up to 3% for certain materials in injection molding.
- Parts can be made FDA approved (useful for products in the medical, food, and pharmaceutical packaging industries).
- Threaded inserts can also be cast in place for added strength for fixing points.
There are, however, a few drawbacks to consider:
- Tooling may fail after a few moldings depending on the geometry of the part. Tool life can be affected by sharp edges or deep undercuts.
- Surface finish can be poor, depending on the finish of the master pattern, and the color may not exactly match requirements on cast-in-color parts.
- Painting requires additional labor and cost, and parts are then susceptible to scratches and surface imperfections in post-processing.
- Blind holes and overhangs can be created with an SLA master but don’t translate well to urethane casting as they are inaccessible features. As such, great care must be taken when designing the initial master pattern.
- While possible in UC, zero draft angle poses a slight risk of part breakage or warpage upon removal from the mold.
Applications
UC is ideal for prototyping elastomeric parts, such as gaskets or over-molds for rigid parts. One example of great future use in over-molding would be in a steering wheel, where different requirements for grip points can be incorporated into the master pattern.
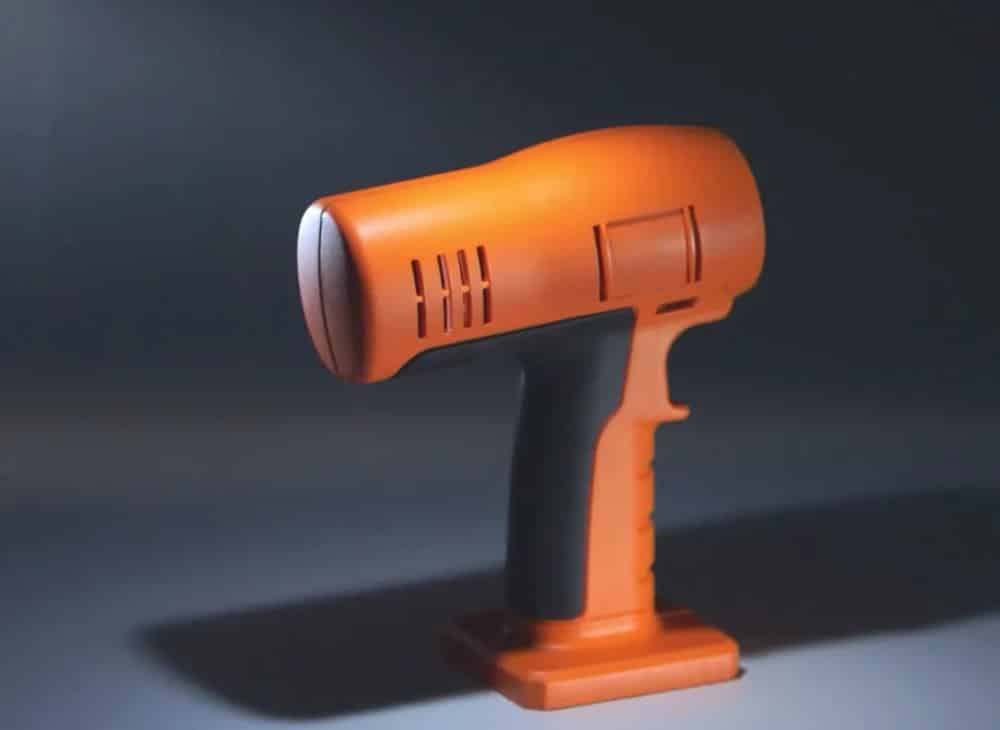
One can also achieve good quality “look-alike” concept parts for shows, along with low-volume manufacturing to offer a more customizable product.
Urethanes have also been used on skateboard wheels since the early 1960s. They remain the material of choice due to great customization coupled with simplicity of the part, leaning towards a good number of parts being moldable from a single tool. For the same reason, UC has also been successful in conveyor systems, in use on many of the lagged pulleys and rollers required as well as screen wear products.
Want to try the UC method for yourself? Get your part 3D printed in a standard, transparent, or tough resin via All3DP’s all-in-one 3D printing and price comparison service Craftcloud.