Looking to start in SLA? Want to find out more about resin printing? Read on for our ultimate guide to SLA 3D Printing!
Perhaps you’ve heard of it, perhaps you haven’t. SLA 3D printing has laser-fine quality (literally) and is becoming increasingly popular for hobbyists, and is a widely used technique the additive manufacturing field.
Interested in learning more? Follow along as we discuss everything from the history of the technology to the nitty-gritty of how SLA works, it’s many uses, and how you can get into SLA printing today.
What is SLA?
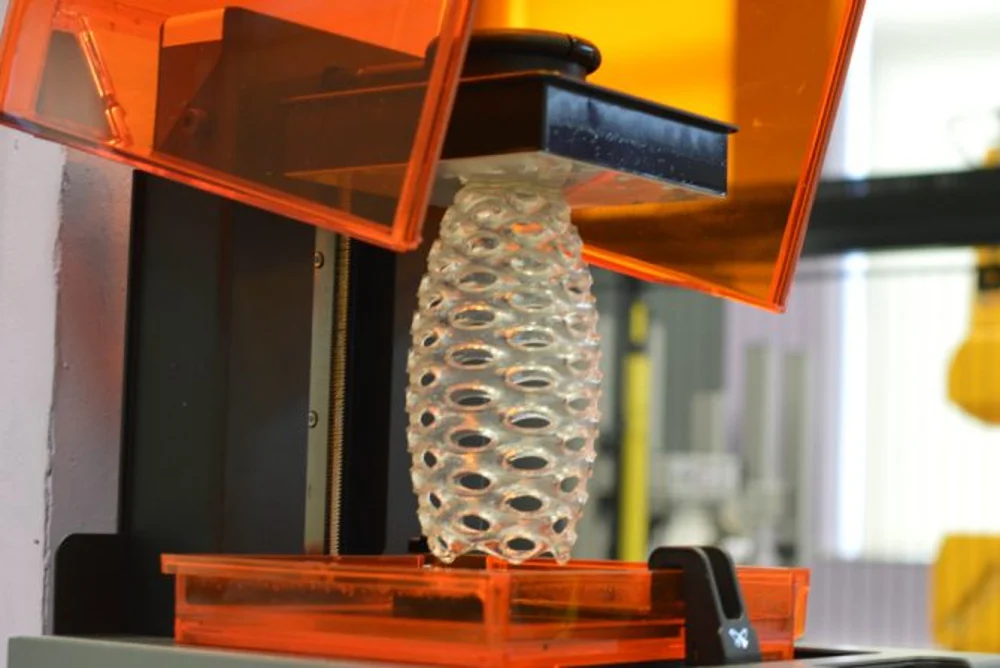
Stereolithography (SLA) is a form of Vat Polymerization printing. SLA machines work by solidifying resin into a part, layer-by-layer.
The resin can have a variety of properties, but the most important factor is that they are UV-sensitive. This allows the 3D printer to use a special laser, selectively curing areas of resin to build the part.
Coined by Charles Hull and later patented in 1986, this technology was the beginning of the megalithic printing company 3D Systems.
SLA is differentiated from the more common Fused Deposition Modeling (FDM) not only by the use of resin, but also because of the incredible resolution that the technology enables. Perfect for minuscule details and delicate miniatures, SLA prints can have layers that are less than 50 microns thick, as opposed to the much rougher layers in FDM, which measure in the hundreds of microns.
How Does SLA Work?
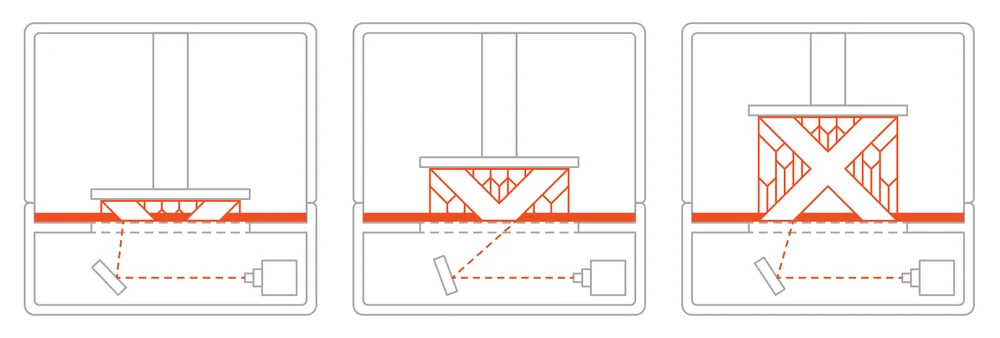
As mentioned above, SLA printers work by curing resin through the use of a laser. However, that’s not the whole story.
An SLA printer typically consists of a resin vat, a build plate, a laser, and two galvanometers. The galvanometers (galvos) are essentially very precise servos with mirrors, which are used to aim the laser. The laser, typically solid-state, has a wavelength somewhere in the range of 405 nm.
An alternative method places the laser on a moving gantry, which replaces the galvos.
This 405 nm light, when shined on the resin, causes it to cure.
There are two distinct methods for SLA printers to build layers: top-down and bottom-up.
In a bottom-up configuration (seen above) the build plate is lowered into the resin vat until only a tiny layer of resin is left between it and a transparent film or membrane at the bottom of the vat. The laser is precisely traced over the other side of the film by the galvos (or gantry), curing the resin in a pattern. The build plate is then raised, peeling the cured layer off of the film, and then lowered again, but this time it moves down one layer height less than the last time. This process is repeated several hundred times, building a 3D object.
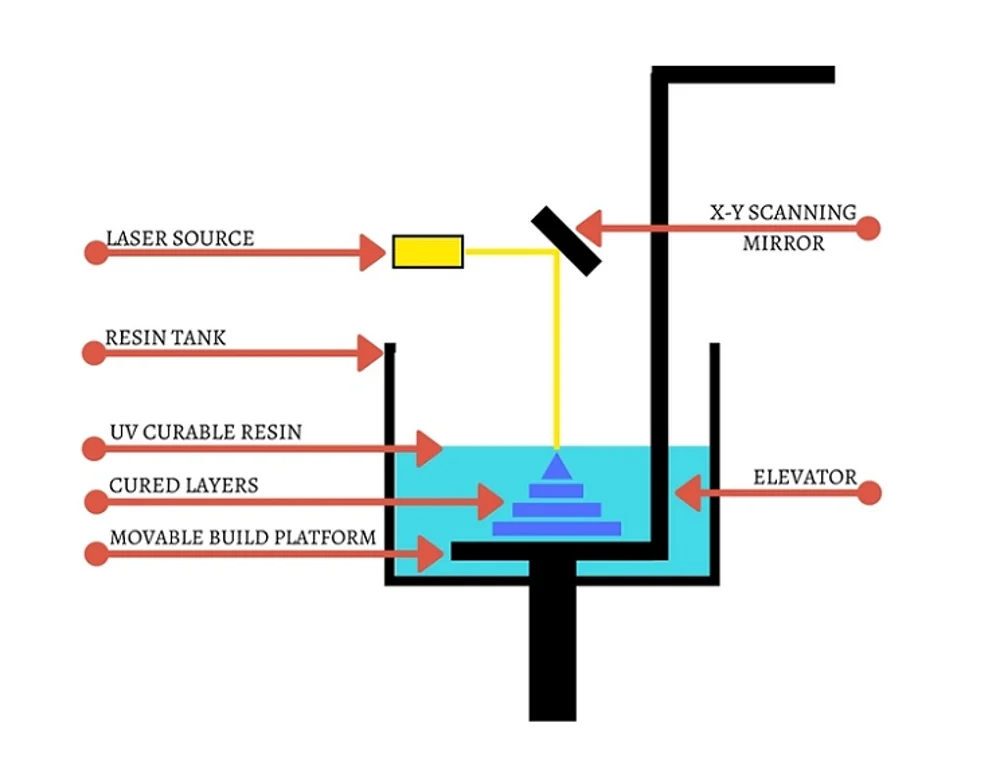
In a top-down configuration, more typical of industrial printers, the build plate is raised from the bottom of the resin vat, until only a tiny bit of resin is on top of it. The laser is then precisely traced over the top layer of liquid resin, selectively curing a few micrometers of resin onto the build plate. The build plate is then lowered one increment further into the vat, and the process is continued, building up layers until the part is complete.
Some of our favorite picks for “true” SLA 3D printers are the Peopoly Moai 200 and the Formlabs Form 3.
Similar Technologies
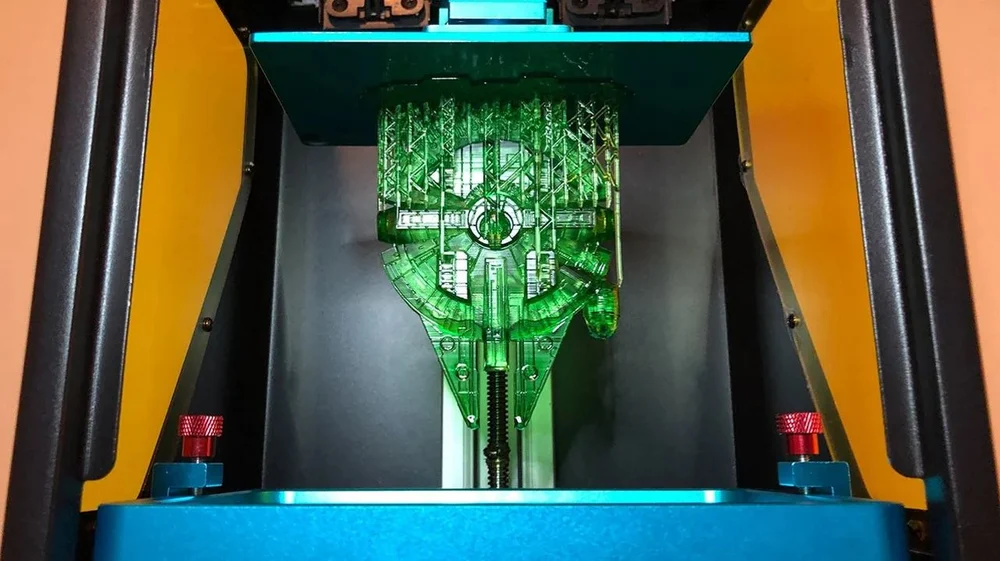
Vat Polymerization is a fairly broad category of printers, but SLA has some very close similarities with two other methods in particular.
Digital Light Processing (DLP) is a subset of SLA, utilizing a high-resolution projector beneath the resin vat, rather than a laser. This has the same effect as a laser, except that entire layers can be cured at once, vastly reducing print times.While much less common in the desktop space, some good printers with this technology are the Flashforge Hunter and the B9 Creations v1.2.
LCD Masking (MSLA) is essentially the same as DLP, except it only uses a specialized LCD screen with a UV backlight (no projectors here). Again, this allows entire layers to be cured simultaneously. Our top picks in this category of printers are the Elegoo Mars, the Zortrax Inkspire, and the Prusa SL1.
A slight downside to both DLP and LCD Masking is that unlike pure SLA, prints are “voxelized”, which is to say that they are built from tiny 3D pixels, rather than organic forms. This is simply due to the use of digital projection and LCDs, which have pixels, as opposed to a laser, which can trace completely organic shapes without any pixelization.
For a list of great resin 3D printers that you can currently buy, check out our regularly updated list of the Best Resin 3D Printers.
As they use the same general layer-by-layer curing process to create a print, throughout the rest of this article, SLA will refer to all of these technologies as a group, except where the difference is important.
Uses of SLA
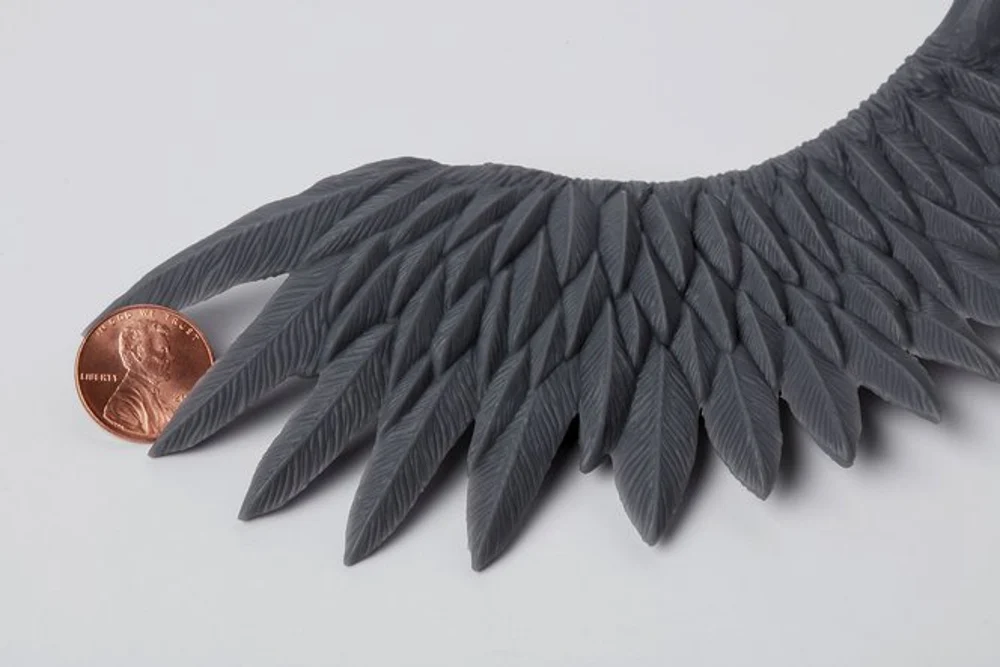
Thanks to the high resolutions and relatively quick printing speeds, SLA printing has made itself useful in a variety of fields.
For the everyday hobbyist, SLA printing is well-suited to printing miniatures, whether for tabletop gaming or to enhance your collection of action figures from your favorite films. More professionally, SLA can be used for high-resolution “visual prototypes” and even limited functional parts, depending on the type of resin used.
SLA has even found specialized uses in dental and medical work (more on this later), for everything from quickly producing accurate models to visualize treatments to customized solutions for dental retainers. These solutions not only reduce costs for both parties, but can also provide much faster solutions to imminent problems, enabling doctors to be more agile in treating patients with urgent needs. An upside is that by nature, many of the resins used in SLA are chemically resistant once cured, allowing parts to be properly sterilized before use.
Materials
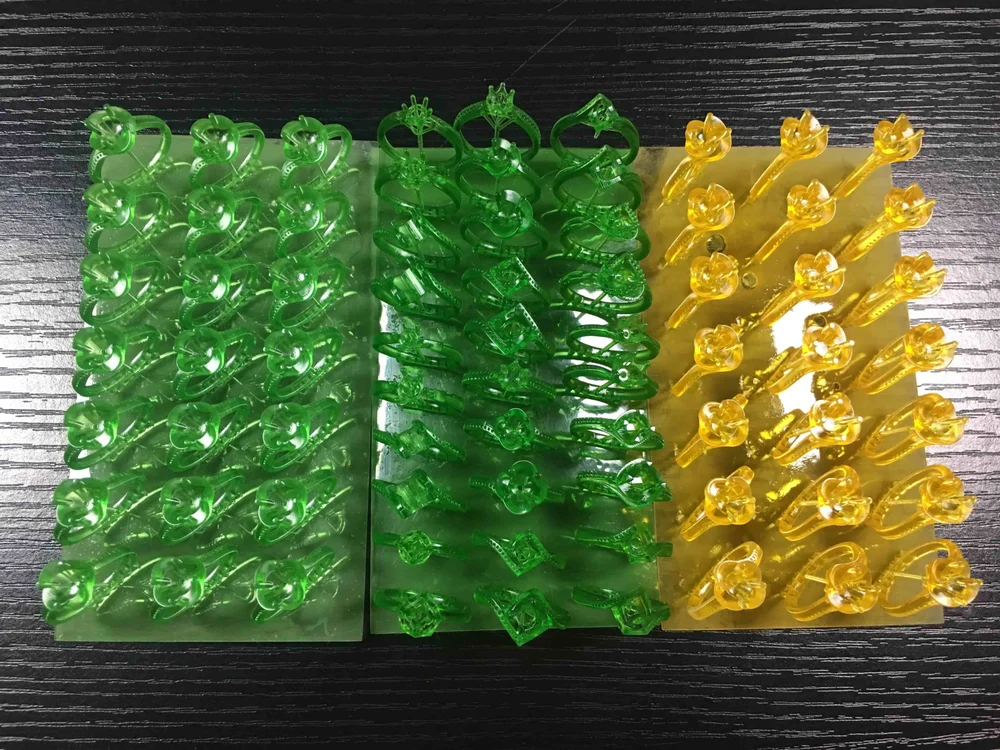
There are many types of materials available for use in SLA 3D printing. At the bottom line, it must be a liquid photopolymer resin that cures to become solid when hit by a specific wavelength of light – usually 405 nm.
Each manufacturer touts their own resin as having unique features; indeed, the complex and highly variable chemical structures of resin allow for a lot of interesting material properties to be added and tweaked.
These tweaks can make the resin tougher or safer for medical use, or just alter the visual properties in terms of color or even photoluminescence. This is why we see such a huge variety of resins, including everything from your basic resin for miniatures to highly exotic ceramic and metal resins for unique industrial applications.
Because most resins are optimized to cure at 405 nm, it is theoretically possible to print with industrial materials on hobby grade printers, and vice versa. However, for the everyday user a $250-per-liter resin isn’t going to be as appealing for printing D&D miniatures, while operators of industrial printers would likely scoff at putting something as cheap and generic as Elegoo Rapid Resin (no offense, Elegoo) into their highly specialized multi-thousand-dollar devices.
For each resin type, there will be a specific set of printing parameters that will work well. These include things like curing time, ambient temperatures, and the speed at which the build plate raises/lowers. Finding the right settings can be crucial to getting your prints to turn out well – not unlike FDM 3D printing.
Some printers allow you to change these settings in the slicer, but others, such as the Form 3, are entirely hands-off, with settings predetermined for each compatible material.
How to Set Up an SLA 3D Print
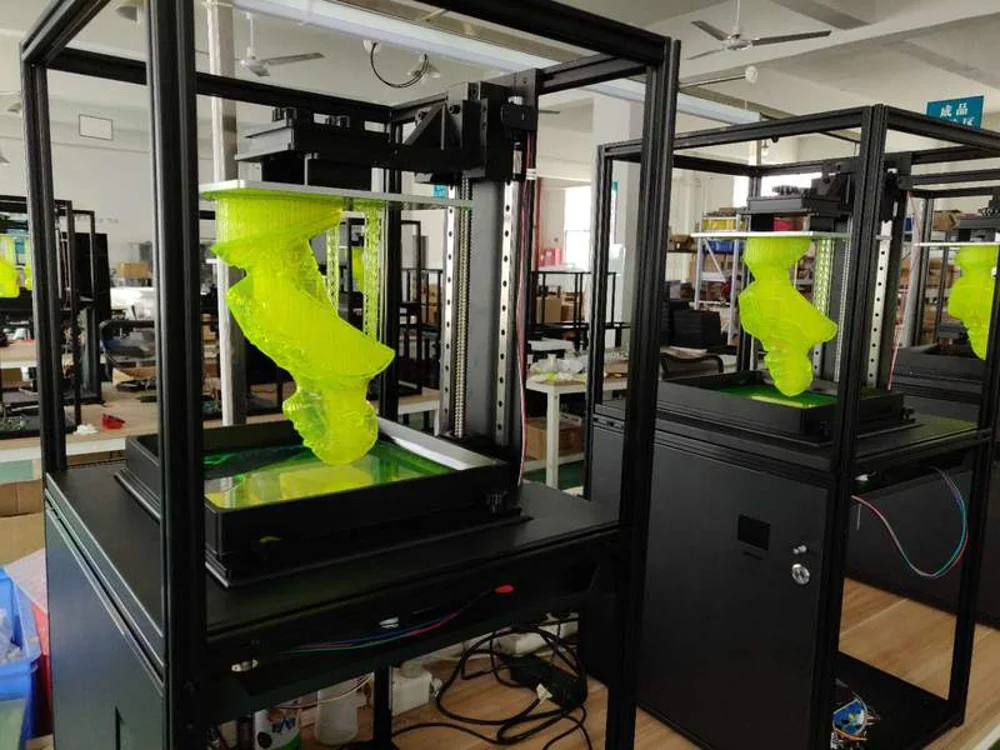
Assuming you have a part that you want to print on a SLA 3D printer, the general process to begin printing is fairly simple.
STEP 1: PLATING A PART
The first thing to do is import the model into your slicer. Many brands of printers have their own slicer, we generally recommend using the provided software for the best experience. That said, there are alternatives, just make sure it exports to a format your printer can read.
Once the slicer has loaded your model, the next thing to do is choose a printing orientation. Things to consider are where the details are, avoiding overhangs that are too steep, and where supports will be needed. A common practice is to elevate the print off the bed, rather than go with the gut instinct of “biggest flat side on the base” like you might with FDM machines.
Where possible aim to orient your print to deduce the cross-section. This reduces the peel force stresses on your print, and should increase print success. Similarly, aim to have your print taper toward the end of the print so the currently printing layer is well supported by what came before.
STEP 2: ADD SUPPORTS
Once you have an optimum orientation for your print, you can add supports. Most slicers will auto-generate these, however it is sometimes advantageous to add your own, or even make custom supports from scratch.
The supports should ensure that there is no part of the print that won’t peel off of the film (or overhang too far into nothing) while printing, and also provide enough adhesion to the rest of the print that things turn out well.
Another support consideration is extra bed adhesion around prints (In the case that they touch the print bed) or around support structures.
EXTRA CONSIDERATIONS:
Some other considerations when preparing a print are whether or not to print solid. While solid prints are the standard in SLA, it is possible to edit your model in a program like Meshmixer for hollow prints, which reduces the amount of resin used, and results in a lighter (but weaker) print. When doing so, it is important to make sure there is a hole to drain the resin that will become trapped inside, and that everything is properly supported, including on the inside.
TROUBLESHOOTING FAILED PRINTS:
When a print fails, it can be for a number of reasons.
- Not warm enough:
- SLA printing performs best in warm temperatures. Keep your resin warm, or use a machine that has a heated chamber (or make your own chamber heater!). It’s not 100% necessary to print warm, but it does increase the print success rate, and alleviate some of the other issues listed here.
- Not enough adhesion: If a print has warped from the bed or become detached, it is likely you do not have enough bed adhesion. Solutions include:
- Re-leveling the bed
- Adding more support and using a larger brim
- Increasing cure time on the base layers
- Heating the bed slightly before printing
- Not enough support: If a print doesn’t have enough supports, surfaces can come out rough, support structures can fail, and the print can become detached or broken in places. Possible solutions can be:
- Adding more supports
- Changing the print orientation
- Resin settings not optimal
- You may need to change your resin settings to find the “sweet spot” for your material
- Manufacturer’s recommendations are a good place to start, but aren’t always perfect for your machine and work environment
- Printing out small calibration tests is a good way to find the best settings for you
You can find some more handy tips and tricks for SLA printing here.
Post Processing
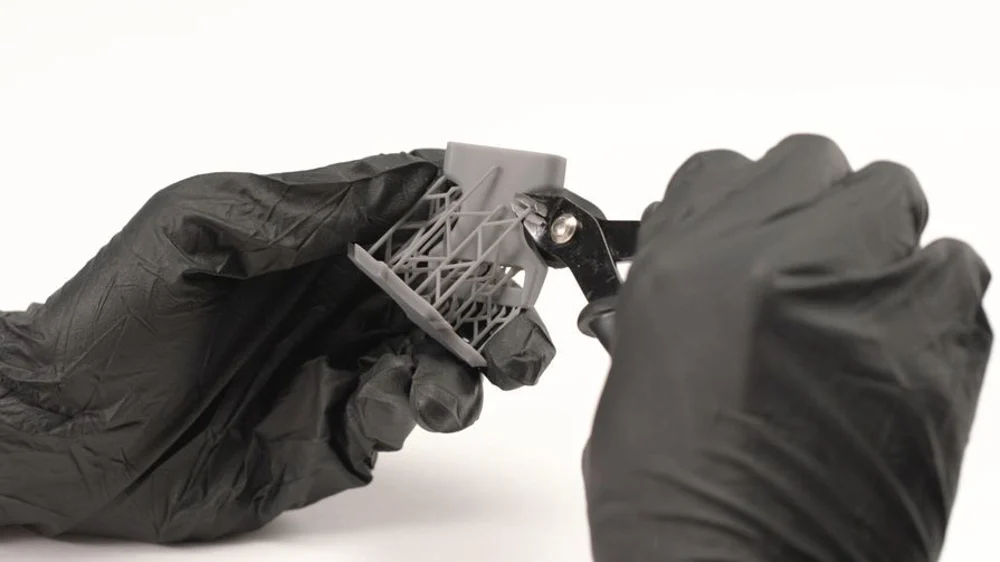
Once your printer has finished playing with its lasers, you will have what appears to be your finished model. But wait – it’s not finished yet!
Your part has, yes, been formed, but it is still in a “green” state. To completely finish it, it needs to be washed and cured.
First, make sure you are wearing nitrile (or similar) rubber gloves and safety glasses. Having some sort of rebreather or particle filter (like for painting) covering your mouth and nose to reduce exposure to VOCs isn’t a bad idea either.
Washing is a relatively simple process: using 99% isopropyl alcohol for best results, submerge your part completely for several minutes. After letting it sit for at least 3 minutes, swirl it around gently to remove any excess resin. Use a small squirt bottle of alcohol or a brush to selectively remove buildups of uncured resin, this will reduce residual stickiness later.
Some companies offer cleaning kits for SLA, such as the Formlabs Form 3 Finish Kit, or the Prusa CW1. An alternative is a beaker on a magnetic stirring plate, as would be found in most laboratories. The object is mainly to agitate the alcohol in you container so it will remove more of the uncured resin.
An optional step is to remove the supports from the print after washing. This can be done later, but it is easier to do it now as the print is slightly “softer” in its green state.
After washing, the part must be put in UV light to cure. Many people make use of dedicated UV lamps and home-built “curing boxes” to facilitate this process, however, leaving your part in direct sunlight for some time will have the same effect. In any case, using a solar turntable or manually rotating the part to ensure even exposure is a good idea.
Curing can take as little as 5 minutes with a dedicated UV lamp with a reflective enclosure and a small print, but for best results we recommend leaving your print to cure for at least half an hour. In sunlight, several hours of exposure from various angles is recommended. All said and done, the best practice is to leave the print to cure for as long as possible to be sure of a good finish.
The above steps serve as a general guide – not all resins will need as long in isopropyl alcohol to clean, nor as long in a curing chamber to effectively harden. Research your resin and what others have found to work for it.
For a more in-depth guide to resin post-processing, you can check out our handy article on the topic.
Advanced Uses of Resin Printing
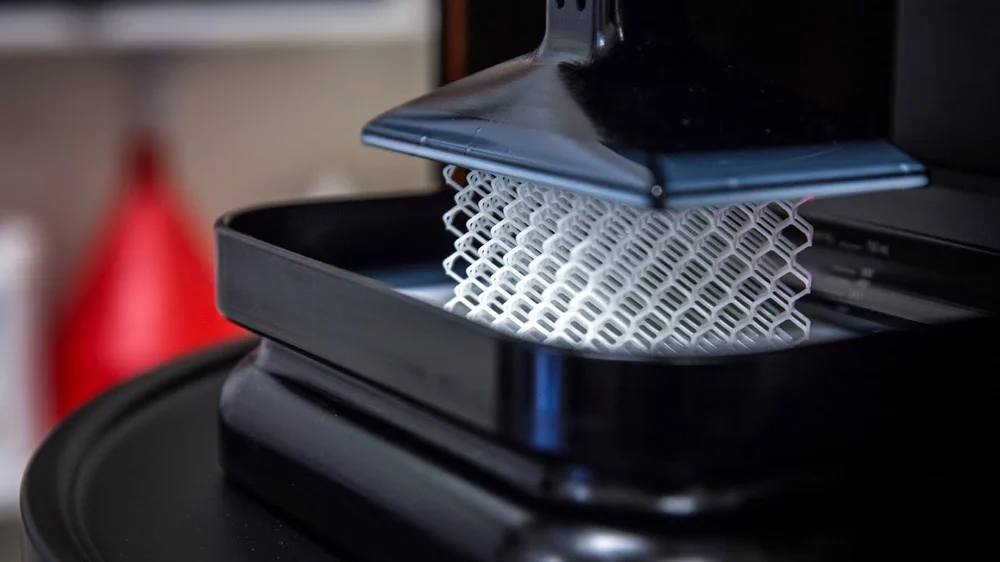
While hobby 3D printing is all well and good, the industry is where the money is. Here, we see everything from the most precise systems imaginable to some of the fastest 3D printers on Earth.
With professional grade SLA, there are a number of unique uses. For consumer industry, this can include high-detail models of products such as jewelry, which can then be cast in far more expensive materials, and visual prototypes to analyze dimensions and aesthetics before tooling up for mass production.
In the medical business, SLA seems to see a lot of use in the dental industry, where customized solutions for each patient is both a difficult challenge and a resounding necessity. To this end, SLA printing allows the rapid manufacture of intricately detailed parts like retainers or dentures. Once cured, the resin parts can be washed with alcohol or sterilized with UV light (and in some cases heat-treated), more easily facilitating their use in environments where sterile tools are a must.
On the cutting edge of the industry are systems like Carbon’s CLIP-based printers, which use a modified version of DLP without a solid film. What this allows is the continuous curing of a part, the result being one of the world’s fastest 3D printing systems.
SLA 3D Printing Services
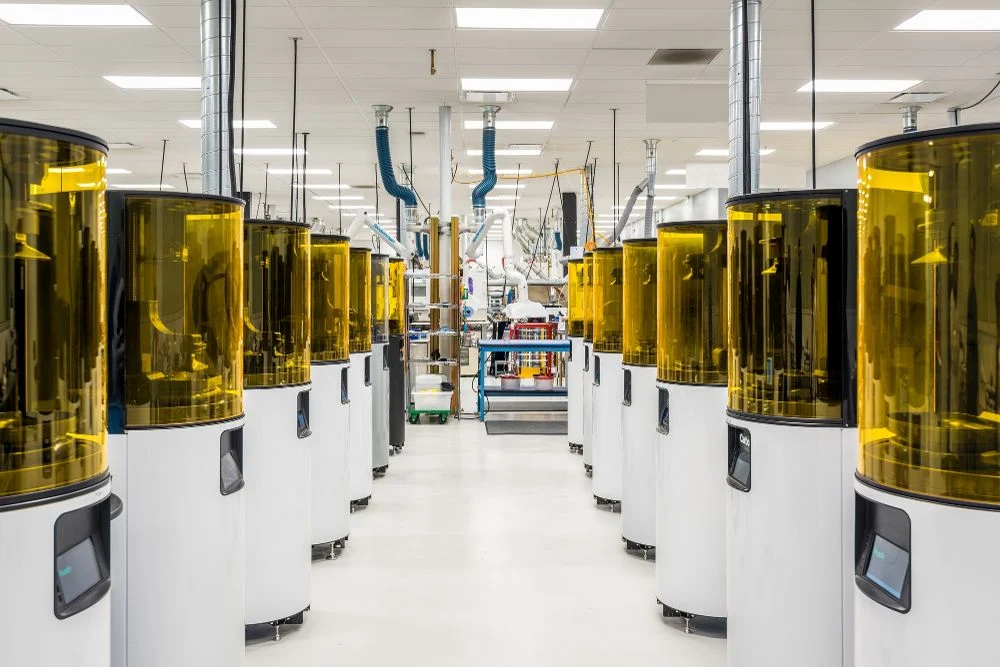
If you’re looking for a way to get your part(s) manufactured in resin, but you’re not ready to shell out the cash for your own machine (or you just don’t want the hassle), a good option is an online 3D printing service.
In that regard, it’s worth checking out Craftcloud by All3DP. Here, it is possible not only to get the best-priced prints in resin with SLA, but you can also find other advanced printing methods and materials which may even be more suitable for your part. To top it off, the Craftcloud service is completely free: you pay the same amount as if you went to the manufacturers yourself, with the bonus of improved interface and support.
(Lead image source: Fabrication Lab Cardiff)