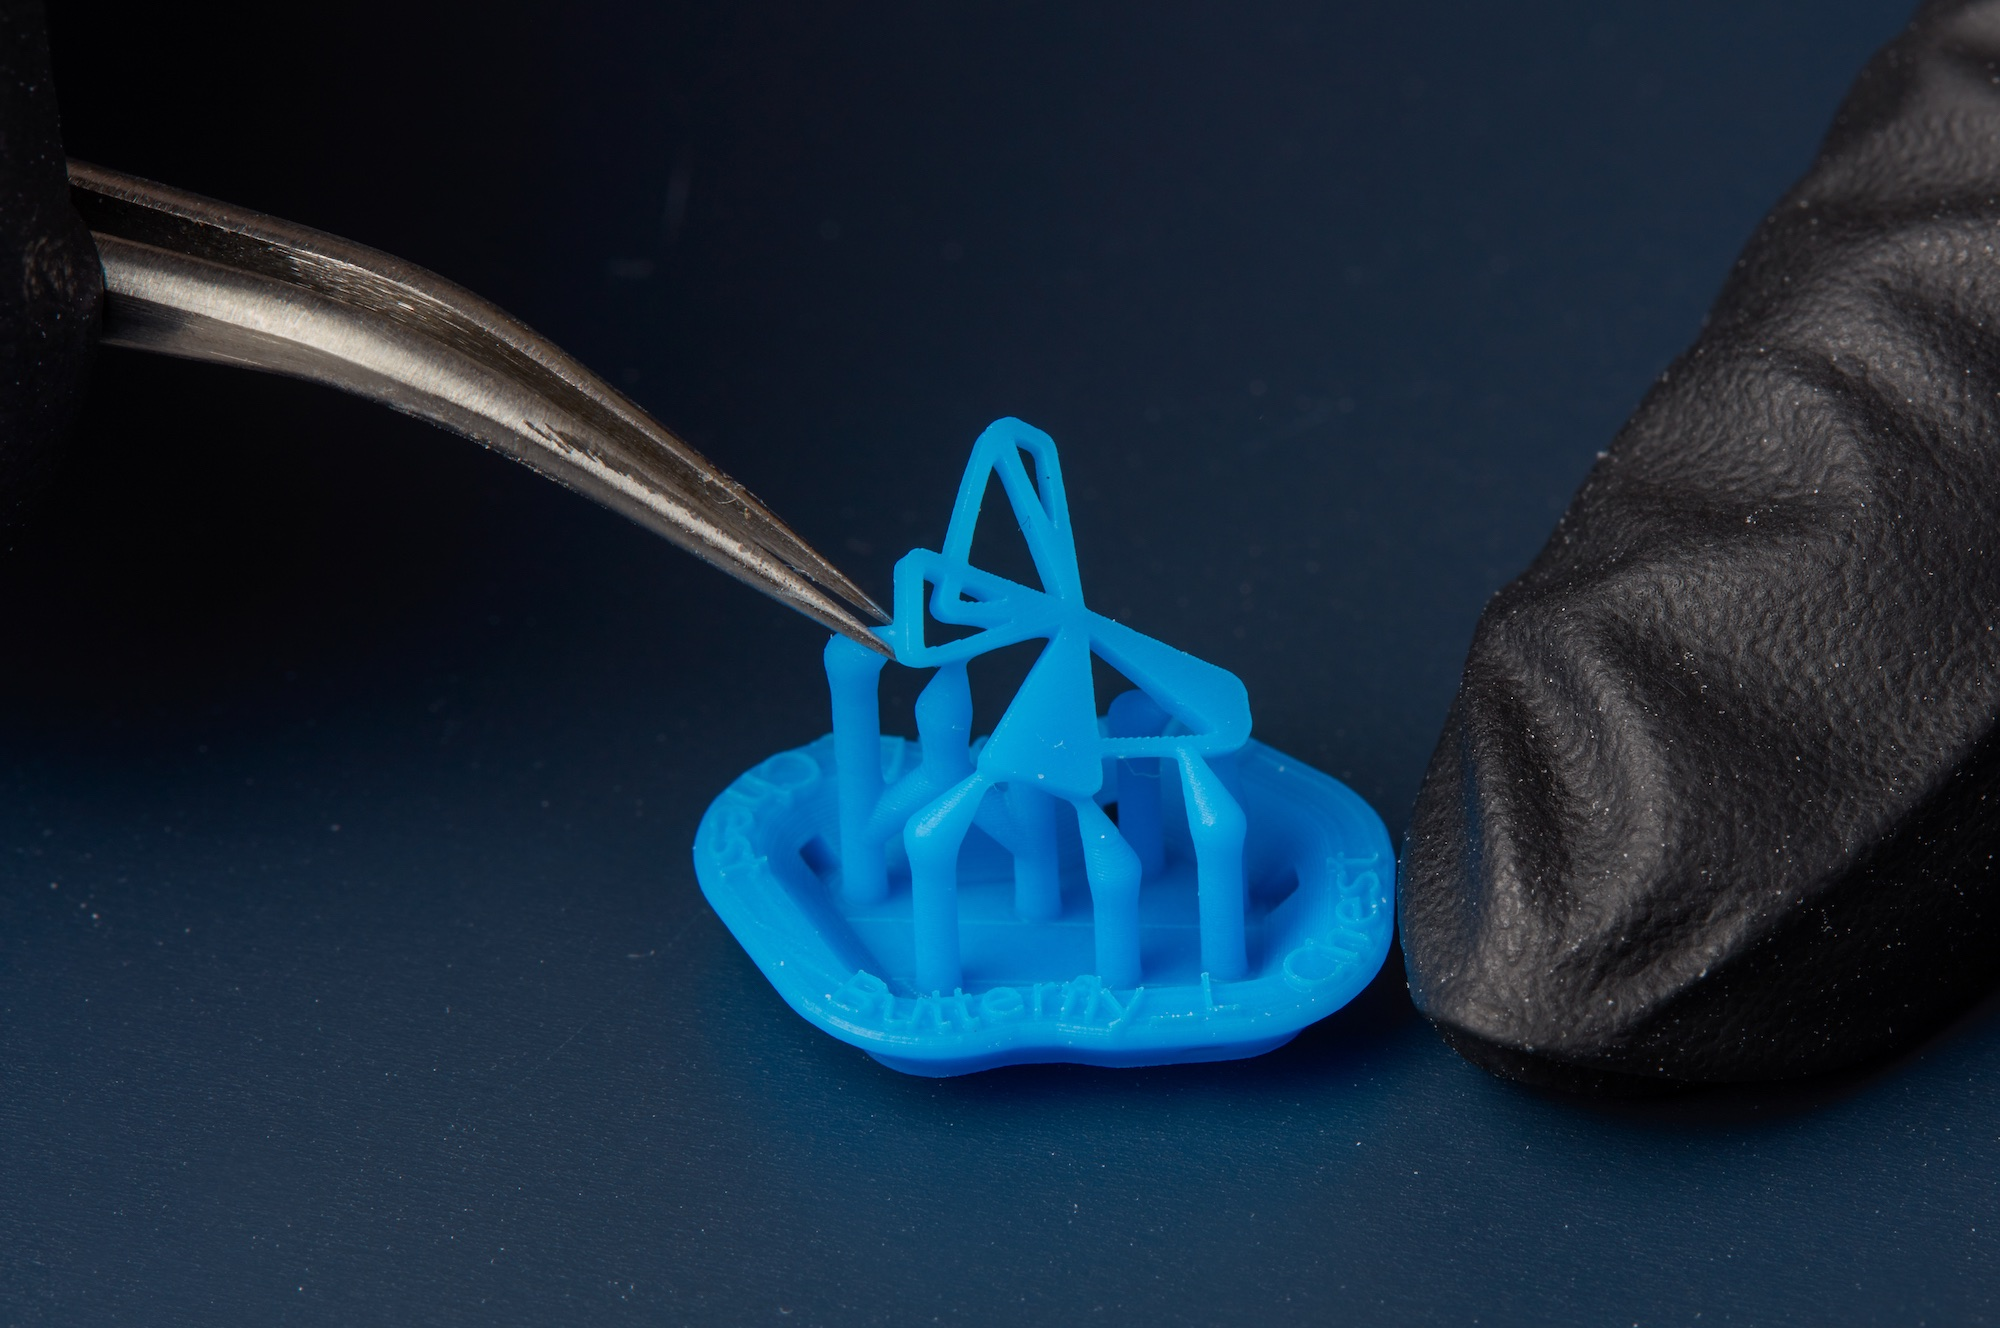
Supports are necessary for successful SLA printing. Removing the marks and bumps left by supports becomes an integral step of the finishing process.
How much post-processing a part requires depends on several factors:
- Is the printed part a prototype or finished product?
- How important is surface quality?
- Will the finished part be part of an assembly?
- Are there minima and other features that required support during printing?

TIP:
To reduce post-processing time, orient models in PreForm so that supports only touch flat surfaces, or touch areas of the model where surface finish is less important.
Required resources
MADE BY FORMLABS:
- Finish Kit
- Flush cutters
- Tweezers
- Squirt bottle (to flush out channels and rinse parts during sanding)
MADE BY THIRD PARTIES (OPTIONAL):
- Nitrile or latex gloves
- Face mask
- Safety glasses
- Flush cutters
- Sandpaper of varying grits
- Microfiber cloth
- Scalpel or hobby knife
- Mineral oil
- Nail salon supplies
- Toothbrushes
CAUTION:
Some methods of support removal may dislodge small pieces of supports. Wear eye protection and gloves to protect the skin and eyes.
Be careful when finishing delicate parts to avoid breaking off small features. Small files and tweezers can also help with highly detailed parts.
Dry sanding
Removing support touchpoints sometimes leaves raised marks and divots on a part’s surface. To reduce these marks, sand the surface with sandpaper.
CAUTION:
Follow general safety precautions when sanding plastics. Wear a face mask to prevent breathing in dust. Wear gloves to keep dust off hands, or wash hands thoroughly after sanding a part. Consider wet sanding to reduce dust accumulation and exposure.
Begin with the lowest or roughest grit sandpaper and sand surfaces as desired. Consider using a sequence of 150, 220, 400, 800, 1000, and 2000 grit sandpapers, depending on the available supplies and desired surface finish.
Use a squirt bottle to rinse parts with IPA or water, or brush parts with a toothbrush to remove dust.
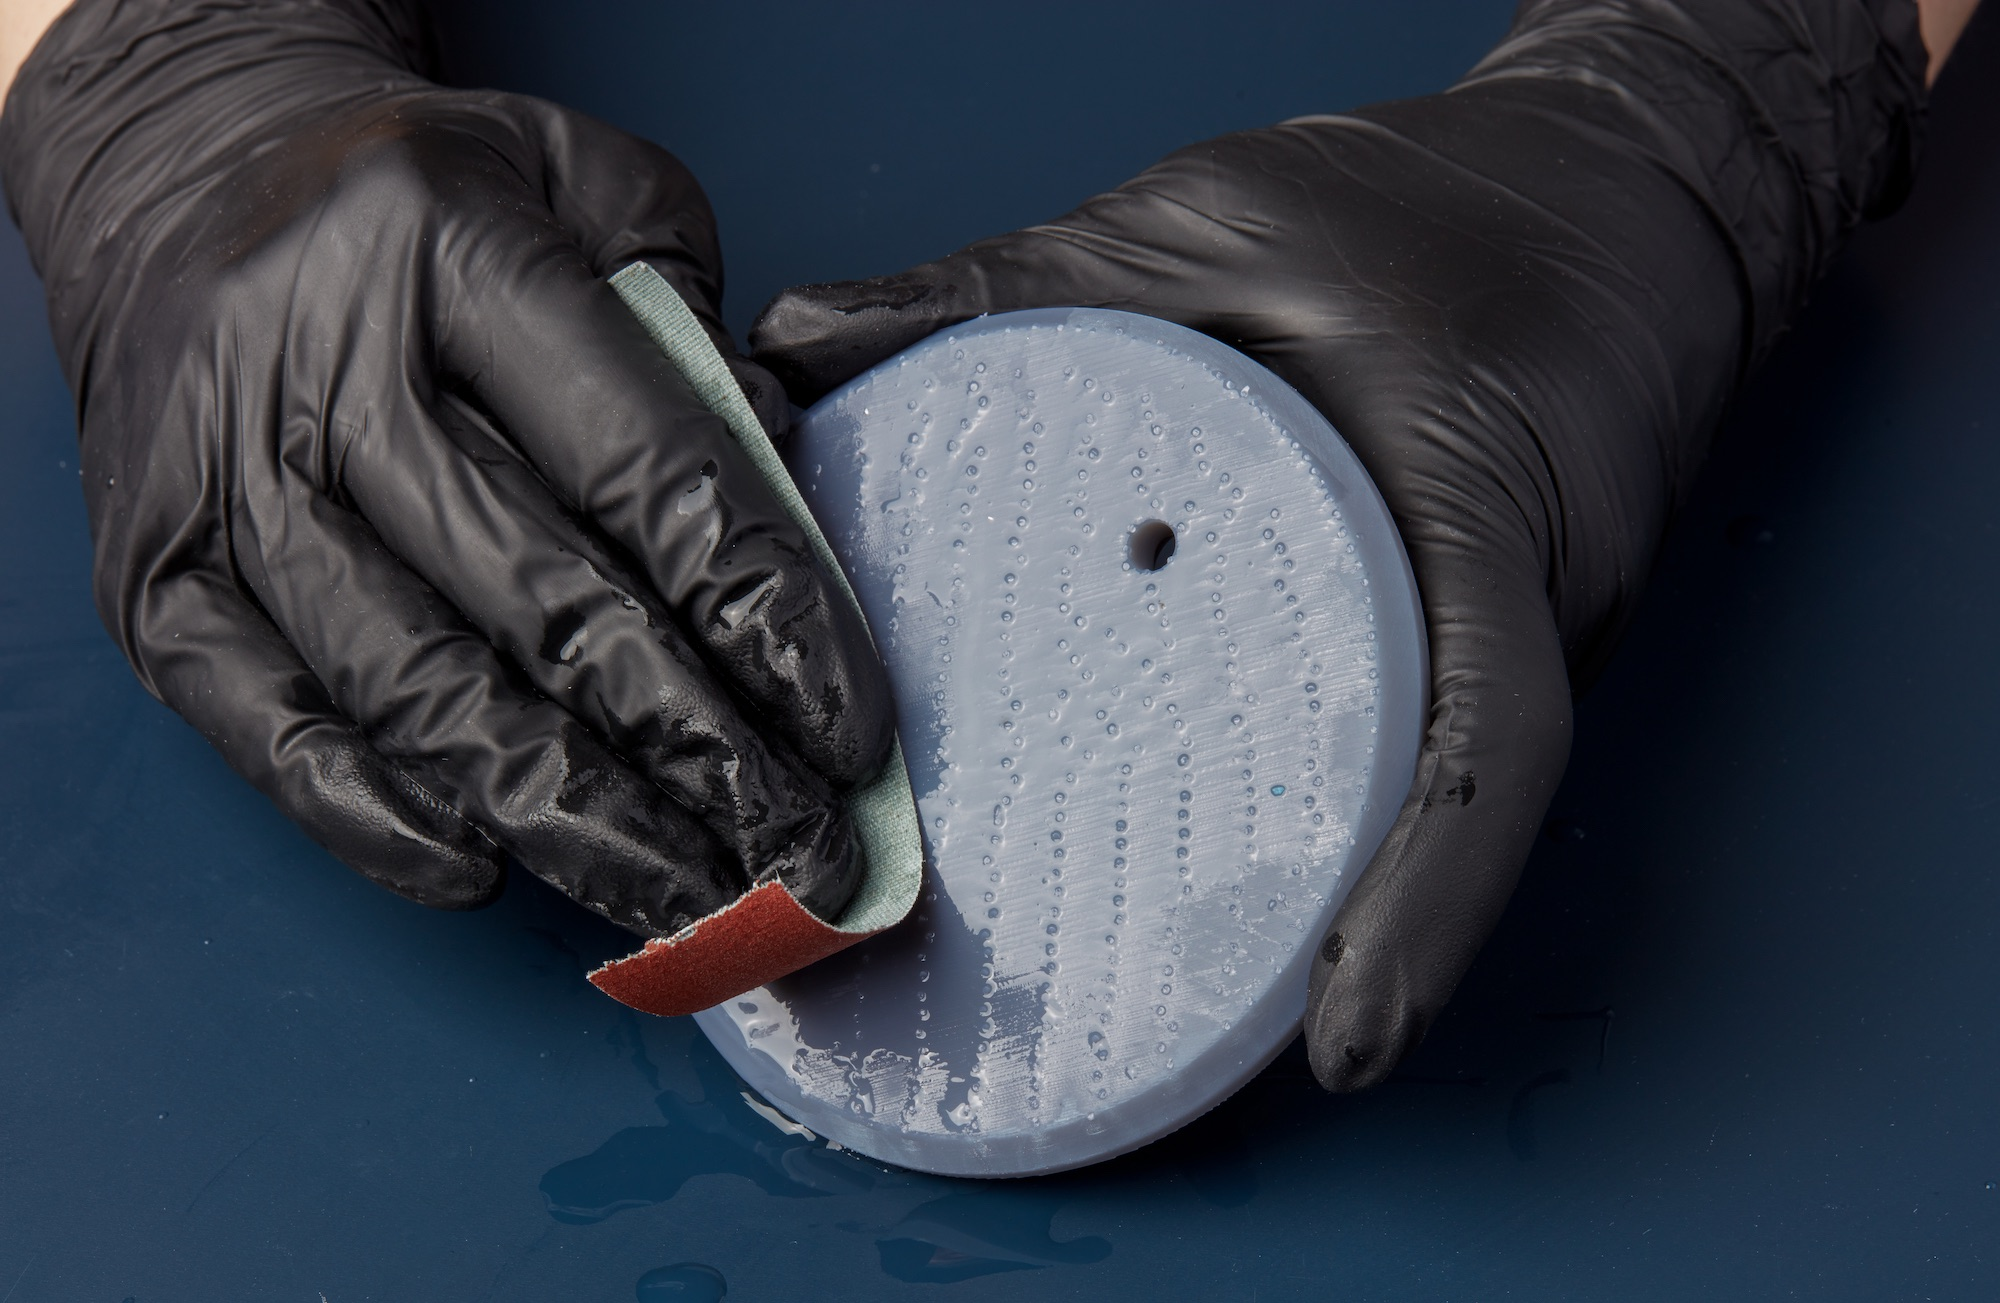
Wet sanding
Wet sanding reduces dust and creates a finer surface finish. Use mineral oil or even water to wet sand printed parts. Wear gloves to keep dust and sanding liquid off hands.
Optional post-processing
Depending on the part’s purpose, you may wish to post-process parts even further to smooth surfaces or achieve a glossy finish. For a finer, more polished surface, repeat the sanding step with progressively finer grit sandpaper.

Plastic polishes can also help achieve a smooth surface finish. Spray finished parts with a UV-resistant clear coat.
Finishing with mineral oil
Wipe the part with a microfiber cloth and a few drops of mineral oil. Buff with a cloth to add a dull shine.
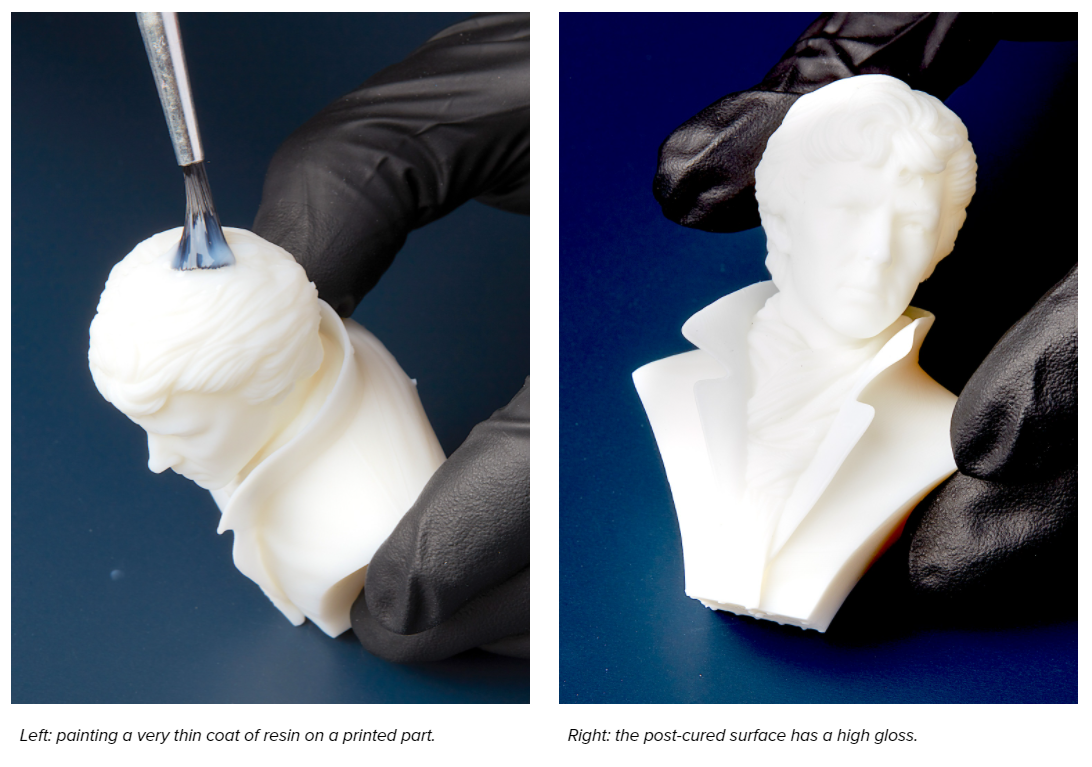
Coating with resin
Paint a very thin coat of resin on the surface of the part. If the layer of resin is too thick, the coating will not cure completely. Cure the coating in ambient light or in the Form Cure.