Supports are often necessary for successful SLA printing, which makes support removal an essential step in post-processing printed parts. The Formlabs Finish Kit includes flush cutters and tweezers to remove supports.
Use a hobby knife, scalpel, or other sharp tool to separate supports and cut away material from printed parts with delicate features, parts where surface finish is important, or printed parts with geometries that don’t allow the use of flush cutters.
CAUTION:
Finishing tools may have sharp edges. Use with care.
Orienting models and generating supports to minimize post-processing
Consider orienting models to reduce post-processing time and effort. Editing advanced support settings further reduces post-processing.
Orientation
Change a model’s orientation to eliminate suction cups, minima, and other features that cause print defects. Orientation affects the final fit of printed parts, so keep this in mind when preparing models that interlock with other pieces.

Supports
PreForm generates supports on the side of the model that faces the build platform. For the best surface finish, orient the model so that PreForm places these supports on surfaces that are easier to sand or are not aesthetically important.
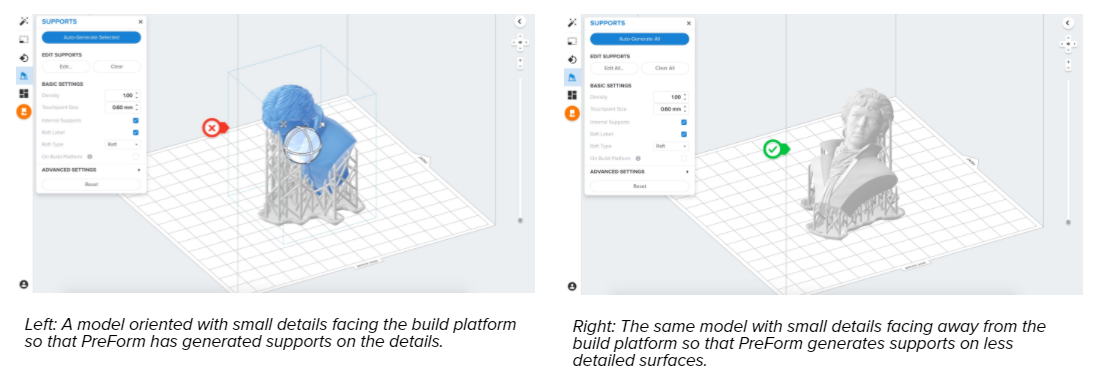
Resize or change the location of touchpoints to make supports easier to remove, as long as the model remains properly supported. PreForm shades undersupported areas in red and shows a warning if the model needs more support.
Removing supports
Certain techniques make it easier to remove supports and preserve the surface finish of printed parts. Position flush cutters close to the surface of the part so that cutting the support is less likely to leave a divot or nub on the surface.
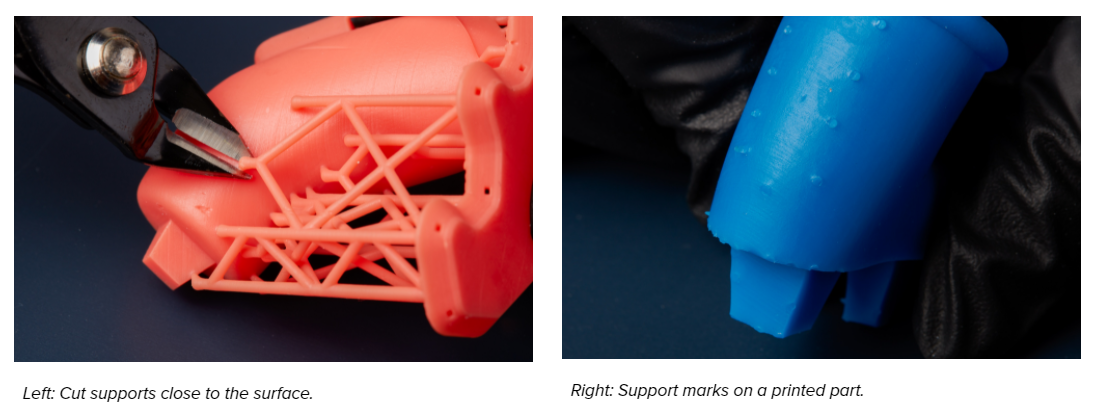
Further post-processing may be necessary to remove support marks on part surfaces.
CAUTION:
Wear safety glasses to protect eyes from displaced support fragments.
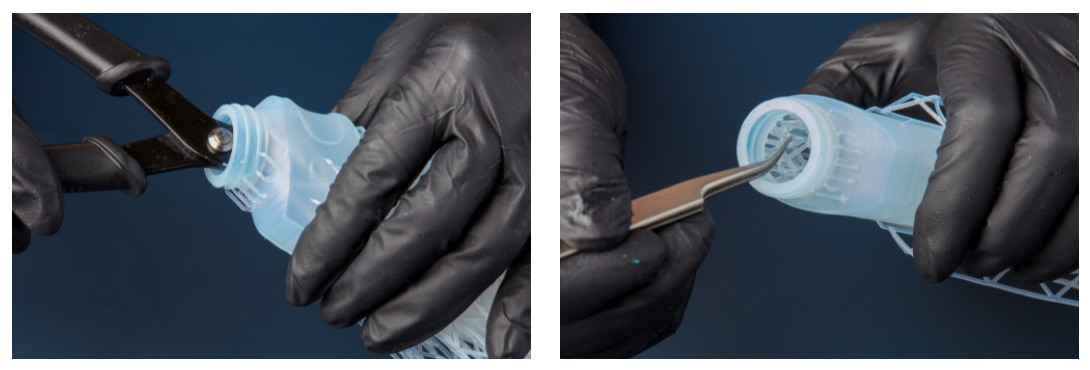
Work from outside edges toward the center
Snip and break off individual supports at the raft’s perimeter to allow access to supports at the center of the print. Take care to cut supports in such a way that they do not leave cracks or divots. Align flush cutters close to printed part surfaces to save time when sanding.

Break apart the raft
Break the raft into sections, but only if doing so does not break the printed part. This step is especially useful if there are multiple models in one print job.
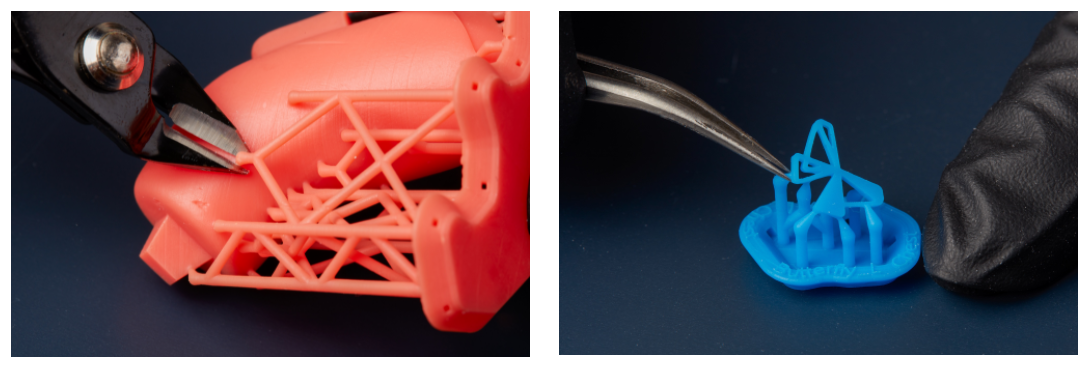
Fine details
Sometimes placing supports on delicate features is unavoidable. Be careful when post-processing delicate prints to avoid breaking off small features. Remove these supports with a very sharp hobby knife, tweezers, or a small file.

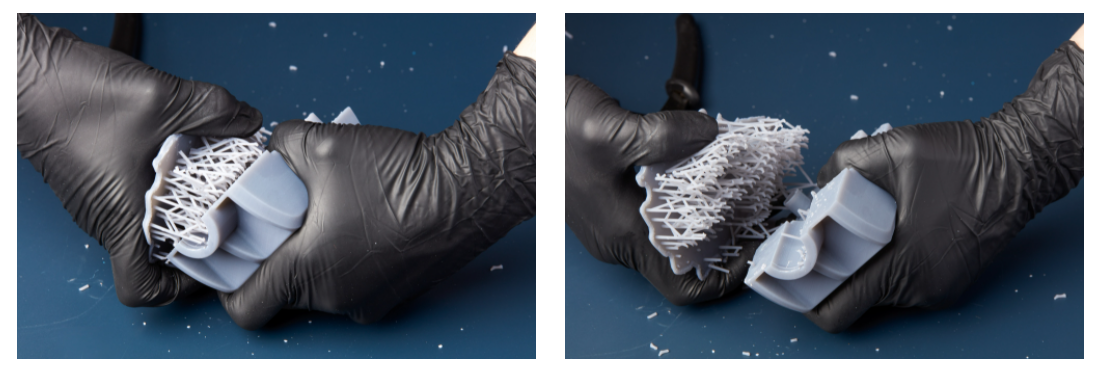
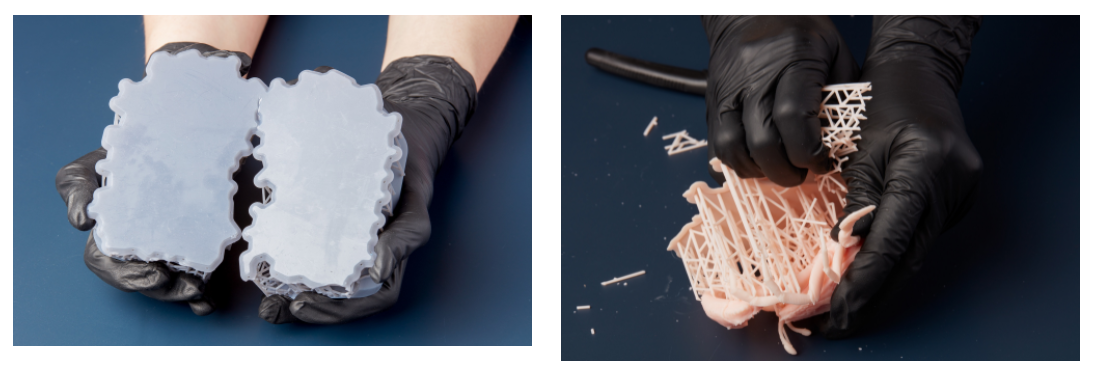
Breaking away multiple supports
Peel away large sections of supports only if surface finish and integrity of features are not a consideration.