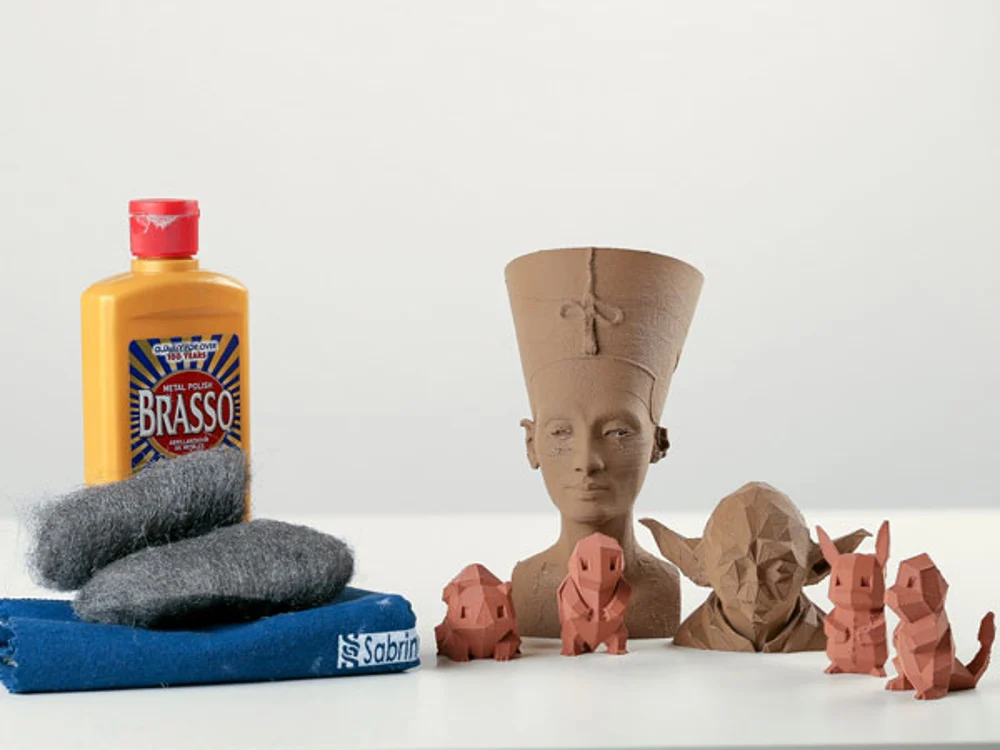
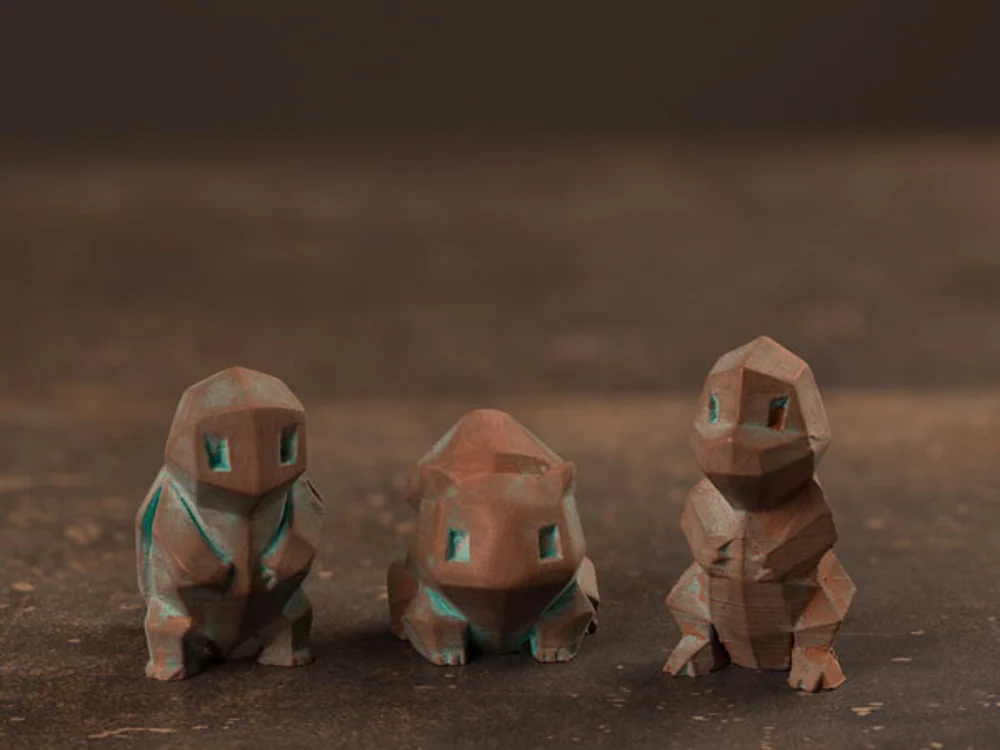
Metal 3D printing filaments are perfect for busts, figurines, and other 3D models. But in order to achieve that true metal look, you have to know how to properly post-process your metal 3D print. This weekend, get familiar with polishing and oxidizing techniques that will help your 3D print shine.
There are a wide range of 3D printing filaments out there, and each one offers its own unique aesthetic or mechanical value. One of the most popular exotic materials is what some call “metal-fill”, which consists of a mixture of metal powder and PLA.
The Dutch filament producer colorFabb has struck gold with its line of metal 3D printing materials, including bronzeFill, copperFill, brassFill, and steelFill. This filament is widely used to 3D print statues, figurines, and more.
Now, it’s important remember, there are other filaments that are metallic in color, but don’t actually contain any metal powder.
Right off the print bed, most metal 3D printing filaments lack the look and feel of true steel, although it is noticeably heavier than your average PLA. However, a little bit of post-processing will transform your 3D print into a shiny metallic object.
On this Weekend Project, we’ll show you how to post-process your metal 3D prints using polish and oxidization.
Polish & Oxidize Your Metal 3D Prints: What Do You Need?
First and foremost, you’re going to need to get your hands on some metal 3D printing filament. There are a few brands to choose from, but few are as reputable as colorFabb.
Aside from the material itself, here’s what else you need to start post-processing your metal 3D printing filament:
- Sand Paper (different grits from 150 to 450)
- Steel Wool (multi-grade)
- Brasso Metal Polish
- Acrylic Spray or Epoxy

Polish & Oxidize Your Metal 3D Prints: It’s Post-Processing Time!
Now that you have your metal 3D printing filament and post-processing supplies, it’s time to polish up that 3D print. But first, let’s go over a few tips on how to optimize the 3D printing process for this material.
Since metal 3D printing filament has a hefty mix of metal powder in the formula, this material tends to wear down the nozzle of your 3D printer. So, if you have a higher quality and wear resistant nozzle, you might want to use that.
In order to prevent the metal 3D printing filament from clogging, you should reduce the number of retractions through your slicing software. Additionally, since this material is heavier than your average PLA, it oftentimes does poorly with overhangs and bridges. To alleviate this issue, you can reduce the number of overhangs and change the layer height to 0.1 or even lower.
Once you’ve printed your metal object, the first step of the post-processing technique is sanding. Start with 150 grit sandpaper to eliminate the layer lines, and continue to smooth the surface with 300 and 450 grit.
At this point, your 3D print should be smooth, but not yet shiny. Steel wool helps to unearth the metal particles in your object, giving it that metallic glimmer you’ve been searching for. Start with the more coarse steel wool, and slowly make your way to the fine grit. By now, your metal 3D print should be shimmering with a metallic glimmer.
If you want to take things a step further and provide a more rustic feel to your 3D printed object, you can also oxidize it with Brasso. This ammonia-based oxidizing agent will give your print the impression that it’s undergoing a chemical reaction.
Simply pick out the spots you want to oxidize and apply the Brasso. The appearance of oxidization should take place in about 30-45 minutes. This solution does pose some health risks, so be cautious when handling the Brasso. Conversely, you can also use a salt and vinegar mixture to oxidize your 3D print.
After you’re finished oxidizing your 3D print, you can use your steel wool to alter or remove some of the effect. Finally, use an acrylic spray or epoxy to seal the oxidization into the object. As you see, with just a few easy post-processing tricks, you can transform your 3D printed models into metallic relics.

Source: https://all3dp.com/weekend-project-how-to-post-process-and-polish-your-metal-3d-printing-filament/