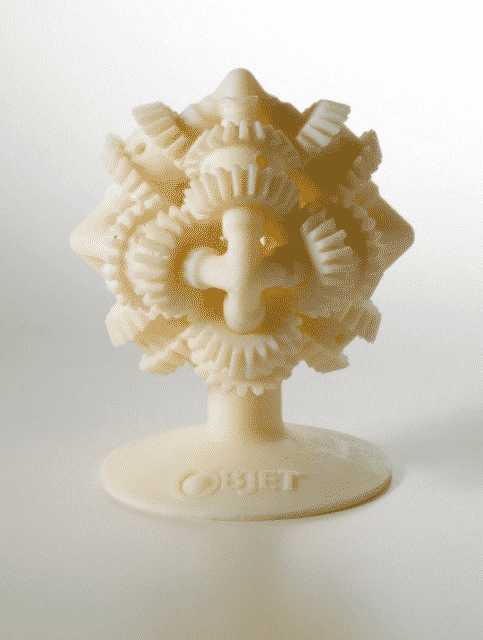
In the last article, we share the rules of how much tolerances of air gaps should be left when designing an assembly to be 3D printed. In any assembly that involves mechanical interaction between components, defining the right tolerances according to the model material and the manufacturing process is a key factor for success. Designing a part of rapid prototyping is not an exception.
There are two methods of prototyping assemblies with a 3D printer. You can either print individual components to be assembled later, or print the whole assembly in one single print job. The method you choose will depend on the type of assembly you require.
Individual components for subsequent assembly
This method is suitable for the following circumstances:
- If you don’t have a multi-material printer, and need to use different materials due to mechanical properties or color specifications. Using a 3D printer that extrudes not only model material but also compatible soluble support material is necessary for printing at one time. The support material is required because, during the printing process, the air gaps need to be filled with something substantial to keep the components of the print stationery and thus printable.
- When, due to the complexity of the assembly, the support removal is a challenging process (intricate channels or hard to reach inner gaps). Some parts have complex features, like intricate channels or large hard-to-reach gaps, which makes the support material difficult to remove. In a case like that, it’s also likely better to print separately and assemble afterward.
A regular tolerance of 0.3 mm (12 thou) between touching surfaces will let you assemble the components once they are finished and allow the parts to move and interact freely.
3D printing the assembly at one time
This is the preferred method if you don’t need to use different materials/colors in a moving model and assembly, or you own a multi-material 3D printer. This method is also a time saver.
You will need to allow a 0.3 mm (12 thou) tolerance generally between touching surfaces to allow the support material to fill the gaps between parts and prevent the moving components to be bonded together.
