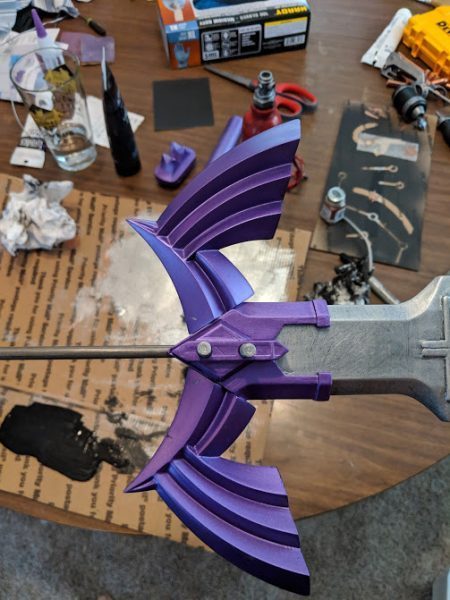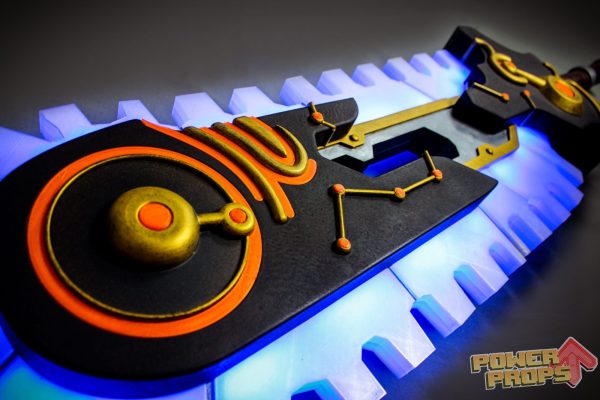
3D printing for cosplay has taken off in recent years, with increasingly affordable printers giving more people access to the technology than ever before. Fused filament fabrication, also known as fused deposition modeling, is the most common type, and it involves melting down a plastic filament and building up parts in layers. These layers are usually small (100 to 300 microns, or 0.1 to 0.3 millimeters) but leave what is referred to as layer lines in prints—the bane of prop makers everywhere.
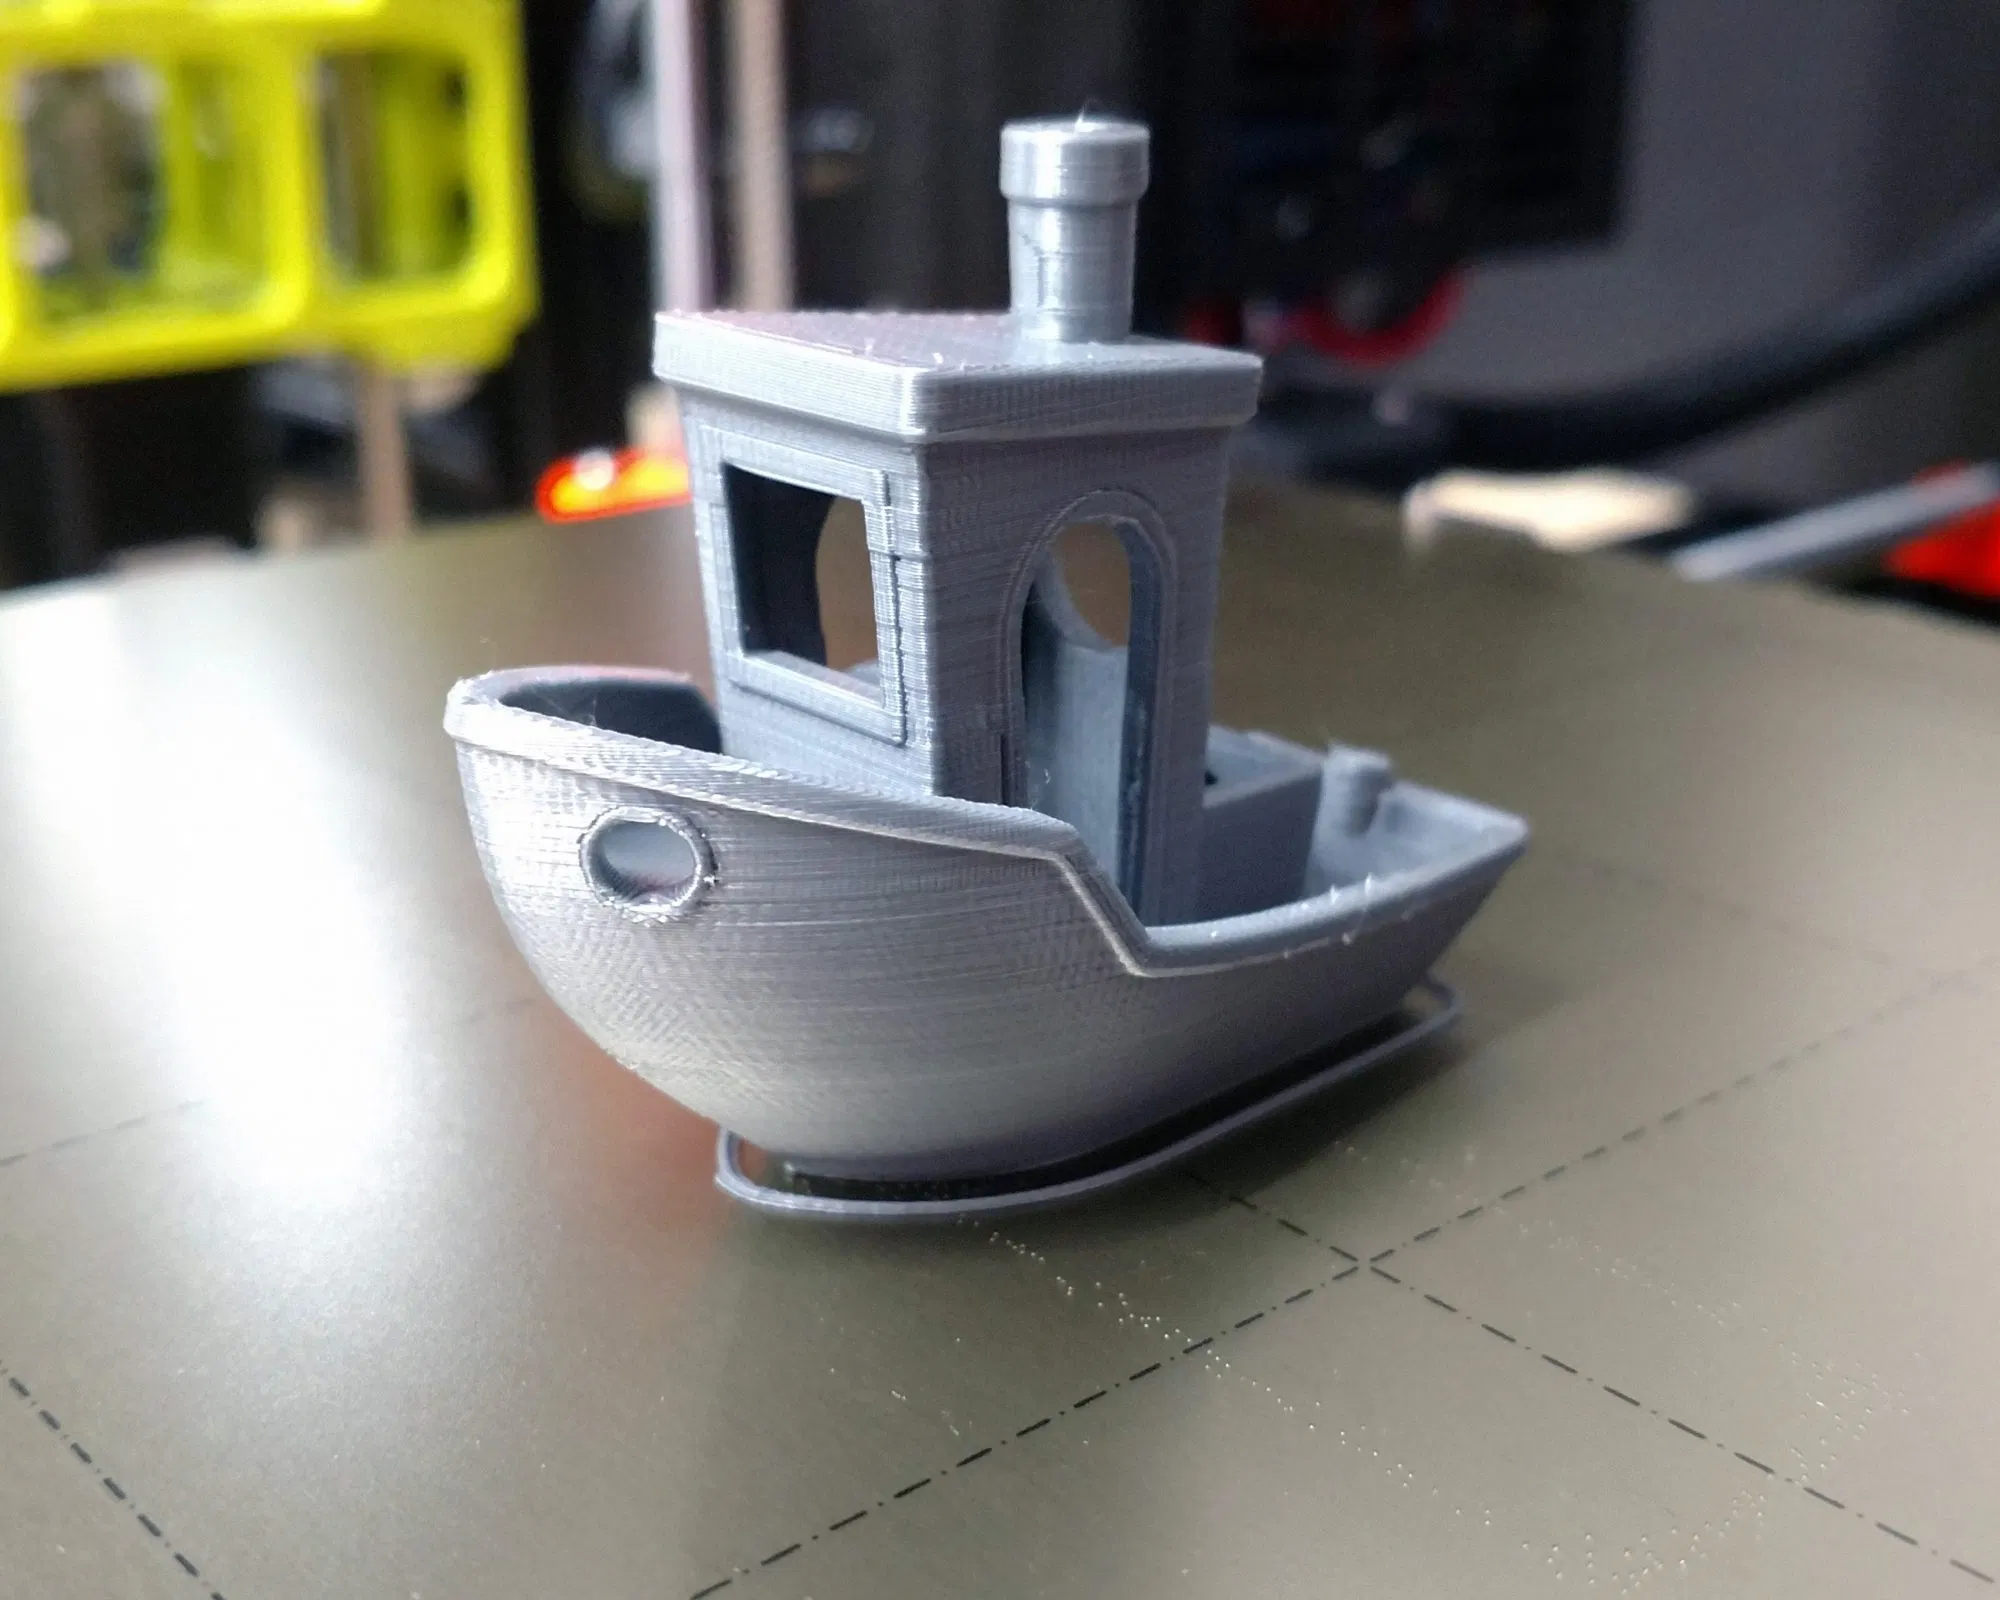
So, what’s the best way to smooth those 3D-printed parts? I’m glad you asked. While there isn’t a “one size fits all” answer to this, here is the process I’ve found works best for me. All of the parts shown here were printed on a Prusa i3 MK2S or MK3 3D printer.
Author’s note: I have a large spray booth that vents outside with a powerful fan and filters, and I still use a respirator when spray-painting and using Bondo. Be sure to use proper protective equipment and ventilation when using any of the products mentioned below. Your health is important, so read safety warnings and follow what they say.
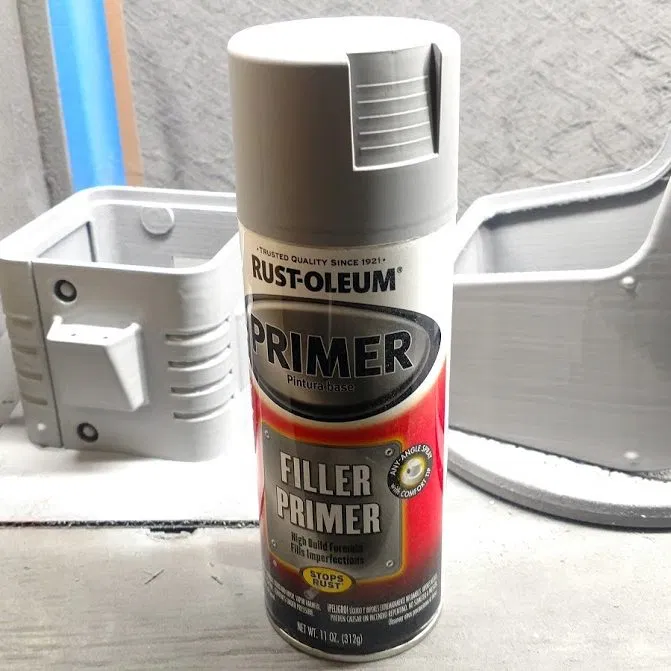
Step 1: Filler Primer
Rust-Oleum and other brands make a wonderful spray paint called filler primer. It comes in a rattle can and is a very thick, sandable primer. I primarily print with PLA, and raw PLA does not sand well, so I hit it with a layer of filler primer before sanding. Whichever primer you pick up, be sure to read the label for the amount of time it needs to dry before moving on to the next step—you’ll need at least 24 hours.
Step 2: Wet Sanding
After you’ve given the paint time to dry completely, it’s time to start sanding! A method that works well for me is wet sanding. If you aren’t familiar with the concept of wet sanding, here is the process:
- Get a shallow rubber tub, preferably one that is approximately 6 inches deep. You can use a bucket, but I find that that gets hard on the wrists.
- Fill the tub with a reasonable amount of water, adding in a drop of dish soap.
- Gather your sandpaper. My personal favorite is 3M Pro Grade sandpaper, but any sandpaper that is approved for wet sanding will work. (Check the label—if it’s dry-only sandpaper, it will degrade.) Start with 120-grit apaper; I find anything less tends to rough up the surface more than smooth it out.
- Dunk the part in water and start sanding above the water. Keep the part you’re actively sanding wet, covering it in water often.
Then repeat. Once you’ve fully sanded your prop, allow it to dry; do another coat of filler primer, allow it to dry fully, and then wet-sand with 220- or 320-grit sandpaper. When you feel your part is smooth enough, move on to the next step. If you’re going for a gloss finish, sanding up to 1500 or more might be required—but before you get there, read step 3.

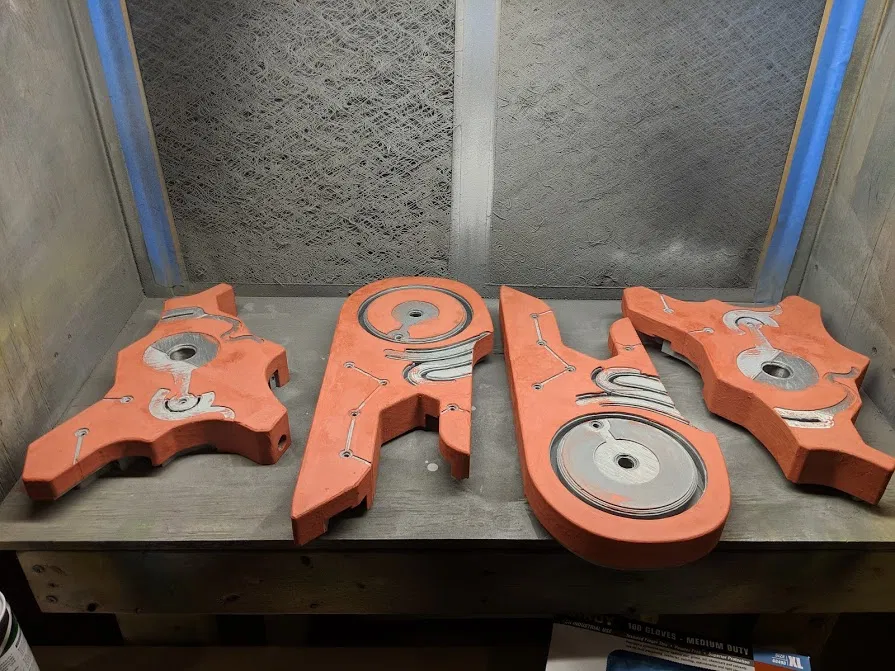
Step 3: Filler and Primer
If you find your part isn’t getting filled in enough with just the filler primer, try spot-filling with 3M Bondo Spot and Glazing Putty. Most hardware stores carry this in the automotive section. It applies like smearing peanut butter on your prop, and I usually do it with plastic putty scrapers or my fingers—with 9-mil latex gloves, of course!
Avoid getting Bondo on your skin, and make sure you have proper ventilation while using it; it has a very potent smell. After the putty is dry, wet-sand it (see step 2) until smooth.

Several layers of Bondo and filler primer give your part a varied color and can make it difficult to see where you need to do additional filling. I like using a matte black primer to check the surface for imperfections. After the primer has fully dried—we’re paying attention to labels, remember?—check your part’s finish. If it looks good, do one last wet sanding with up to 400-grit paper (or higher if you’re going for gloss, as noted above).
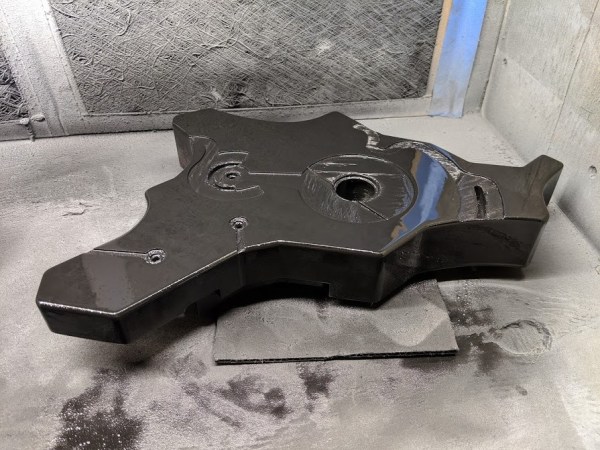
Step 4: Undercoat or Topcoat
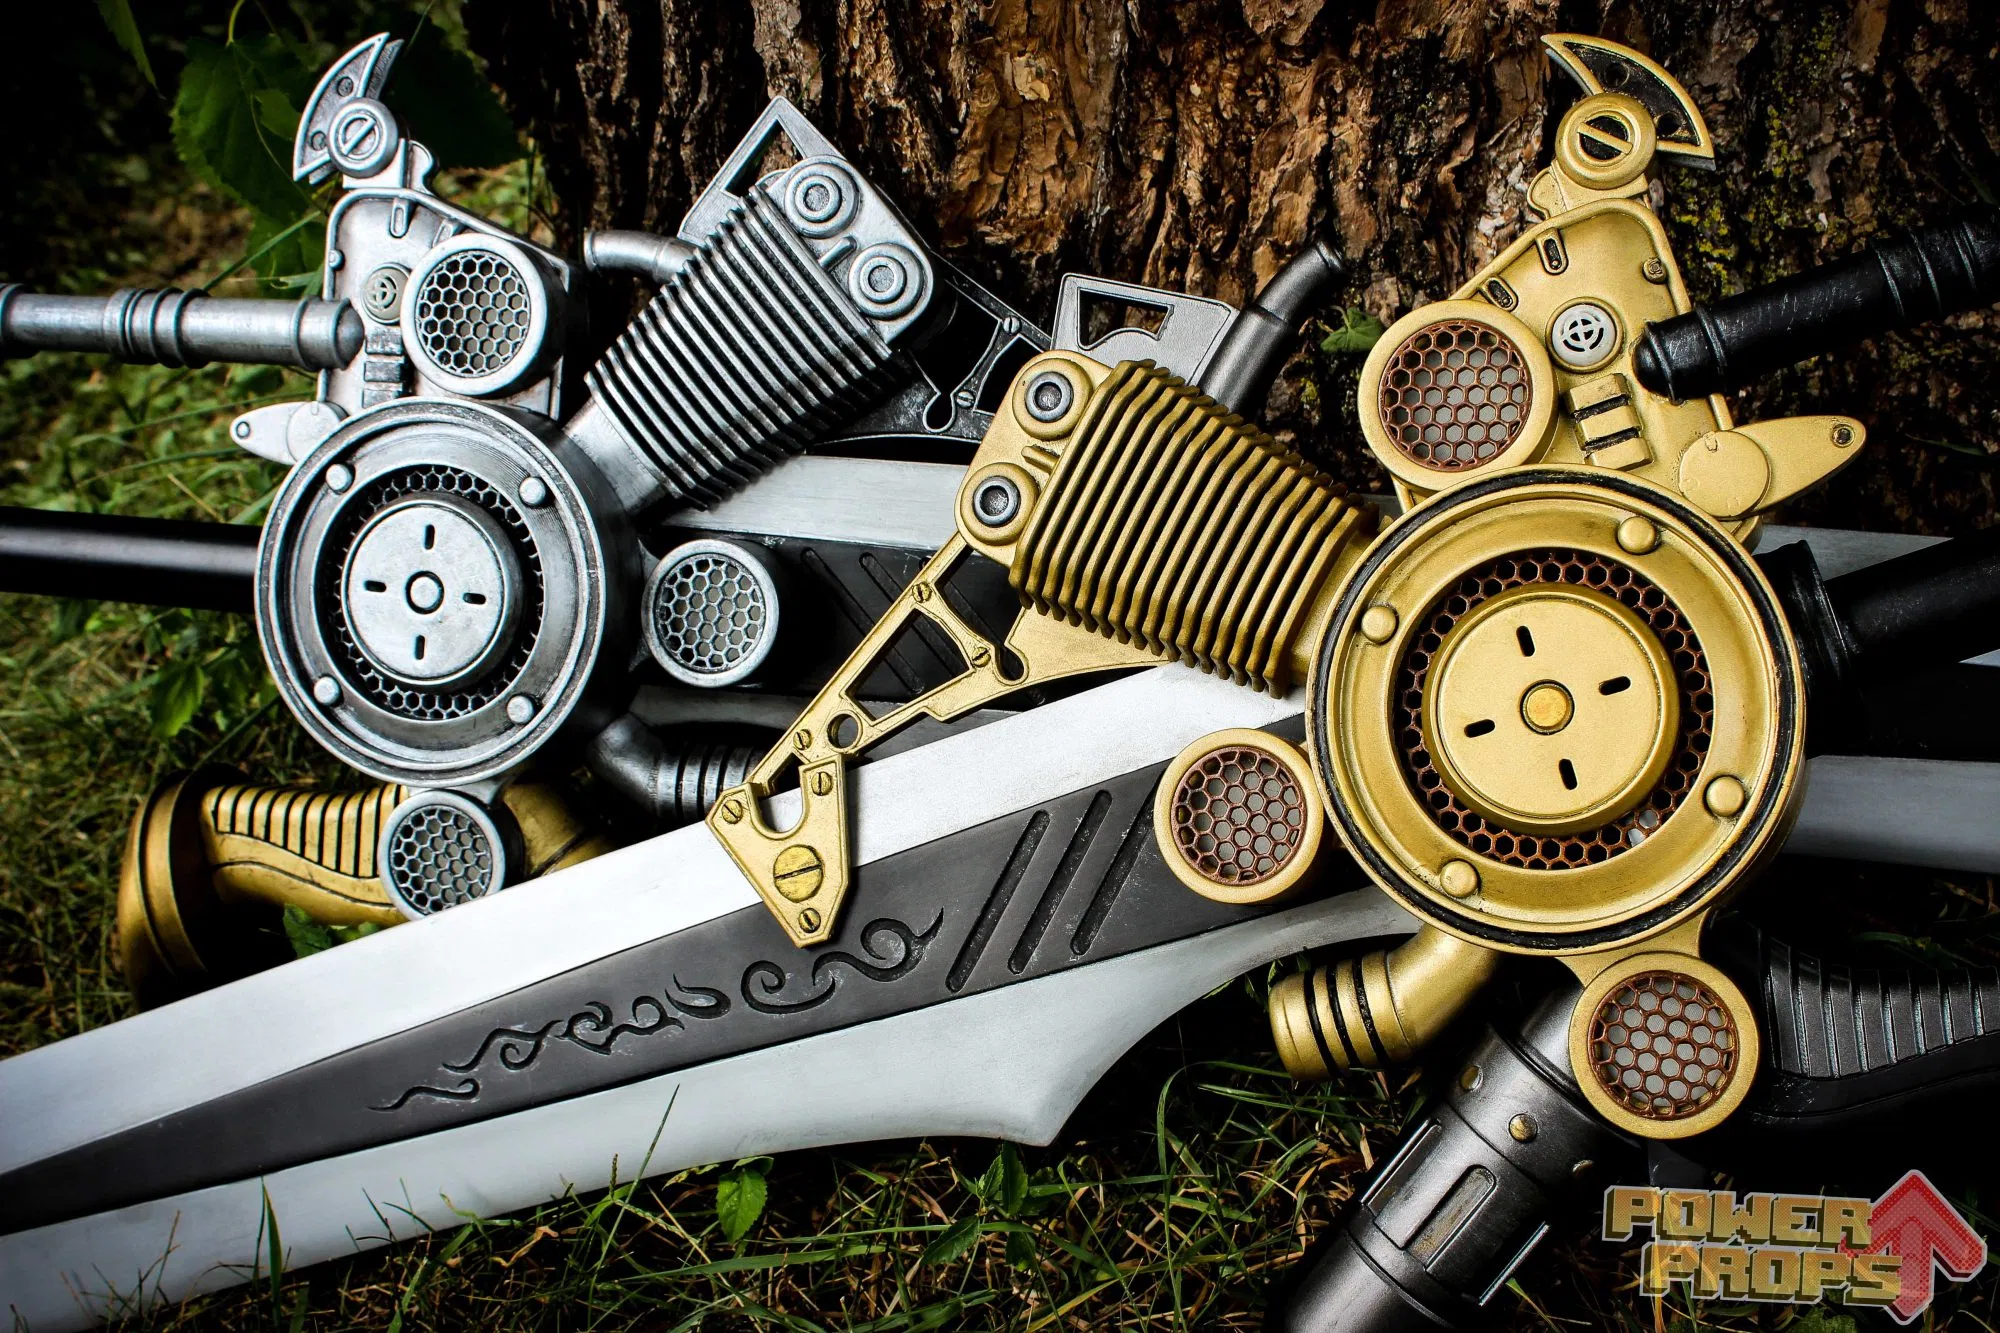
You’re probably tired of sanding at this point. The good news is you’re almost there! Now that your part is primed and smooth, it’s time to decide how you’re going to finish it. Depending on your prop, a metallic undercoat might be in order. One of my favorite weathering techniques involves using a silver undercoat and then a topcoat; once the topcoat is dry, you can gently sand the edges to reveal the “metal” underneath, giving it a realistic weathering effect.
If you’re ready for your topcoat or finish coat, the options available are endless. Spray paint, hard-body acrylics, and airbrush paints are some of my favorites, but find what works for you. Practice these techniques on a scrap piece before using them on a final part, and take your time.