Many have asked if it’s possible to dye the resin they use for 3D printing. The short answer is yes. The longer answer – only if you do it right.
Since most of you are probably reading this to get the correct answer, I’m going to start with that. You will want to use dyes specifically formulated for use with UV resin. In my experience, liquid works the best, but I know some people who have had experience with powdered pigments. If you use powdered pigments, however, you will want to make sure you choose something that is finely ground. A coarsely ground pigment might be too larger for the tiny layers of resin 3D printers.
Recommendations based on pigments I have used:
- https://amzn.to/2XP63LE – Liquid Epoxy Resin Dye Transparent Colorant for UV Resin Coloring
- https://amzn.to/2XJ9zXX – Crystal Transparent Epoxy Resin Dye for UV Resin Coloring
Both of these worked equally as well and mixed great with the resin I was using.
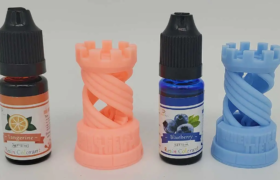
If you want to use Glow-in-the-Dark pigments, things get a bit tricker. I purchased three different brands of GID pigment and had mixed results. The liquid colorant required a substantial amount of dye to result in a print that would glow. I had to use half a bottle of pigment to dye a single rook that would glow in the dark enough to be noticable.
Creating glow-in-the-dark prints is the one instance where I would recommend a powder over a liquid. I purchased this set (https://amzn.to/2TU8fAu) and stirred it into the resin before printing. The result was a print that had almost a starry type of glow. Unfortunately, I don’t have photos of this, as my camera only takes blurry photos when the lights are out. I will update this page with photos when my photographer friend is able to help me out.
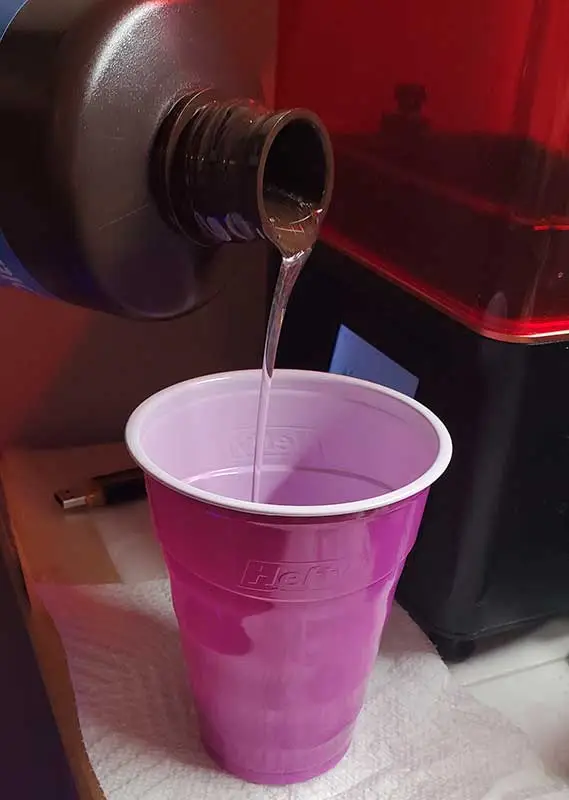
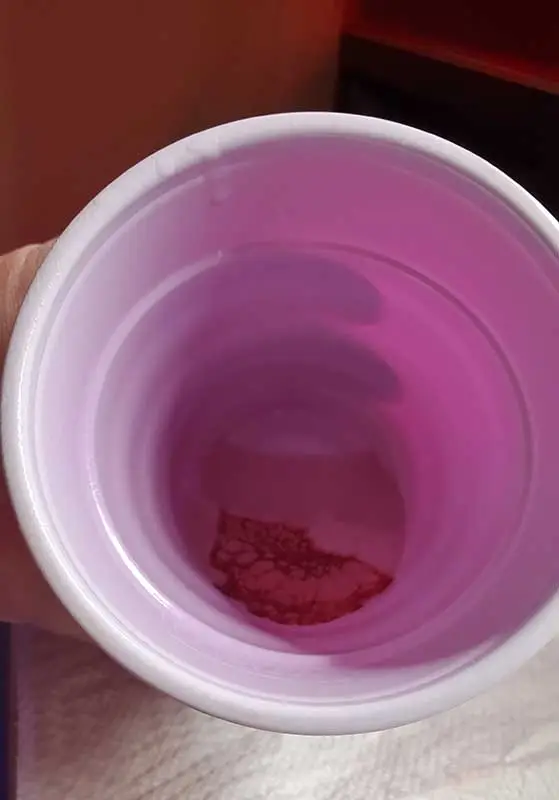
The instructions for dyeing your prints are pretty simple. I poured enough resin to complete the model I intended to print. Of course, add a bit more than needed to ensure you don’t run out.
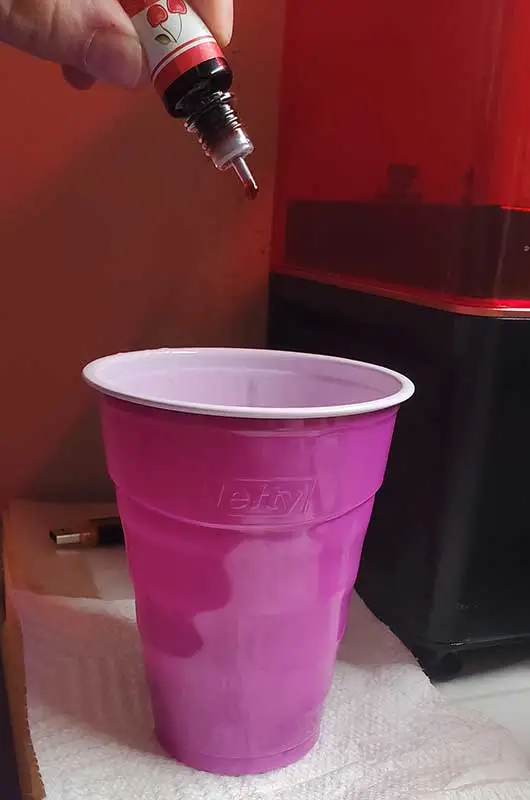
Open your bottle of pigment and add just a few drops. Mix it thoroughly with a stick, tongue depressor or whatever you have handy. Give the dye a minute or two to dissolve into the resin and check to see if the color is where you want it. If it needs more dye, add it a few drops at a time.
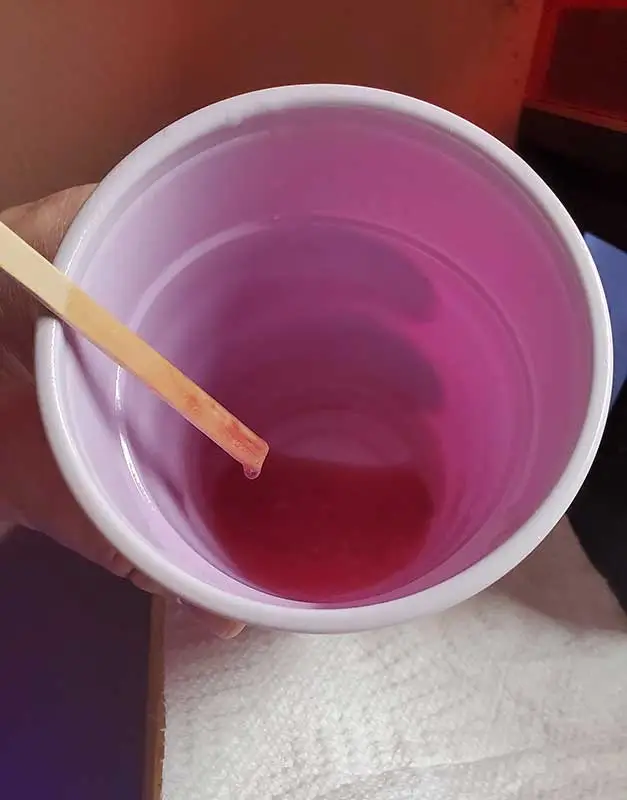
Remember, you can easily add more dye to get the color you want, but if you go too dark you will need to dilute it with higher amounts of resin.
Once you have the desired color, simply pour the resin into the clean vat of your printer and start your print as you normally would. The only settings that may change would be if you used a particularly dark dye, in which case I would recommend increasing your layer times accordingly.
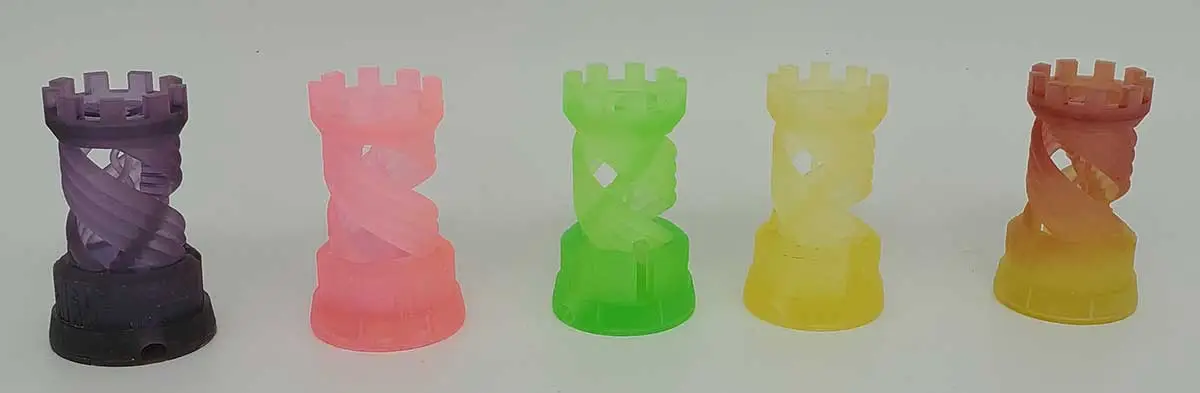
The results speak for themselves:
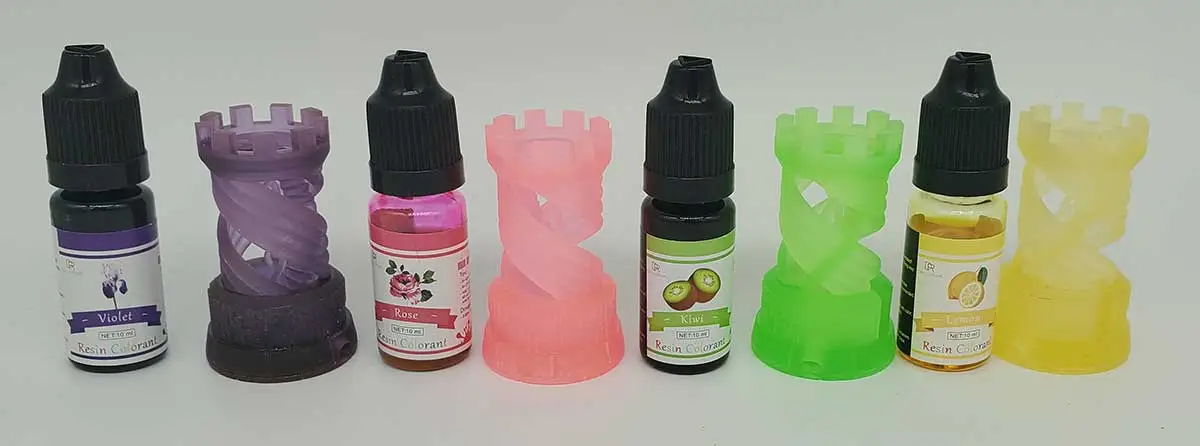
These rooks were all dyed with just a few drops of pigment. As you can see, the darker color of purple(violet) resulted in a very dark print. It’s important to remember that dark pigments are very potent.
What about opaque resins? I gave that a try as well. For the sake of experimentation, I tried to dye gray resin first, but no amount of dye change to any color other than gray. I’d suggest not bothering to try it, as you will only waste the pigment. White resin, on the other hand, gave great results.

I chose Anycubic White Resin for the same reason I chose Anycubic Clear Resin. It’s the purest white and clear I’ve found, so I knew the dye would not be affected by any tint in the resin.
Another trick I learned while playing around with pigments and dyes is a gradual change from one color to another. I started with Lemon Yellow dye and throughout the print process I added tiny bits of Watermelon Red to the vat. Didn’t even need to pause the print.
The resulting rook is rather pleasant, but I imagine this could be used to great effect on flame or spell effects for certain miniatures. I already have plans to print flame and ice walls for future tabletop games. I will be sure to update this page with those images when the time comes.
Now for the failures!
During my testing, I wanted to see if any cheaper options were actually feasible.
- Acrylic Ink – Technically worked, but with caveats. Mixed in, it seemed promising, but as the printing took place the ink began to separate from the resin. The lower portion of the print was dyed, but it became inconsistent near the top. The resin lightened considerably and there were streaks of ink through it.
- India Ink – Would not mix into the resin at all. It would appear to if stirred aggressively, but began to separate almost immediately. Attempted to print with it anyway and it just fell apart.
- Alcohol Ink – Showed the most promise, but the resulting print was always far lighter than I would have liked. At one point I added 40+ drops of Dark Blue alcohol ink to white resin and got a very light pastel print. If you are looking for a light color alternative dye, it may work for you. However, they are more expensive that UV resin dyes intended for the purpose. Also, I’m pretty sure the UV Resin dyes linked above are alcohol inks, but are specifically formulated for resin. I used standard crafting Alcohol Ink for this test.
- Rit Dye – Disastrous is the best work for it. Added just a few drops to the resin, but nothing printed. There wasn’t even a failed print in the vat. What it did dye, however, was the FEP itself. I had to swap it out immediately after this attempt, as it was completely ruined.
- Acrylic Paint – It seemed to mix with the resin just fine, but the resulting mixture would not stick to the build plate. Attempted to print it four times for good measure and every time ended up with a blob of cured resin in the vat.
- Food Coloring – Seemed to be okay. Printed a test rook, but the rook had clear streaks of darker color. When I pulled it off the build plate, it split along the layer at that those darker lines. It may dye your prints, but it seems to make them quite fragile as well.
I hope this information helps you create prints that match your style.