Rafts
A 3D printing raft forms the first layer of a horizontal mesh of filament deposited directly on the build platform. Upon this first layer, the print is deposited.
Rafts are generally used while working with ABS filament as it has high chances of warping. A 3D printing raft is not only important to avoid warping but also to improve bed adhesion, helping the initial layers of the print to sustain the entire print.
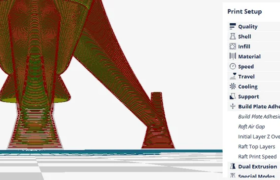
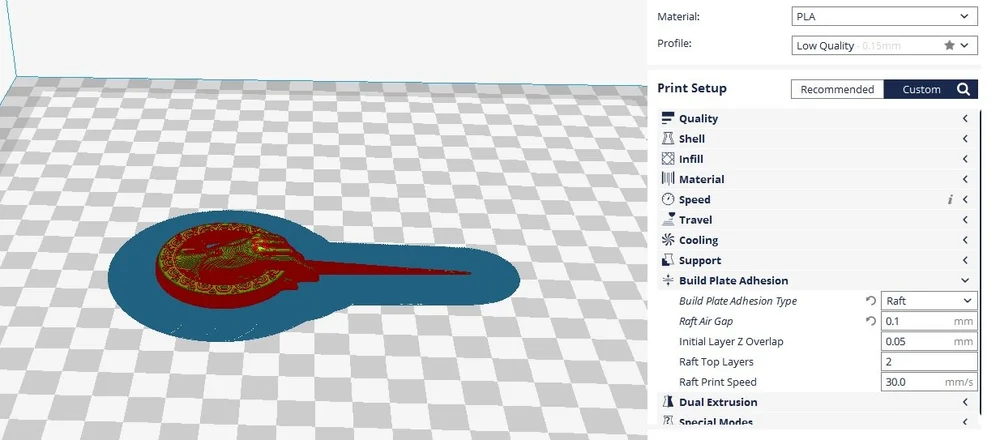
In the above image, the raft appears in blue.
When to Use a Raft
There are multiple uses for a 3D printing raft:
- Warping: 3D printing a raft while working with ABS filament helps to prevent the print from warping.
- Greater Bed Adhesion: 3D printing a raft will also help to achieve better bed adhesion and act as a precaution against failure.
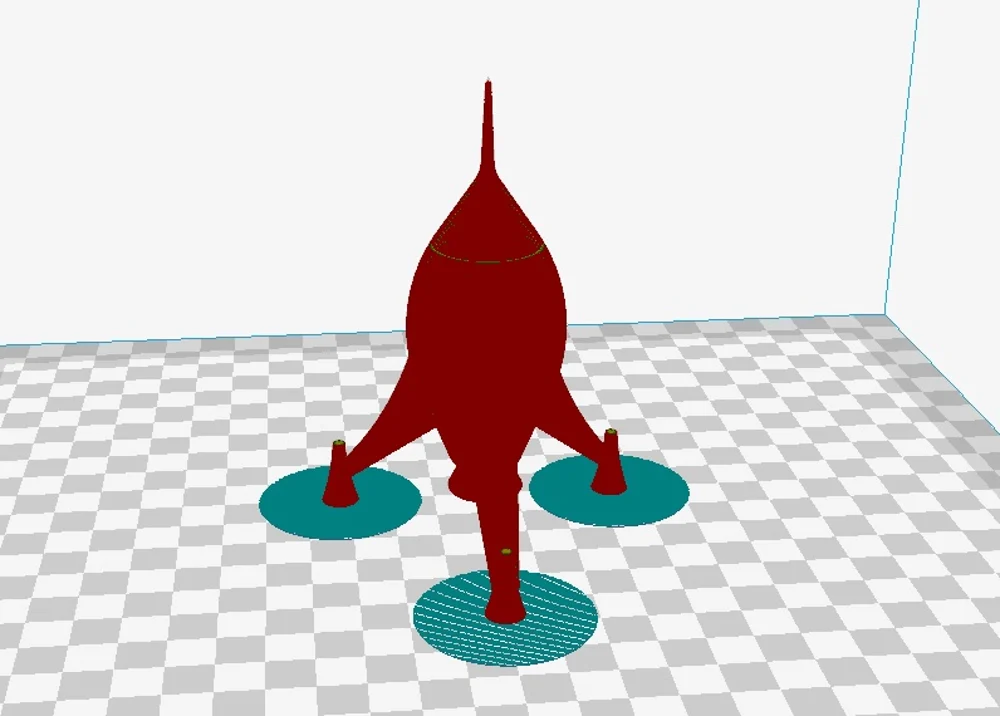
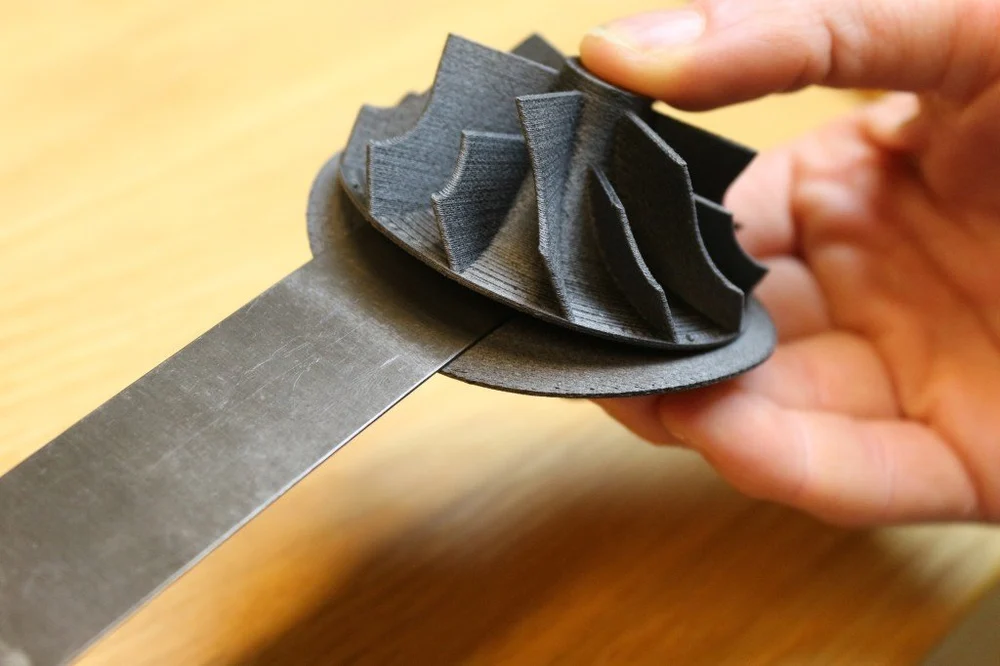
- Tiny Legs: Suppose a print has tiny legs at the bottom, upon which a heavy structure is built. An example appears in the above image of a model rocket. In such cases it is recommended to build a raft as a safety precaution against failure.
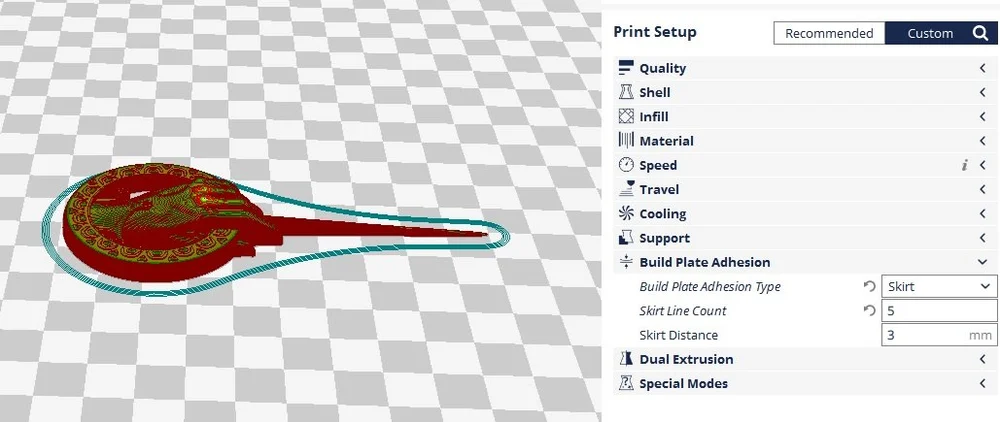
Slicer Settings for a Raft
Separation Distance
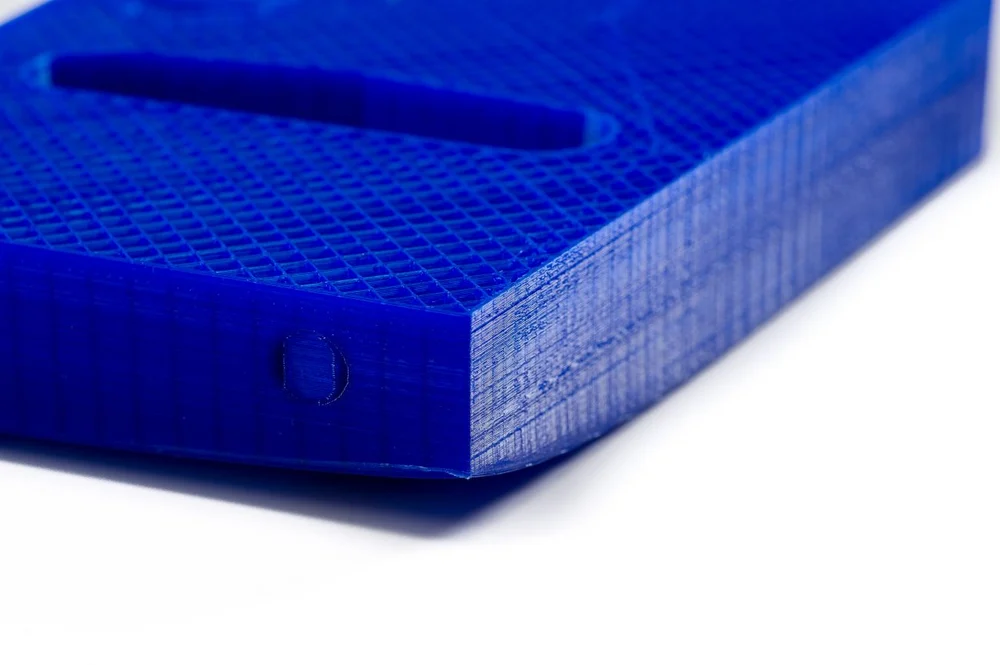
Make sure you properly adjust the separation distance while using a 3D printing raft. This is undoubtedly the most important setting. The separation distance is the height of the space between the raft and the first layer of the print. Or simply the distance between the mating layers between the raft and the model.
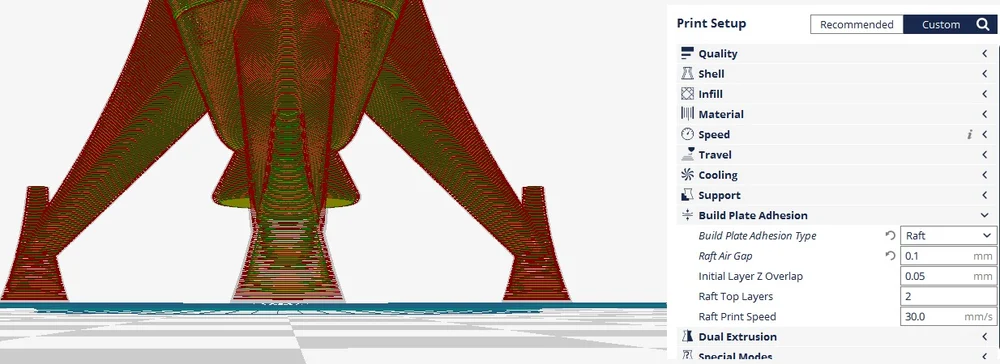
A tighter separation distance will make it hard to separate the raft and the model. In the above image, we can see the distance between the raft (blue colored patch) and the first layer of the model.
Note: A 1 mm separation should never be used and is shown in the above image for demonstration purposes only.
In the first image of separation distance, we can see a distance of only 0.1 mm. This is the ideal gap between the layers.
Raft Bottom Layer
This is the very first layer deposited on the build platform. Therefore it is recommended that it be kept thick and printed at a slow speed. This will help to have greater bed adhesion. You obviously don’t want a raft with poor bed adhesion, so be generous and keep a thick layer. Ideally, a raft bottom of 2 layers is good for adhesion.
Raft Top Layer
The top layer of the raft will mate with the first layer of the print. Since this layer will determine the surface finish of the bottom layer of the print, it is recommended that you use at least 2 to 3 layers to achieve a smooth surface.
Raft Offset
Some slicers have a setting to determine the distance the raft will extend outside the edges of the print. A good idea is to keep this slightly outside the print but not too extended.
Pros & Cons of 3D Printing a Raft
Like every technique, a 3D printing raft also has a few pros and cons.
Pros:
- Fewer warping issues with stubborn materials like ABS
- Improved bed adhesion leading to higher chances of a successful print
- Consistent print output
- Stronger first layer
Cons:
- Rough finish on the bottom layer of the model
- Difficult to separate from the model, especially with a denser raft
- Extra waste material
- Possibility of breaking the part while removing the raft, especially with tiny model components
Note: Take precaution while removing the raft as it can cause injuries while dealing with tough rafts.
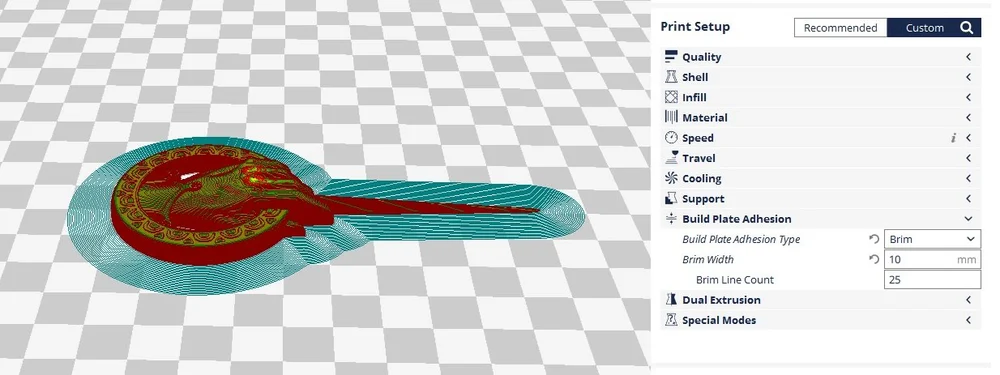
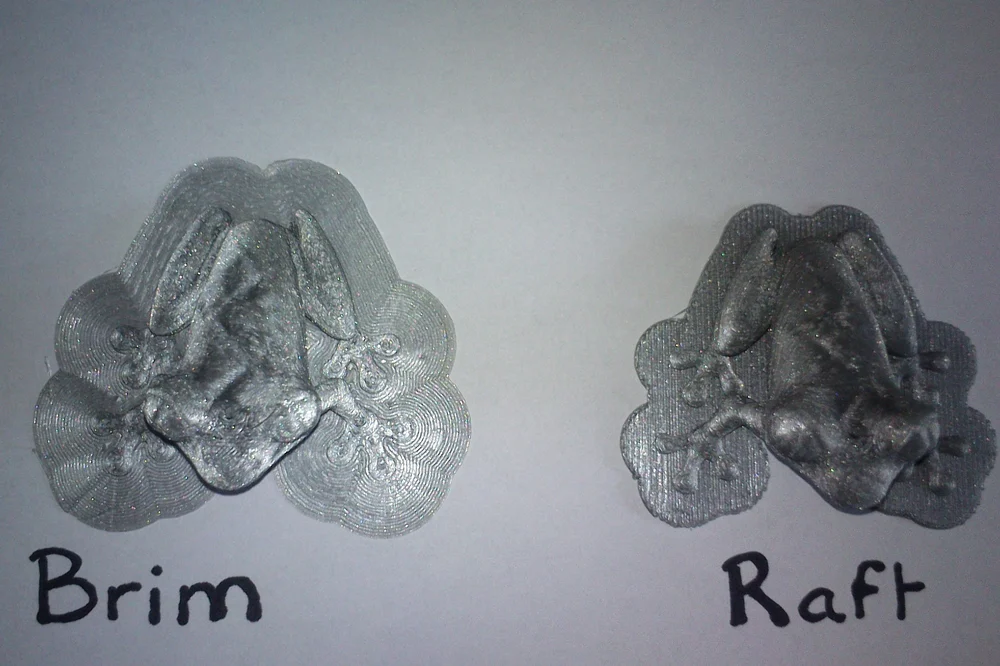
Brims
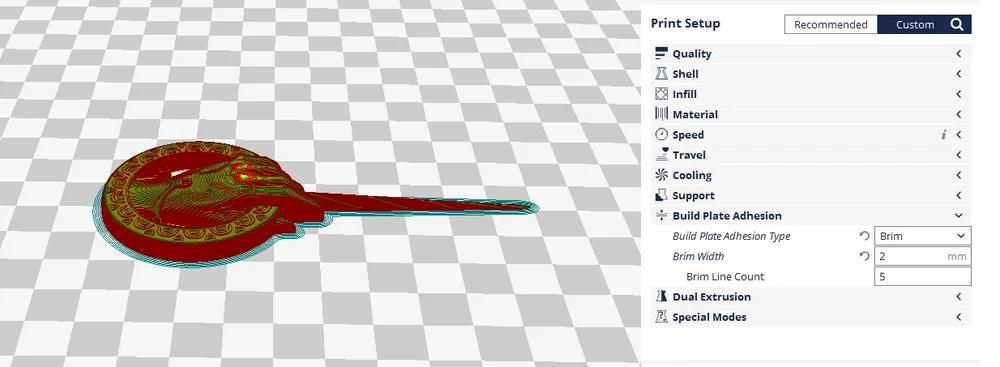
A brim is a type of 3D printing raft that is only attached to the outer edges of the print and not beneath it like a raft. It also helps in bed adhesion and to prevent warping. It can also be thought of as a type of skirt that touches the edges of the print.
A brim can be used interchangeably with a raft as it performs a similar function.
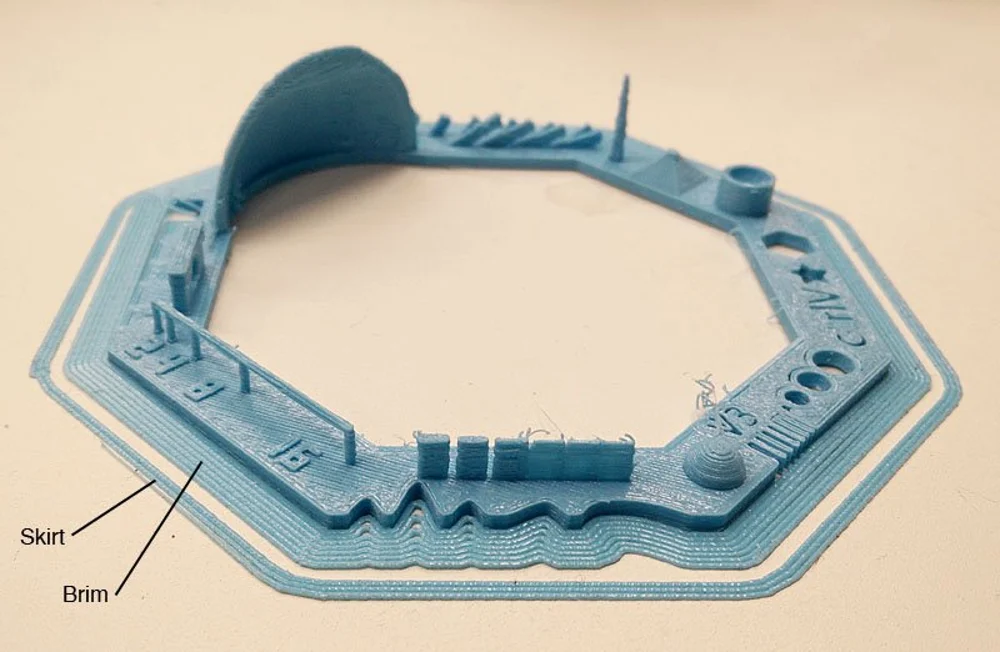
In the above image, the blue colored patch on the build platform is a brim.
When to Use a Brim
- Warping: A brim can help prevent warping and is therefore recommended to be used while printing with materials like ABS filament.
- Greater Bed Adhesion: Similar to 3D printing rafts, brims help to improve bed adhesion.
- Added Precaution: As a safety measure, brims can be added to any print that needs strong bed adhesion. While not specially required for printing with filaments like PLA, they still make prints easier to remove. In that way, users can add brims as an added safety precaution.
- Support for Supports: Sometimes supports are really tiny and they often break-off while printing. Thus it’s often a good idea to print supports with brims.
Slicer Settings for a Brim
Generally, there are two important settings for brims that can be adjusted for best results.
Brim Width or Line Count
A brim can be defined by its width, either in millimeters or in line count, which is the number of contour lines in the brim. The more lines, the better the strength will be, up to a certain distance. On the other hand, with more lines, it does become harder to remove the brim from the print.
Ideally, a brim line count of 3 to 5 is good for adhesion and for holding the sides of the print from warping.
Pros & Cons of 3D Printing a Brim
Like every technique, brim also has a few pros and some cons. Let us help you understand each of them.
Pros:
- Prevents warping issues of materials like ABS
- Improved bed adhesion leading to higher chances of a successful print
- Easy to remove compared to a raft
- Smooth bottom layer surface finish (because the brim only touches the outside of the print)
- Less material used compared to a raft
Cons:
- Extra waste material
- Contact points have to be sanded for a good surface finish
- Possibility of breaking the part while removing the brim, especially with tiny model components
Skirts
A skirt is an outline surrounding the part to be printed. The skirt does not touch the part as in the case of a raft or a brim but is controlled in more or less a similar way. It is useful in helping to prime the extruder. It ensures that the extruder starts a smooth flow of material before it actually starts printing.
Though it does not support the print in any way, as with a raft or a brim, it is very useful to understand the flow of material, bed leveling, layer adhesion and other layer properties set in the slicer.
When to Use a Skirt
Irrespective of the print and material, it is advisable to use a skirt with any print. It serves some useful functions of priming the extruder and detecting any printing issues before the actual print starts and saves time, effort, and money.
Slicer Settings for a Skirt
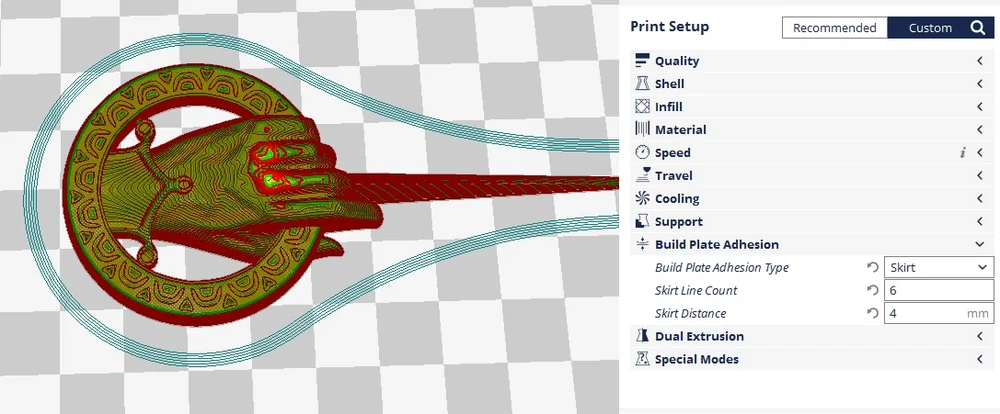
The two important settings to control a skirt are Skirt Line Count and Skirt Distance. The skirt line count defines the number of lines printed in the outline while the skirt distance defines the distance between the print and the skirt.
Generally, even a single skirt line is sufficient, but if the print area is small, then appropriate priming may not occur. In such a case, 3 lines are ideal to ensure proper priming.
Pros & Cons of 3D Printing a Skirt
Like every technique, brim also has a few pros and some cons. Let us help you understand each of them.
Pros:
- Primes the extruder
- Detects issues while printing
- Uses less material than rafts or brims
- Simple check before the actual printing starts, which can save time, effort, and money
- Helps in defining the print area
Cons:
- No value addition to the print
- Makes use of additional material apart from the print, which is waste material
Add a Comment
You must be logged in to post a comment