Some designs are too big to 3D print in one piece. Then the parts need to be glued together. Check out the best glues for PLA, ABS, and PETG!
Beyond the Print Bed
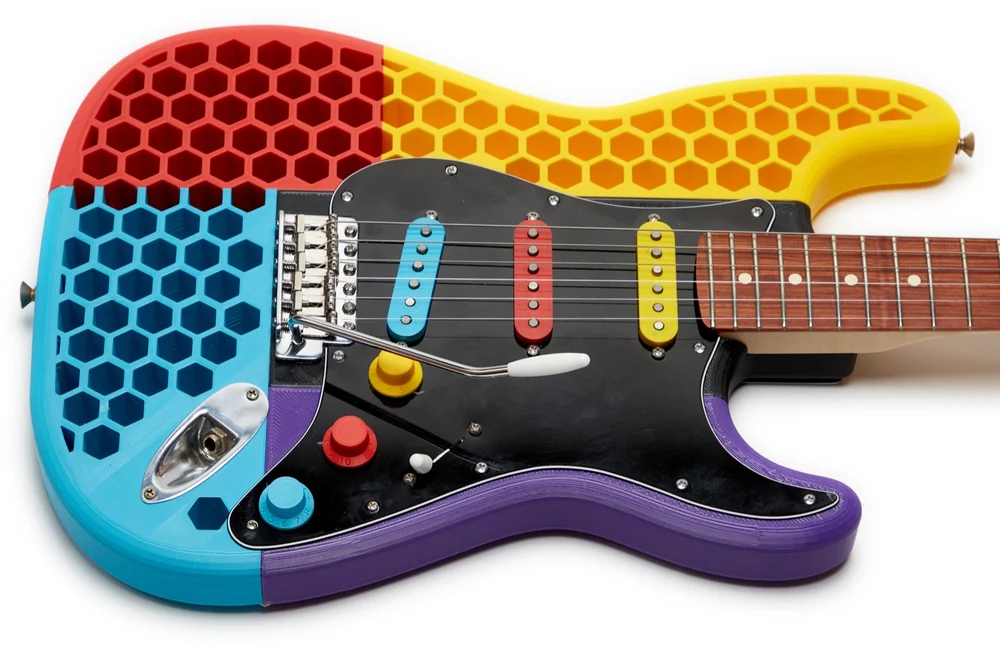
There could be a number of reasons you want to bond two or more 3D printed parts. The most obvious reason is when you need to print a part that is bigger than your 3D printer.
However, gluing 3D printed parts can be tricky. There are several different methods: Some will result in (almost) invisible seams, while others might leave a big and ugly bump. Regardless of the method you choose, it’s important that the surfaces to be bonded together are smooth and properly cleaned before applying glue; sanding is a good way to flatten any bumps on the surface.
There are pros and cons to every method, so it’s best to review them all and choose the one that best suits your current project. Lucky for you, we’ve compiled a list of seven great options!
Superglue
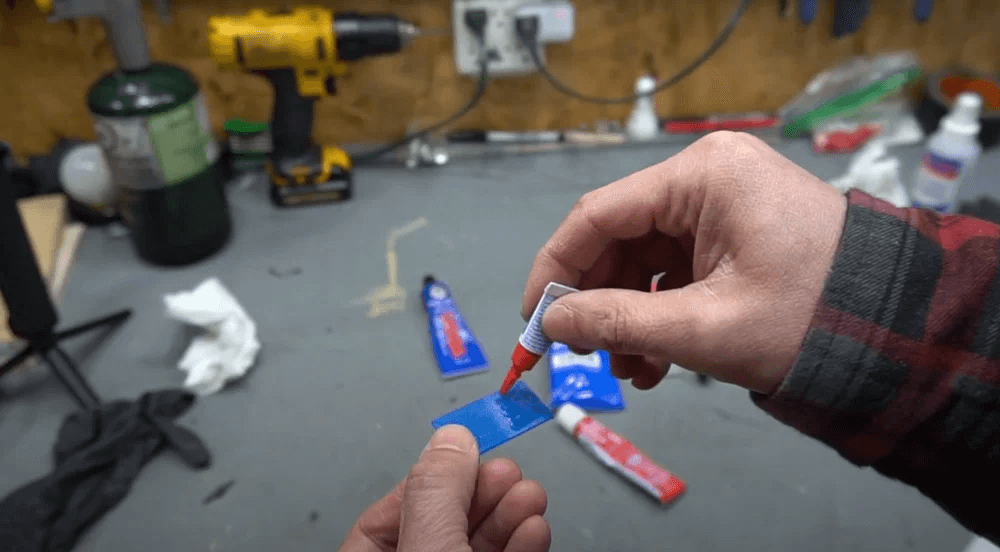
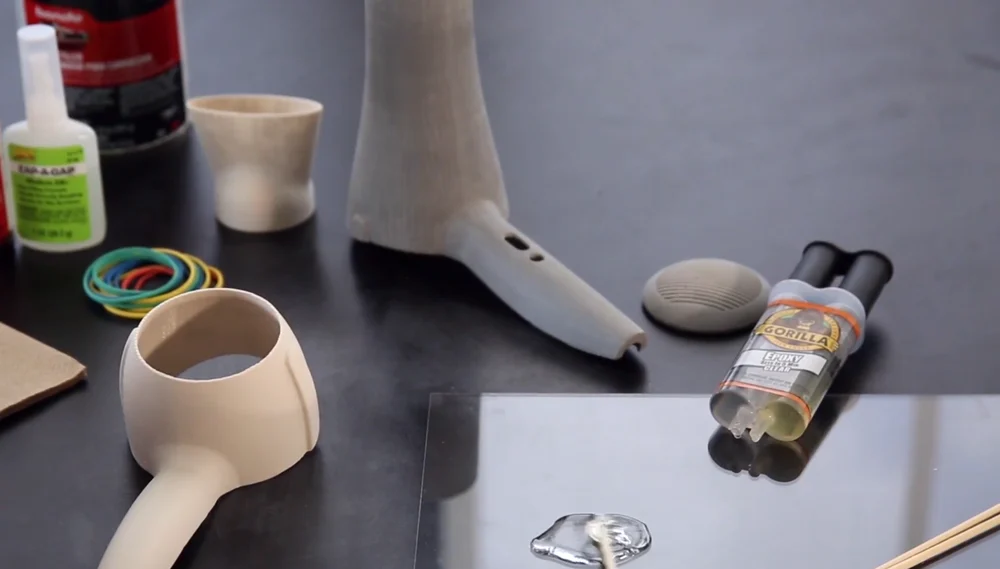
For most jobs, cyanoacrylate, or superglue, is the best option for gluing 3D printed parts together. It’s an easy-to-use glue that cures quickly. You can get excellent results, a strong bond, and an almost invisible seam. Since it cures in a matter of seconds, think twice before using it and make sure you’re prepared! Do your best to align parts properly before it cures, and hold it tightly in place for about one minute. Leave it for an additional couple of minutes to cure completely.
Most 3D printed materials will successfully bond with superglue, except for flexible materials. When cured, cyanoacrylate forms a thin rigid layer, which can be easily broken if applied to an elastic material.
- Bonding surface preparation: If surfaces are rough and uneven, use some fine-grit sandpaper to get them nice and flat. Clean surfaces thoroughly with alcohol and let them dry. Both surfaces should be free of any type of dirt, loose particles, and grease.
- Suitable materials for bonding: Rigid plastics like ABS, PLA, and PETG
- Safety: Superglue is a fast-curing glue, so try not to get any on your skin. Use gloves to protect your hands. Perform your work on old newspapers to protect your furniture. And of course, keep it out of the reach of children.
Acetone
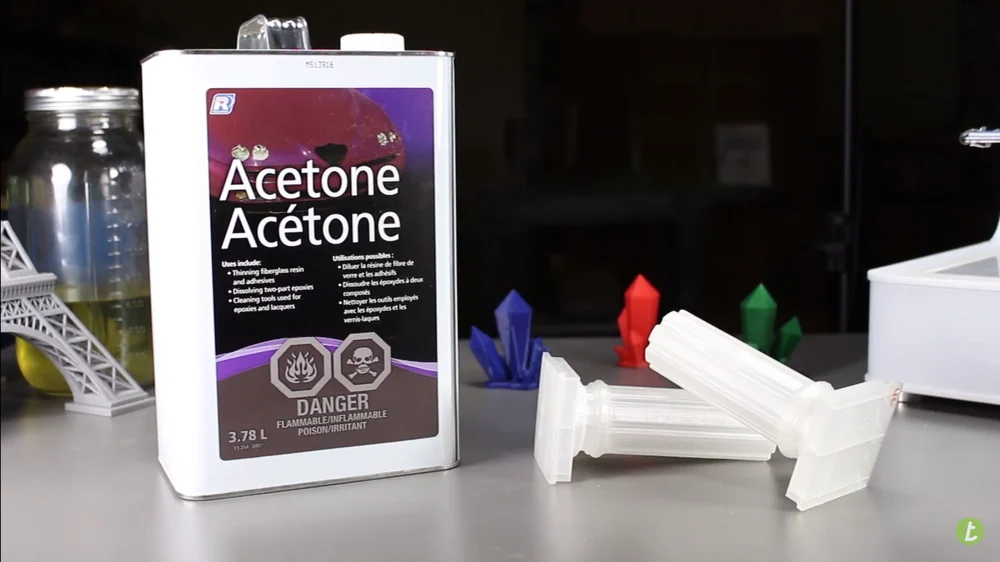
Acetone or a paint thinner can be used for bonding 3D printed parts made of ABS or HIPS. The fact is, any material soluble in acetone is a good candidate. This type of bonding gives very strong bond and an invisible seam.
In order to bond two pieces with acetone, apply a thin layer of acetone on both surfaces being bonded. You can do this with a small brush or a piece of cloth soaked with acetone. Be careful not to use too much acetone, because there is a risk of damaging 3D printed parts (especially if the parts are thin).
The acetone will dilute a thin layer on the surface, and when you stick two pieces together, these layers will “mix”. During this drying time, you may need to fix the pieces being glued together with some tape or clamps. After a couple of minutes or hours, depending on the size of the parts and amount of acetone used, the acetone will evaporate, and a strong compact plastic layer will be formed.
This may be the best way to bond two pieces made of ABS or HIPS. It’s very strong and, if done properly, it’s invisible.
- Bonding surface preparation: Both surfaces have to be clean of grease and dirt. Use some sandpaper to flatten surfaces before applying acetone.
- Suitable materials for bonding: ABS, HIPS, and any other material soluble with acetone.
- Safety: Acetone is a very flammable liquid. Use it away from open flame, sparks, and hot surfaces. It’s also a volatile liquid, so you should use it in a well-ventilated area or outside. If you feel dizziness while using it, go to fresh air at once.
Plumber’s Cement
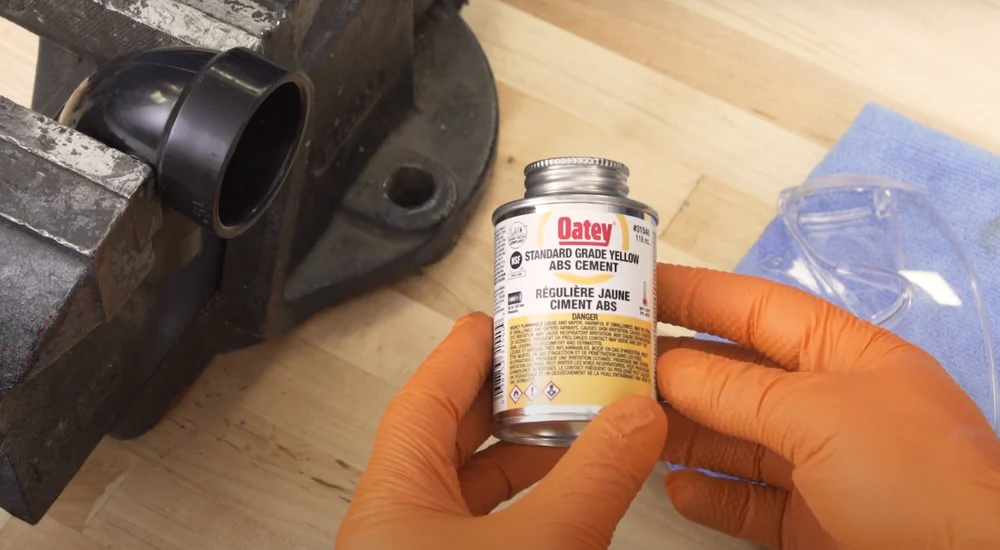
Plumbers ABS cement is also a good option for gluing ABS, PLA, and HIPS. It’s a solvent-based glue that reacts with plastic in the same way as acetone. You will get a very strong bond with it, but the bond will be visible since these types of cement are colored (usually yellow or red). Everything said about acetone applies to a plumber’s cement as well.
Be aware, however, that both acetone and plumber’s cement will not work with PETG, nylon, and similar filaments.
- Bonding surface preparation: Both surfaces have to be free of grease and dirt. Use some sandpaper to flatten surfaces before applying plumber’s cement.
- Suitable materials for bonding: ABS, HIPS, PLA, and any other material that’s soluble with acetone.
- Safety: Plumber’s cement is a thick, volatile, and flammable liquid. Keep it away from open flame, hot surfaces, and sparks. Use it in a well-ventilated area or outside. If you feel dizziness while using it, go to fresh air at once.
Epoxy
Epoxy is another great way to join two pieces of plastic together. It will work on most filaments. However, since it becomes hard when cured, it may not be the best option for flexible materials. It will bond flexible materials, but you will end up with some rigid area in your assembly.
The nice thing about epoxy is that you can use it both as glue and as a filler. If there’s a void that has to be filled or seams to be hidden, use epoxy.
Compared to other methods, epoxy requires more work to get a good bond. It usually comes packed in two separate containers that have to be mixed prior to bonding. One has epoxy resin, while the other one contains a hardener. These components have to be mixed in a certain ratio (check the user manual for mixing, it’s different for every type of epoxy).
After thoroughly mixing the epoxy, apply it to the surfaces being bonded. Attach all the pieces you want to bond and fix it properly. Depending on the mixing ratio and type of epoxy, curing can take from a couple of minutes to a couple of hours.
When cured, epoxy can be sanded and painted.
- Bonding surface preparation: With epoxy, bonding surfaces do not have to be completely flat. It can also be applied in pretty thick layers.
- Suitable materials for bonding: All materials, but will leave a rigid seam on flexible materials.
- Safety: Read the manual and the safety instructions on the packaging before use. During mixing, some types of epoxy can become very warm.
Polyurethane and Silicone Glues
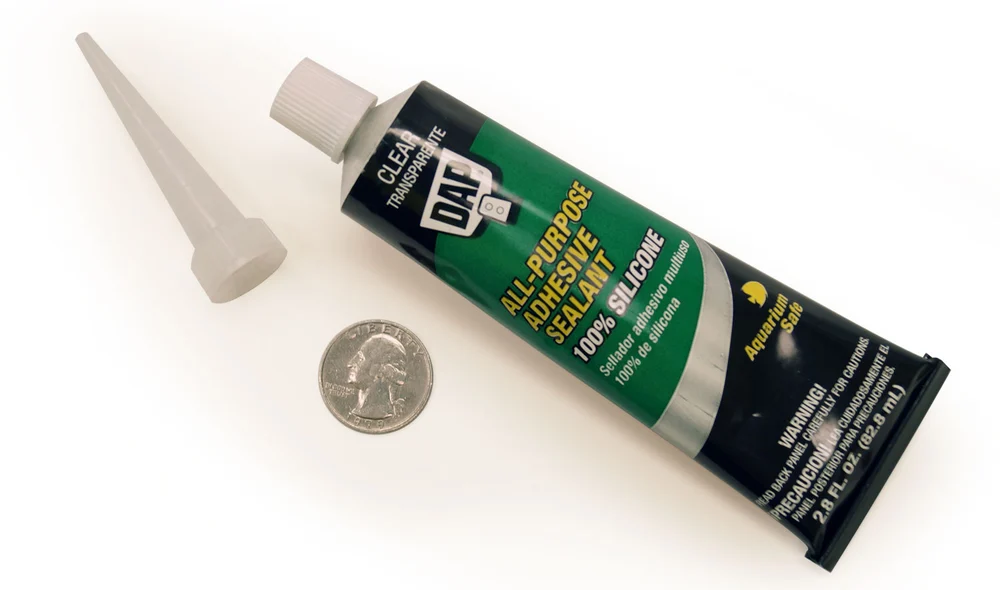
PU (polyurethane) and silicon glues are both very easy to use and create a pretty strong bond. The disadvantage of both types is that they need a thickness of at least a couple of millimeters for proper bonding. That makes it hard to hide bonding seams.
Silicone glue requires a couple of hours to completely cure, so make sure that your parts are properly fixed until it cures. On the other hand, some types of PU glues cure to initial strength in a matter of seconds.
There are hundreds of types of silicone and PU glues on the market, each with different characteristics. It would be wise to test the one you choose before you decide to glue the parts of your model that you’ve spent the last couple of days 3D printing.
- Bonding surface preparation: Clean both surfaces from loose particles.
- Suitable materials for bonding: All materials.
- Safety: Do not let this glue touch your skin.
Hot Glue Gun
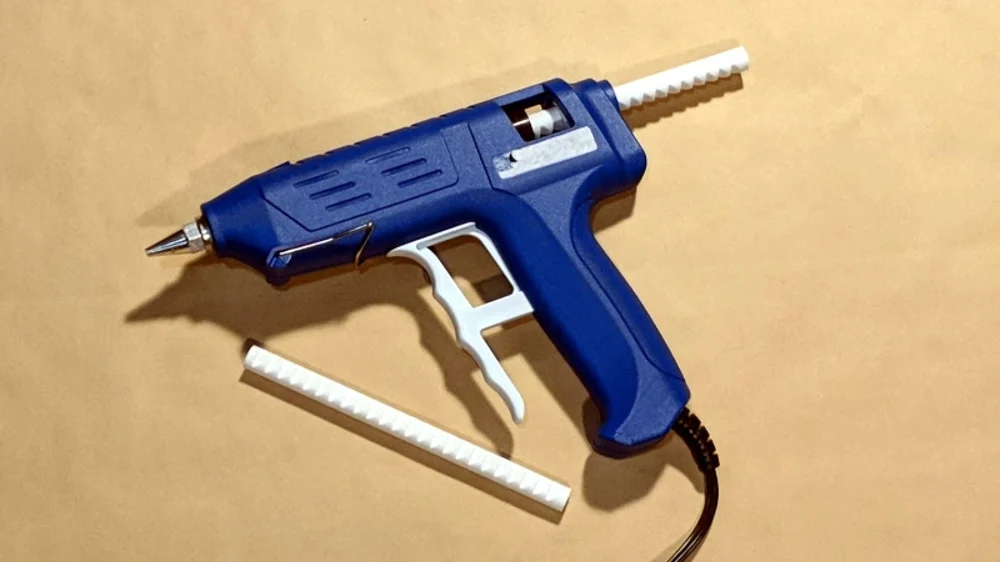
Classic hot glue is an easy alternative to gluing 3D printed parts together. It’s important to note that while the bond is pretty strong, applied hot glue will be visible. Hot glue requires at least 2 to 3 mm in thickness, so you should consider this when designing parts for 3D printing.
The nice thing about hot glue is that it cools down in a couple of seconds, so there’s no need to fix the parts together while it dries.
Alternatively, consider using a hot glue gun with 3D printed PLA sticks. This method of gluing 3D printed parts will give you a very strong bond and the ability to match both the color and material. It’s perfect for PLA prints.
- Bonding surface preparation: Clean both surfaces from loose particles.
- Suitable materials for bonding: All rigid materials (ABS, PLA, PETG, etc.).
- Safety: Hot glue (or PLA) is – hot. Don’t burn yourself.
3D Pen

A nice result can be obtained with 3D pens. Parts bonded with 3D pens look like they are printed in one piece because the “glue” is the same filament used to print the pieces. Unfortunately, the bond is not very strong, so this technique is good only for non-functional parts.
The important thing is to be mindful of the type of filament being used. Both the 3D printed parts and the 3D pen’s filament have to be of the same material.
- Bonding surface preparation: Clean both surfaces from loose particles.
- Suitable materials for bonding: All materials, but you have to match the 3D pen filament with the material of the parts being bonded.
- Safety: Filament coming out of the 3D pen is hot.
Source: Miroslav Sarcevic
Lead image source: Proto3000 via YouTube
https://all3dp.com/2/gluing-3d-printed-best-ways-bond-3d-prints/