From scanning your favorite pet and creating a figurine for your desk or reverse engineering a part or tool, 3D scanning and 3D printing can be used together to rapidly generate and reproduce ideas. These days, the world of 3D scanning has grown to include hobbyist-level equipment all the way to full room setups that capture digital imagery for blockbuster films. All of this three-dimensional data can be used to create geometries for 3D printing.
So how, exactly, does 3D scanning work, and how can it be used to help with the product development process? This article will give an overview on common 3D scanning equipment and file outputs, and what you need to do to prepare your scans for 3D printing.
3D Scanning Basics
At its core, 3D scanning works by capturing visual data with a special device and converting it into a three-dimensional mesh of data, resulting in an image. 3D scanning has evolved to include tracking motion but in terms of 3D printing, we’ll focus on static objects.
There are three different technologies to consider when 3D scanning, so you’ve got a few options depending on your needs:

Laser 3D scanning – This is the most common technique to capture real objects for digital representation. It works very similarly to a camera – the scanner captures only what is in the field of view. A laser dot or line is aimed at an object while the sensor in the scanner calculates the distance between itself and the surface of the object. These scanners are ideal for measuring fine detail and can capture free-form objects with high accuracy.
Photogrammetry – This technique uses photographs to make measurements, simulating the stereoscopy of human vision, and determine an object’s shape, volume, and depth. While it isn’t always the most accurate option, photogrammetry software can aid you in getting a better output.
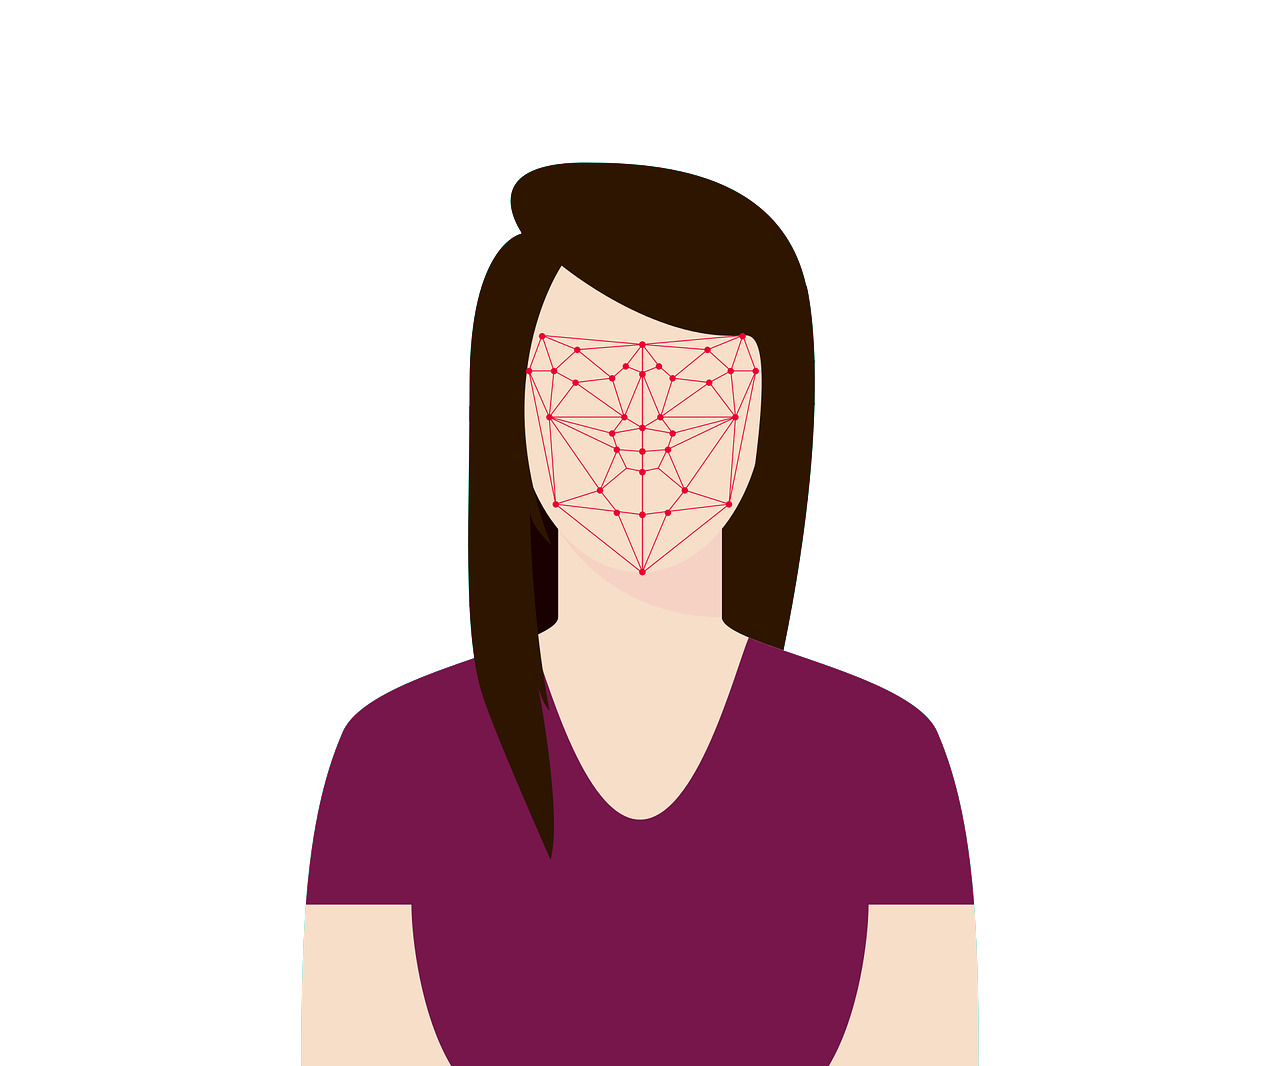
Structured Light Scanning – This technique projects a variety of light patterns onto an object’s surface, determining how the object’s surface distorts light, creating a three-dimensional image. This technique is commonly used for facial recognition.
After determining the type of scanning you’ll be utilizing, and after completing your 3D scan, the next step is moving onto software.
Software and Poly Models
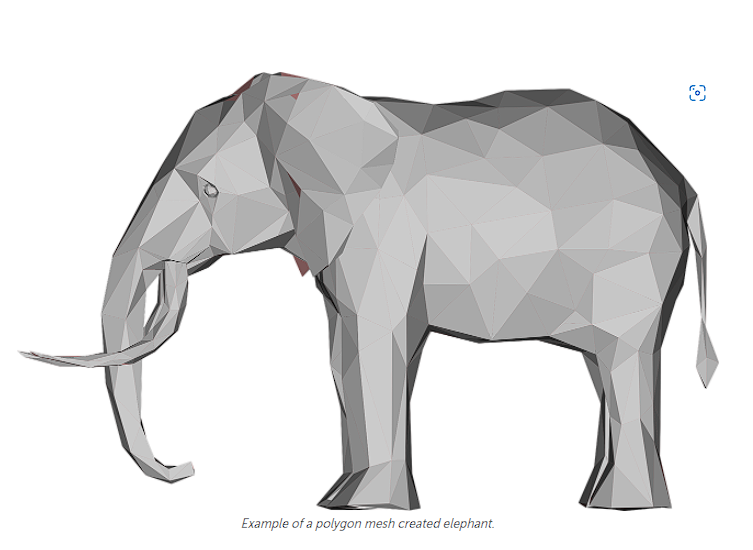
The hardware and software of 3D scanners work together to translate geometry into a polygon mesh of the physical shape and color. A polygon mesh is a collection of various features including (but not limited to) edges, faces and surfaces, coming together to define a shape.

This mesh uses polygons to give the model a surface – the more polygons a model has, the finer the detail it can pick up. More expensive equipment affords a greater resolution – in other words, it can create a more detailed and exact match of a physical object.
Once an object has been scanned, 3D software interprets the data in the form of a mesh. On occasion, there are broken areas or missing parts to a mesh, simply due to the difficulties in the scanning process or the failure of the scanner to pick up on all the details of a part. However, most current software can help you to repair and close the mesh, leaving you with a solid and closed model.
Once you’re finished scanning your part or tool, you’ll want your mesh to be “water-tight” – if you can imagine the part holding water, the goal is for there to be no areas of leakage. Common file types for poly-based 3D models are STL, OBJ, or 3DS. Conveniently, these file types are perfect for 3D printing as most printers on the market work directly with them.
Getting Ready to Print
Once you have closed the mesh on your part or tool and it is water-tight, it’s time to jump into 3D printing. It’s important to think about the scale of your object and the material you’d like to use when uploading it for printing. Depending on its size, you may be required to scale it up or down.
3D scanning is a great tool to use when it comes to reverse engineering or creating models of real life object. If you have your scans or files ready to print, login or sign up with Fictiv to get your quote today.
Source: https://www.fictiv.com/articles/getting-from-3d-scan-to-3d-print