Flocking is a fascinating finishing technique that can transform the surface of your 3D prints, giving them a unique, velvety texture. This process involves applying tiny fibers, known as flock, to an adhesive-coated surface, creating a soft and tactile finish. Whether you’re looking to enhance the aesthetic appeal of your models or add a functional layer, flocking can be a valuable addition to your 3D printing toolkit.

What is Flocking?
Flocking is the process of depositing many small fiber particles (called flock) onto a surface. These fibers can be made from various materials, including cotton, rayon, nylon, and polyester. The result is a textured surface that can mimic the feel of velvet, suede, or other soft materials.
Why Use Flocking in 3D Printing?
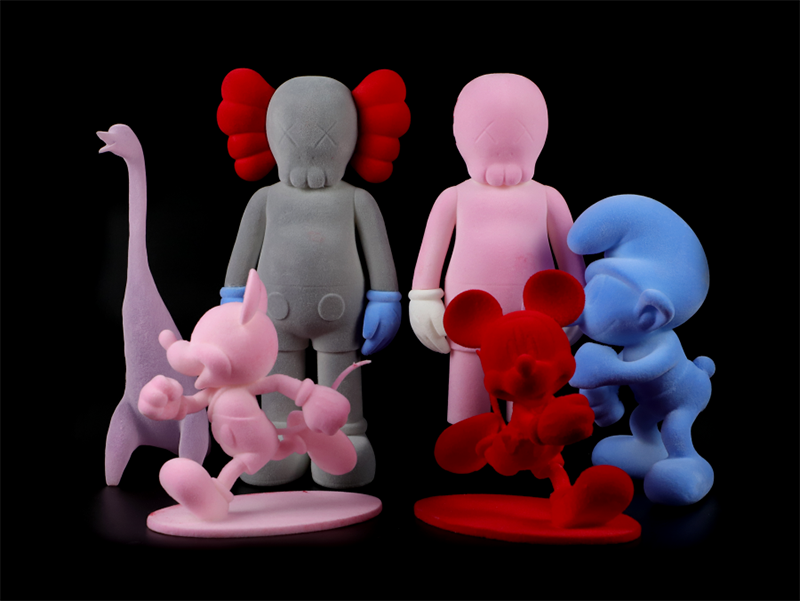
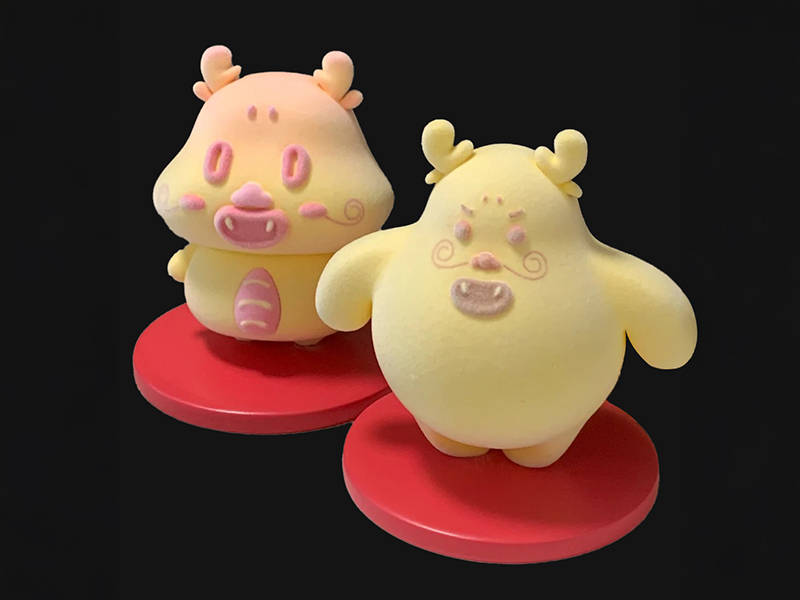
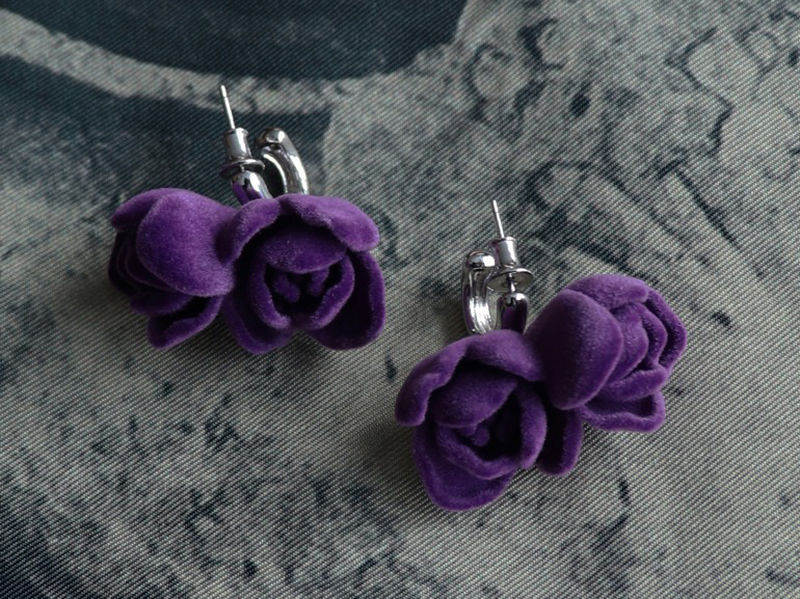
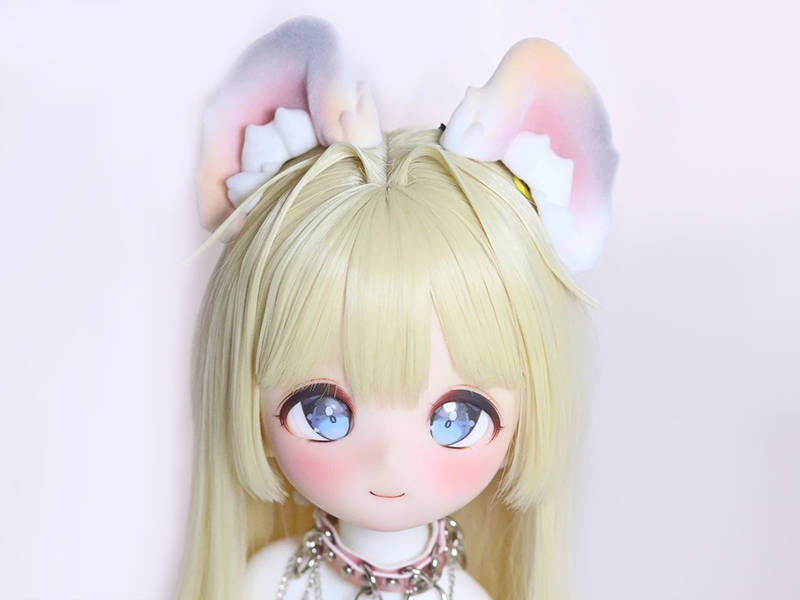
- Aesthetic Enhancement: Flocking can add a luxurious and professional look to your 3D prints. It’s perfect for items like jewelry boxes, decorative models, and custom figurines.
- Functional Benefits: The soft texture can provide a non-slip surface, reduce noise, or add a layer of protection to delicate items.
- Customization: With a wide range of colors and fiber types available, you can customize the look and feel of your prints to suit your specific needs.

The Flocking Process
- Preparation: Start by cleaning your 3D-printed object to ensure the surface is free of dust and oils. This will help the adhesive bond better.
- Adhesive Application: Apply a layer of adhesive to the areas you want to flock. It’s crucial to use an adhesive that matches the color of your flock fibers for a seamless finish. Rustoleum Enamels are a cost-effective option.
- Flock Application: Using a flocking applicator, apply the flock fibers to the adhesive-coated surface. The fibers should be applied evenly to avoid clumping and ensure a uniform texture.
- Drying/Curing: Allow the adhesive to dry or cure as per the manufacturer’s instructions. This step is essential to ensure the fibers adhere properly.
- Cleaning: Once the adhesive is fully cured, remove any excess flock fibers. This can be done using a vacuum or a soft brush.
Safety Considerations
When working with flock fibers, it’s important to wear protective gear, such as a respirator or dust mask, to avoid inhaling the particles. Flock Worker’s Lung is a potential risk if proper precautions are not taken.
Applications of Flocking in 3D Printing
Decorative Items
Enhance the look of jewelry boxes, sculptures, and custom figurines.
Functional Parts
Add a non-slip surface to handles or grips, reduce noise in mechanical parts, or protect delicate items.
Prototyping
Create realistic prototypes with textures that mimic final production materials.
Conclusion
Flocking is a versatile and relatively simple technique that can significantly enhance the appearance and functionality of your 3D printed objects. By following the steps outlined above, you can achieve stunning results that add a professional touch to your projects. Whether you’re a hobbyist or a professional, flocking is a valuable skill to add to your 3D printing repertoire.