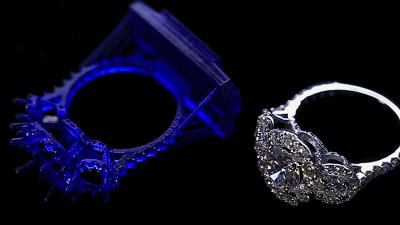
How are those dazzling jewelry made? Is it made through casting or by hand? Each piece of jewelry is infused with the soul of the designer and maker, and the contemporary production process requires nearly 20 steps of complex technology, so each piece of jewelry is extraordinary.

The traditional method of producing jewelry in volume.
Jewelry manufacturing is inseparable from casting, but the first step is to determine the design and production of gypsum mold. Jewelry is most likely to lose details and become distorted in this stage.
Traditionally, the craftsmen need to manually carve wax patterns referred to design drawings, and use the lost-wax casting method to cast the silver mold.
The silver mold is crucial in producing rubber molds, which are used in the mass production of wax patterns. Thus the silver mold must be smooth and flawless, owns the reasonable structure, and all the inlay positions should be accurate.
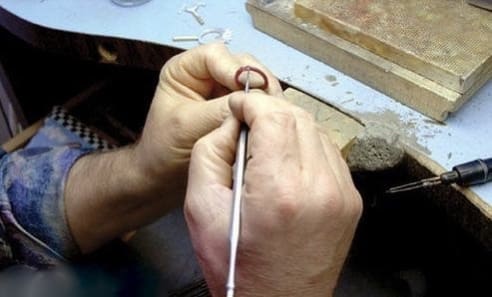
The wax is carved by hand in the traditional method.
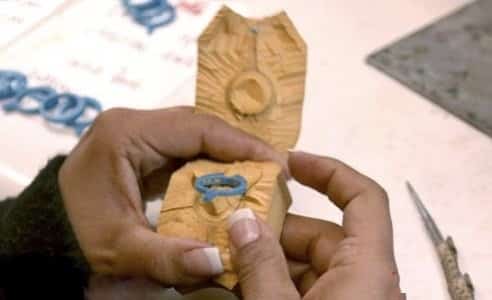
The wax patterns are cast from the rubber molds.
However, each step of operation will lead to the loss of some details of jewelry. Now, 3D printing becomes a good solution to this problem, that is, the wax pattern of jewelry can be directly produced in batches.
How 3D Printing technology is applied in jewelry production?
3D printing can directly produce wax patterns, eliminating the need to manually sculpt the wax, make wax patterns in the traditional way, and the accuracy of 3D printing can reach 0.01mm, which greatly preserves design details and shortens making cycle. Hence 3D printing is an important means of making jewelry today.
So how does 3D printing make wax patterns and handle the subsequent process? First, we’d like to share a 3D printing technology called DLP. This technology cuts the 3D model into many layers, and uses the projection laser to irradiate the photosensitive resin to achieve the sequential molding of each layer. Since the thickness of each layer is only 0.1 mm, it reaches very high accuracy.
- A DLP printer is producing a wax pattern
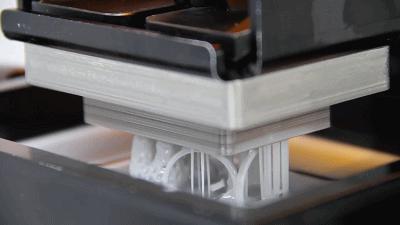
- 3D printed wax patterns
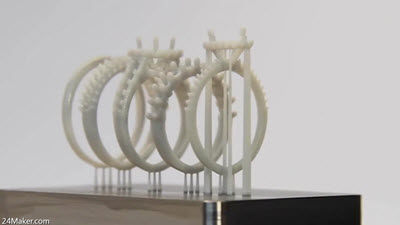
From this step, the subsequent procedure is much the same as the traditional method.
- Assemble the wax pattern onto a “wax pattern tree”.
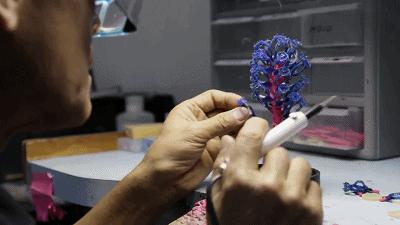
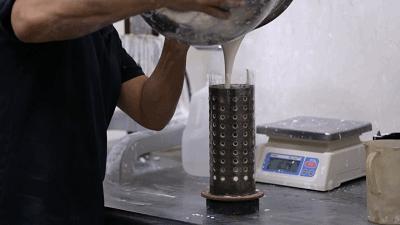
- Casting plaster
Put the wax tree together with the chassis on a stainless steel tube, and slowly inject the appropriate weight of gypsum slurry along the inner wall of the steel tube until the wax tree is totally covered. Then leave it for 6-12 hours after vacuuming to allow the gypsum to solidify.
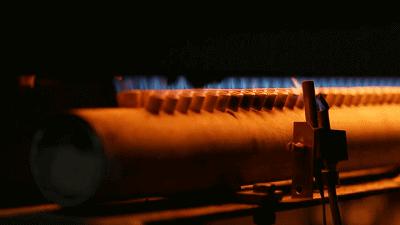
- Baking gypsum
The plaster mold is baked for dewaxing, drying, and casting insulation.
- Casting and cleaning
Take out the baked gypsum mold and inject the molten metal solution from the nozzle at the same time. After casting, the gypsum mold is at high temperature. After the gypsum is cracked due to shrinkage in cold water, the metal parts can be removed.
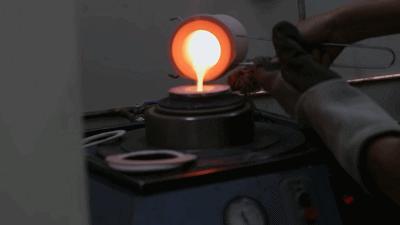
The metal mold is cut and dried along the bottom of the nozzle. The whole or part of the jewelry needs to be corrected or shaped with the aid of a grinding tool, and processed to be flat and smooth, so that the outline of the mold is clear, the pattern is uniform and symmetrical. The processes involved includes filing, grinding, reshaping, etc.
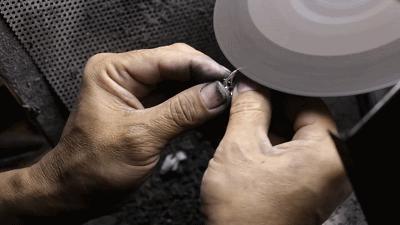
- Polishing and finishing
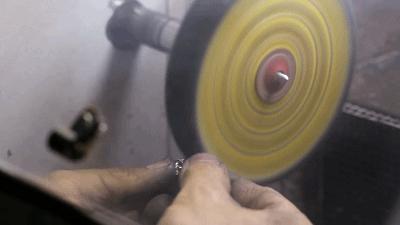
Jewelry must be polished after grinding. The polishing process belongs to finely post-process which uses polishing equipment and materials. The polished product has a high finish and brightness, and the metal surface must be free of any impurities, sand holes or scars.
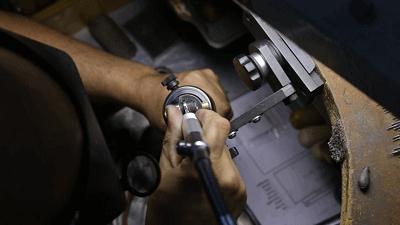
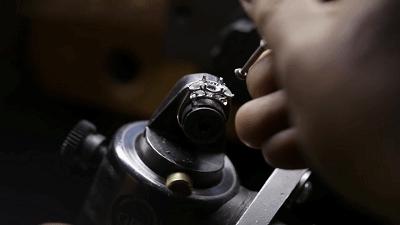
- Inlay the gem
By inlaying the diamonds, you can get the jewelry as in the blueprint.
