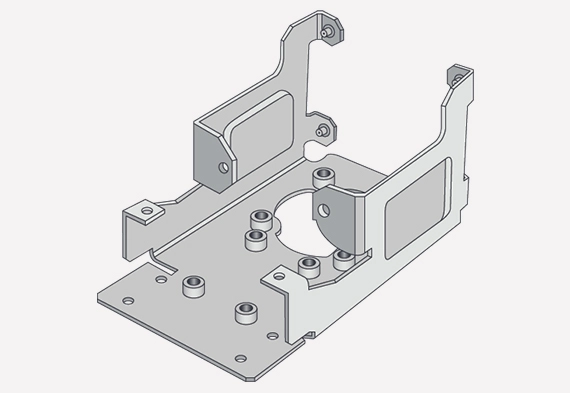
Before diving into the details of sheet metal fabrication, recognize a basic fact of all sheet metal parts: They start out flat. And no matter how convoluted or complex their final shapes may be, the wall thickness of those parts must be uniform throughout. So, for example, when designing a series of shelves to hold computer gear, you might be tempted to beef up the bottoms by making them thicker than the sides, but that’s not how the sheet metal world works. Unless we weld two pieces together (which is possible, but at additional cost), material thickness should always be consistent. Aside from that, a variety of metals is available, including stainless steel, aluminum, cold-rolled and galvanized steel, and even copper and brass, in thicknesses ranging from 0.02 in. to 0.25 in. (depending on the alloy). Beyond sheet metal properties and available materials, here are eight ways to improve sheet metal parts.
Bending and Reliefs
One important element to keep consistent is the bend radius. Pick up any bent metal bracket or mount and look at the inside corners—see that little radius there? It’s created by a punch and die set on a press brake. FacFox can make bend radii all the way up to 1 in., but the standard toolset creates a 0.030 in. internal corner, so try to stick with this for the lowest cost. As for the external corners, these are largely a factor of the material, its thickness, and the internal bend radii used.
Also, keep in mind that metal resists bending. To prevent cracks and meet a +/- 1-degree bend tolerance, FacFox will place bend reliefs in strategic part locations—with a box shape, for example, the corners will be relieved slightly to allow the flanges to meet properly. The total amount of bend relief, in this case, will not exceed the bend radius plus the material thickness, and be no wider than 0.030 in.
Offsets
Offsets are Z-shaped bends that might be used on brackets and clamps—the clips that hold your window screens in place are a good example. The same rules apply here as with any other bent part—try to keep all the bend radii the same, with 0.030 in. the preferred radius. Also, the parallel planes should be at least two times the material thickness apart, and you can expect FacFox to maintain a tolerance of +/- 0.012 in. between the two features.

Hems
Bend a flange all the way over and you have a hem. They are used to strengthen part edges. An open hem is one that forms a U or C-shape and might be used to accept a pin for a hinge. Closed hems are basically flat, with the material folded over completely on itself. The inside diameter of an open hem should be equal to or greater than the material thickness, and the “return length” in either case should be at least four times that.

Holes and Slots
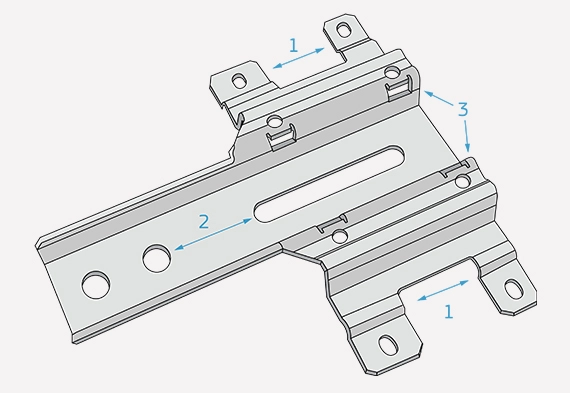
These should be placed at least 1/16 of an inch from the nearest wall or part edge for materials 0.036-in. thick or less, and 1/8-in. or more from the edge on everything else. Hole and width tolerances will be +/- 0.005 in. unless otherwise specified. Check with the manufacturer if an insert will be used, as additional clearance may be required. If using the eRAPID SOLIDWORKS plugin, all holes and slots should be a minimum of four times the material thickness from any part edge or feature.
Tabs and Notches
Sheet metal parts often require notches to accommodate a screw or other fastener. These should be one material thick or wider and extend no more than five times the slot width into the workpiece. Similarly, the tabs on either side of a notched feature should be at least 0.126 in. or two times the material thickness across (whichever is greater) and again, be a maximum of five times the part thickness in length.

Inserts and Fasteners
FacFox has plenty of experience with the use of inserts and fasteners in injection-molded parts. Sheet metal is no different, where panel fasteners and other types of PEM hardware are used to bolster parts or provide threads for assembly. One thing to be aware of here is that, depending on the kind of plating the part will receive after fabrication, as well as the type of material it’s made of, the insert may need to be installed before or after the post-processing operation. This is one area where you definitely want to check with one of the FacFox experts before pushing the “accept” button.
Finishing Options
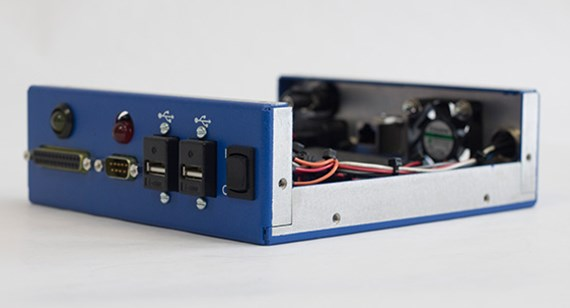
The plating services at FacFox cover anodize, zinc, and chromate oxide. Powder coating and silk-screen services, using a handful of stock colors and special colors on request, are offered. There’s little to be aware of from a design perspective except to understand what each of those surface treatments does, which process(es) can be used with which material(s), and when to apply them (re-read the previous section if you’re planning to install hardware). Also, be aware that there is an additional charge for each of these services and lead times might be a bit longer.
