If you’re experiencing 3D print payer separation, we’ve got some things to try to get those layers to stick!
Layer separation, sometimes referred to as delamination, is a 3D printing issue involving poor layer-to-layer adhesion. It’s similar to poor first-layer adhesion, which is when you have a weak bond between the first layer of your print and the build surface. Layer separation refers to the bonds between subsequent layers of the print.
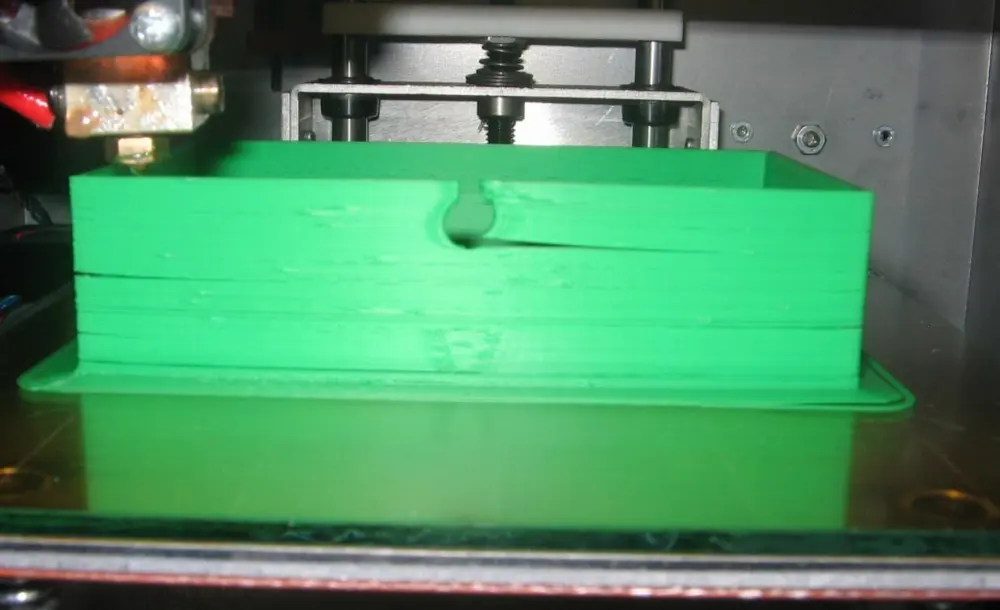
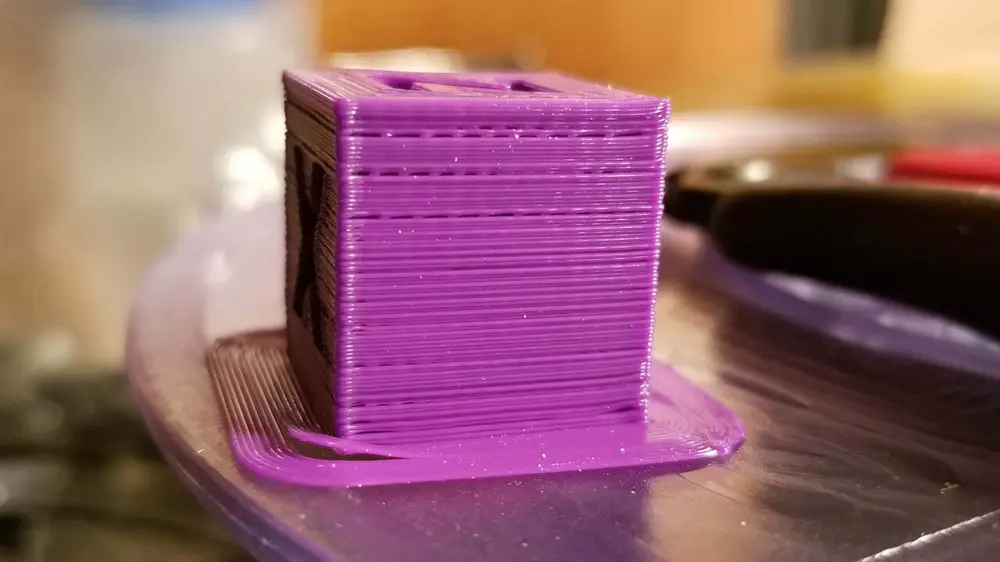
While poor first-layer adhesion can result in a part with a warped base, layer separation can yield drastically flawed prints with visible cracks between layers. Delamination occurs when the bonds between layers are weak; in other words, when a layer doesn’t adequately stick to the one underneath. This can happen for a few reasons, including too-low temperatures, over-cooling, an excessively large layer height, an unclean hot end, and more.
In this article, we’ll be going over a few different potential causes and solutions to prevent delamination from (literally) popping up in your 3D prints.
Tip #1: Clean the Hot End
After periods of extended use, your hot end and nozzle can get a little dirty and possibly even clogged (partially or fully). A clogged nozzle significantly impacts your printer’s extrusion by reducing the amount of material that passes through or even preventing extrusion entirely. Extruding less material reduces the bond between layers, causing issues such as layer separation.
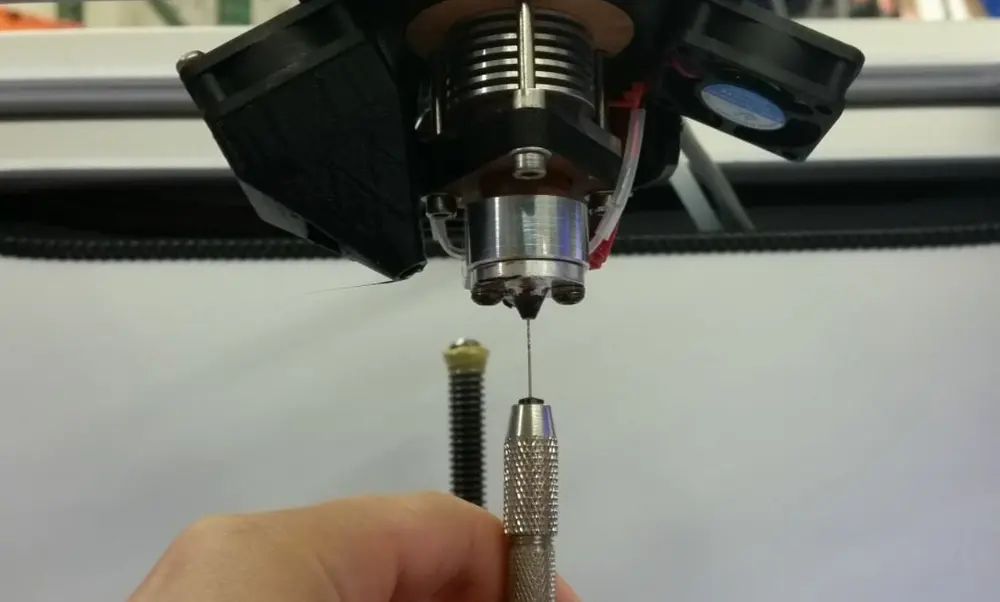
Our first tip, then, is to clean your printer’s hot end every so often to ensure that extrusion is always free from clogs and jams. To do this, simply heat your hot end to your usual printing temperature, and (with a metal pick of some sort) remove any build-up from inside your hot end. Additionally, you can use a needle to clean in and around your nozzle. And if you’re thinking it isn’t in tip-top shape, replacements are cheap and easy to install (assuming you’re not using something special).
Because cleaning your hot end and the nozzle isn’t that much of a hassle, you may want to do this as a preventative measure every once in a while, even if you’re not seeing layer separation. This will reduce the likelihood of other print quality issues occurring later on.
Tip #2: Lower Print Speed
Our second tip is to lower the print speed, which is a catch-all solution for many issues but will also effectively improve your extrusion during prints.
Especially if you like to print in a hurry and have bumped your speed settings beyond the filament manufacturer’s recommendations, this could be the source of any extrusion issues you’re experiencing. Although a high print speed technically means filament is flowing through the nozzle more quickly, if your hot end temperature isn’t high enough to keep up, you’ll have extrusion issues and possible layer separation. Slowing down the print speed gives the hot end more time for the filament to melt and layers to fuse.
When adjusting, you should lower your print speed in increments of around 5-10 mm/s, depending on your material, until you’ve lowered it to about 50% of the original value. If you’re still seeing layer separation, it most likely isn’t the speed that’s the cause.
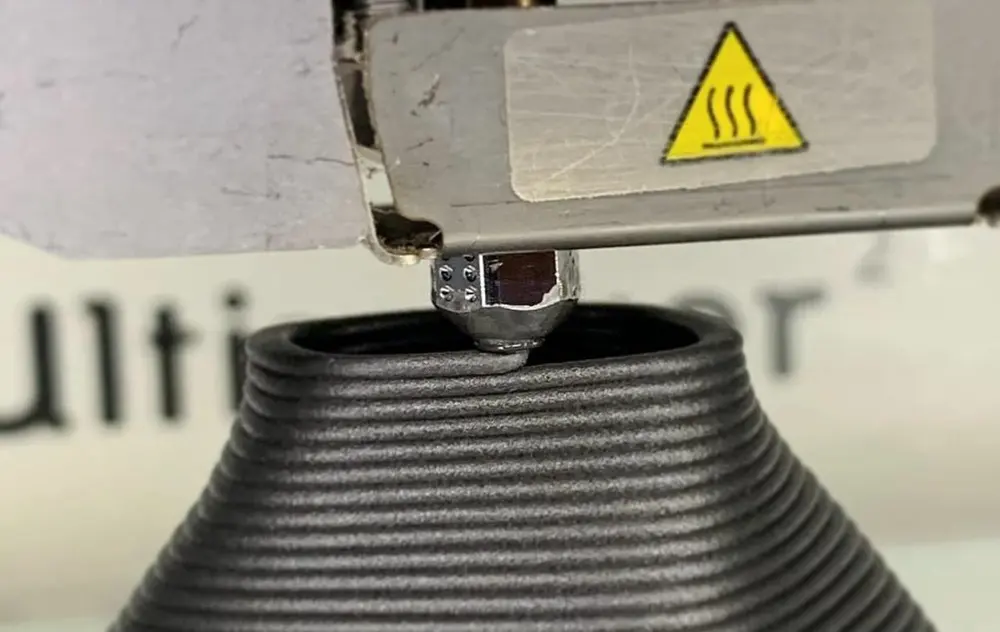
Tip #3: Raise Hot End Temperature
Our third tip for solving delamination is raising the hot end temperature, which should increase extrusion for your print. When the hot end temperature is too low, the filament doesn’t have enough time to melt, causing issues such as under-extrusion. However, the hot end temperature also influences how well the individual layers of a print bond during and after the printing process.
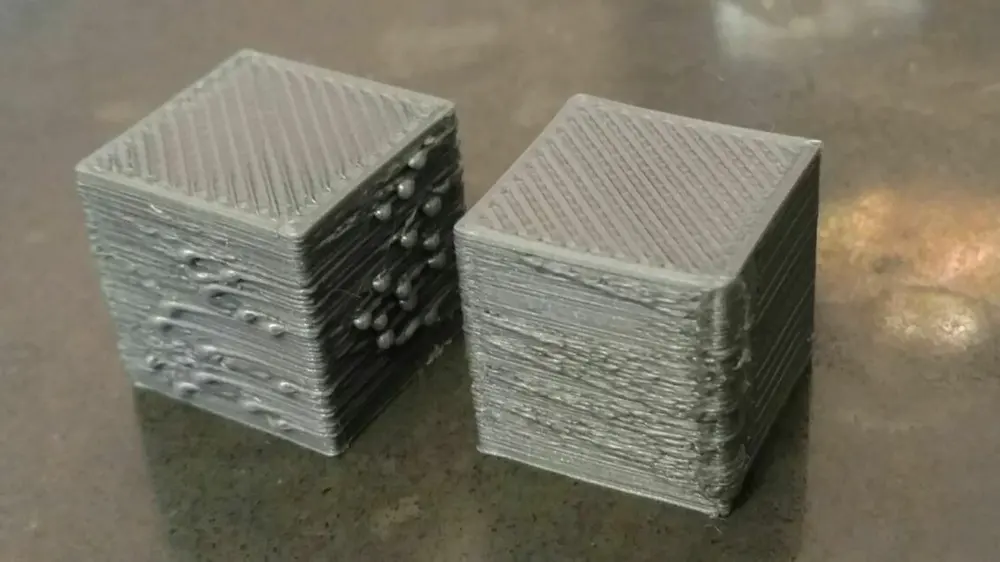
It’s no question that a higher nozzle temperature can yield stronger parts, and this claim is repeatedly verified in tests like the ones performed by CNC Kitchen. A hotter nozzle produces more filament flow, and this extra material increases the bond between layers. Additionally, the layers of filament that make up a print require heat to fuse, so naturally, providing more heat will aid this process up to a point. However, if the nozzle is too hot, adhesion gets weaker as the filament begins to degrade.
If you’re already experiencing under-extrusion or a similar issue, increasing the printing temperature is a good place to start. When raising the hot end temperature to improve layer bonds and solve layer delamination, try first increasing your temperature by around 10 °C.
If the issue persists, continue to increase the temperature in 5-degree intervals. Try doing this until the problem goes away or until you’ve reached the temperature capability of your printer or exceeded the temperature range of your filament. If this happens and you’re still seeing delamination, your hot end temperature probably isn’t the reason for your layer separation issues.
Tip #4: Increase Flow Rate
Related to the previous two solutions, our fourth tip is to increase the flow rate (sometimes called extrusion multiplier) in your 3D slicer. Before doing this, though, make sure to correctly set the E-steps on your printer, as flow and E-steps go hand-in-hand.
The flow rate determines how quickly the extruder feeds filament into the hot end (for a given print speed). Adjusting the flow rate is a common way to solve extrusion issues like over- or under-extrusion and can also solve layer separation. Increasing the flow rate increases the amount of filament pushed through the nozzle, and as we said previously, more material extruded means more opportunity for layers to bond.
If you’ve noticed under-extrusion in previous prints, adjusting the flow rate could be a good place to start (after raising the temperature) to eliminate layer separation. When increasing the flow rate, do so in 5% increments until either the problem goes away or you start to experience over-extrusion. If that happens, it means you’ve gone too far and flow rate likely isn’t your delamination culprit.
Tip #5: Adjust Part Cooling
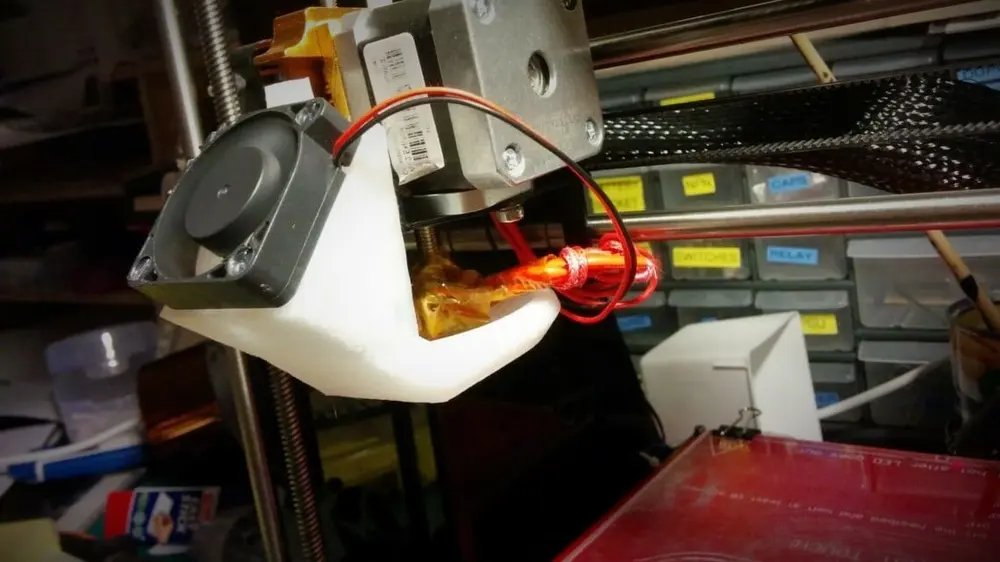
Our fifth tip to combat delamination is to adjust, usually by decreasing, the cooling for your print. Similar to how excessive airflow can cause warping on the first layer of parts, too much cooling can separate the layers of a print. As we know, heat is required to fuse layers, so layers have a harder time bonding if they’re cooled too quickly.
To fix this problem, lower your part-cooling fan speed in 10% increments until the issue disappears or you start to experience other printing errors. Don’t be afraid of going all the way down to 0% for your part-cooling fan speed, especially for temperature-sensitive materials like ABS. Some users have also noted that using a fan with PETG, in particular, can cause weak layer-to-layer adhesion.
While airflow is primarily produced from your printer’s part-cooling fan, it can also come from unintentional drafts. To test if this is the cause of your layer separation, you can print a test part with a low fan speed while keeping your printer in a controlled environment, like a closed room or (temporarily) in a trash bag to block airflow. If you don’t see layer separation, then over-cooling is the likely cause of the issue, and you should build or purchase an enclosure for your printer.
Tip #6: Decrease Layer Height
Some sources (such as Simplify3D) claim that a large enough layer height can contribute to layer delamination in prints, so our sixth tip is to lower the layer height setting in your slicer. Layer height is exactly what it sounds like, but you can also think of it as the distance the printhead shifts along the Z-axis before starting a new layer.
Layer height is typically based on your nozzle diameter, and a common layer height for a 0.4-mm-diameter nozzle is 0.2 mm. The smaller the layer height, the more detail your printer can achieve; the larger this value, the stronger parts will be. However, if the layer height is set too high, the individual layers won’t be close enough to bond effectively, potentially causing delamination.
If you’re using a standard 0.4-mm nozzle with a layer height above 0.2 mm and are experiencing layer separation, try reverting to a 0.2-mm layer height. If a 0.2-mm layer height isn’t working either, you may want to try going even lower. However, if a layer height as low as 0.16 mm isn’t working, then this probably isn’t the cause of your delamination.
Tip #7: Replace (or Dry) Filament
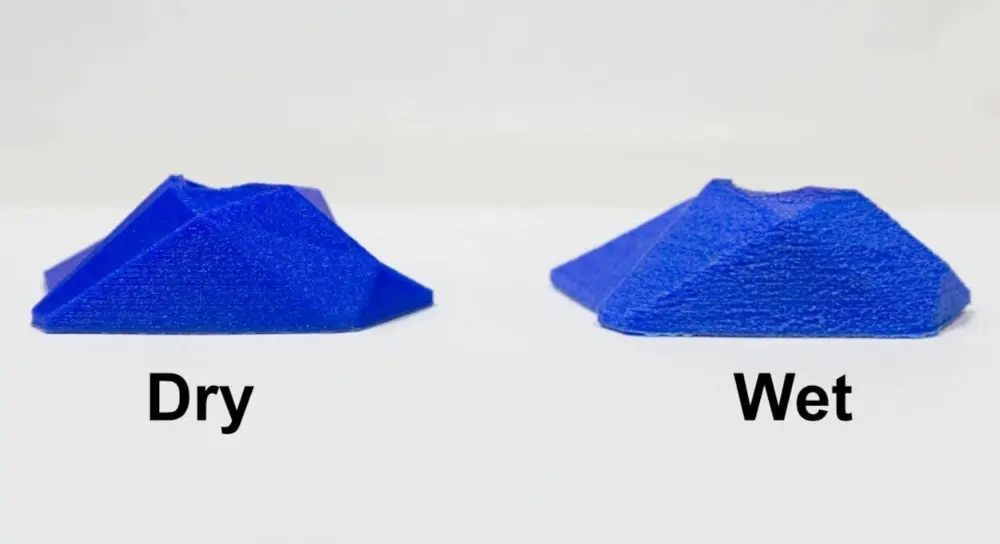
Certain filaments tend to degrade in quality when exposed to moisture, so our next tip is to try changing or drying your filament. Once a filament absorbs moisture, the material becomes more difficult to print with and issues like layer delamination are more prone to occur.
More hygroscopic materials, such as TPU, will undergo this process faster than others. If you’re using something particularly hygroscopic or see evidence that your filament is wet (based on the texture of your prints), you may want to try a print with a different spool of filament before moving on to the final tip.
Using a dry filament can help prevent layer delamination and other quality issues in prints, and you can do this by either using a new spool or drying your current one. Once you dry your filament, to keep it in good condition, we recommend storing it in an air-tight container to prevent moisture from getting in.
Tip #8: Use a Wider Nozzle
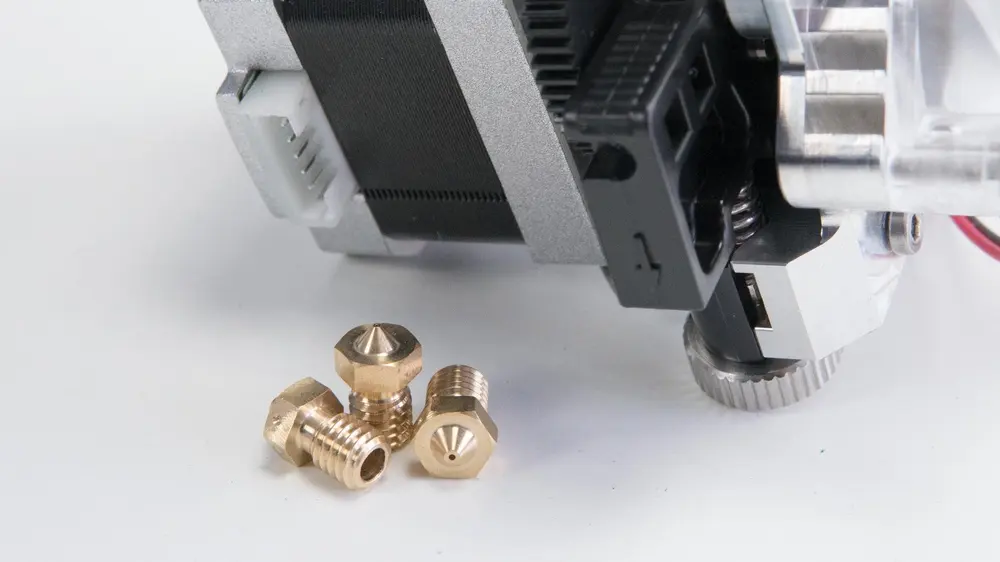
Lastly, if all else fails, using a nozzle with a wider diameter could help solve your layer delamination issues. Surprisingly, your nozzle diameter can influence the layer-to-layer adhesion in prints, and to some degree, the larger the nozzle diameter, the better the adhesion. A larger-diameter nozzle will lay out wider lines of melted filament, increasing the surface area for the next layer to bond to. If you increase the layer height accordingly, there will also be fewer opportunities for layers to separate because it will take fewer layers to create the same part.
Most 3D printers use a 0.4-mm-diameter nozzle as standard, so you may want to switch to a 0.5-mm or even 0.6-mm nozzle to try this solution. While this fix can work, we recommend you try using the other steps first to avoid a potentially unnecessary purchase. There’s also the disadvantage that a wider nozzle will negatively affect print precision. Finally, if you increase your nozzle diameter, don’t forget to adjust your nozzle temperature and flow rate to compensate for the increase in extrusion.
Source: 3D Print Layer Separation: 8 Tips to Avoid Delamination | All3DP