Tuning 3D print speed can be tricky. Learn how to find the perfect print speed settings for PLA and more materials!
One of the ways that 3D printing is often used is for “rapid prototyping”. The slight irony here is that individual prints can take hours or even days to complete! Fortunately, printing speed can be adjusted to reduce production time, but poor adjustment may also lead to print imperfections and failures.
Here, we’ll run you through the common 3D printer speed settings. By the end of this guide, you’ll know how to strike the perfect balance between printing speed and quality. Keep in mind that different printers, slicing software, and filament may behave differently, so repeated testing may be necessary.
Fire up your slicing software and let’s get started!
Print Speed
Print speed is the main speed setting that will influence your 3D prints. As the name suggests, print speed determines how fast the motors of your printer move. This includes the motors controlling the X- and Y-axes, as well as the extruder motor.
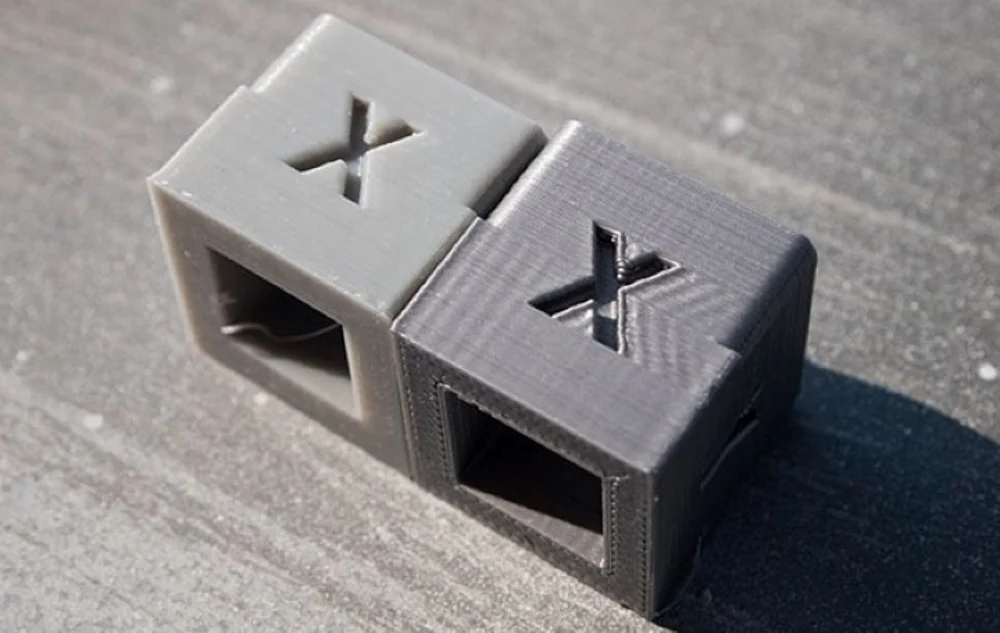
To test for print speed, download a print speed test model. These models generally come with instructions on how to set the correct settings. The model linked here will essentially print the same shape at gradually increasing speeds, allowing you to visually identify the optimal setting.
Too slow of a print speed may cause print deformation due to the nozzle sitting on the plastic for too long. Too fast and there may be other overheating artifacts caused by insufficient cooling, as well as ringing, under extrusion, and weak layer adhesion. The sweet spot should be as fast as your printer can get without sacrificing too much print quality (and some use cases might demand a higher level of quality than others).
To better refine print speed, this setting is commonly split into many more secondary settings:
- Outer wall/shell speed: This setting adjusts how fast the outermost perimeter of the model is printed. It’s typically decreased slightly to improve surface quality.
- Inner wall/shell speed: This setting adjusts how fast the inner perimeter(s) of the model is/are printed. It’s typically the same as the overall print speed to decrease print times while maintaining print strength.
- Infill speed: This setting adjusts how fast the infill of the model is printed. It’s typically the same as the overall print speed, to decrease print times while maintaining print strength.
- Top/bottom speed: This setting adjusts how fast the top and bottom surfaces of the model are printed. It’s typically decreased slightly to improve surface quality.
Travel Speed
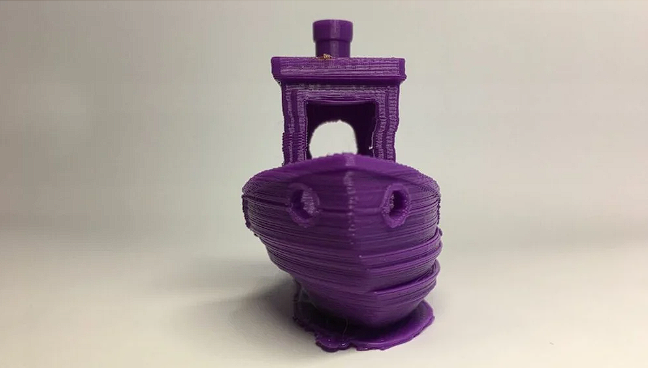
Travel speed adjusts how fast the printer’s printhead moves when it’s not extruding filament. Increasing travel speed can save significant amounts of print time, but increasing it too much may lead to ringing or ghosting artifacts or even layer shifting (and thus print failure).
To determine the optimal travel speed for your printer, print out a test print at various travel speeds, starting at 100 mm/s and adjusting by 5-mm/s increments. Keep bumping up the speed if the surface quality is acceptable, and decrease if print quality suffers. Look out for defects like misaligned layers, as pictured above.
Retraction Speed
Retraction speed adjusts how fast the printer pulls filament back before travel moves. This setting is critical for reducing stringing and improving print quality. Too slow, and you may be left with unsightly strings and blobs on your prints. Too fast, and you may experience the symptoms of filament grinding, which also include stringing and blobbing.
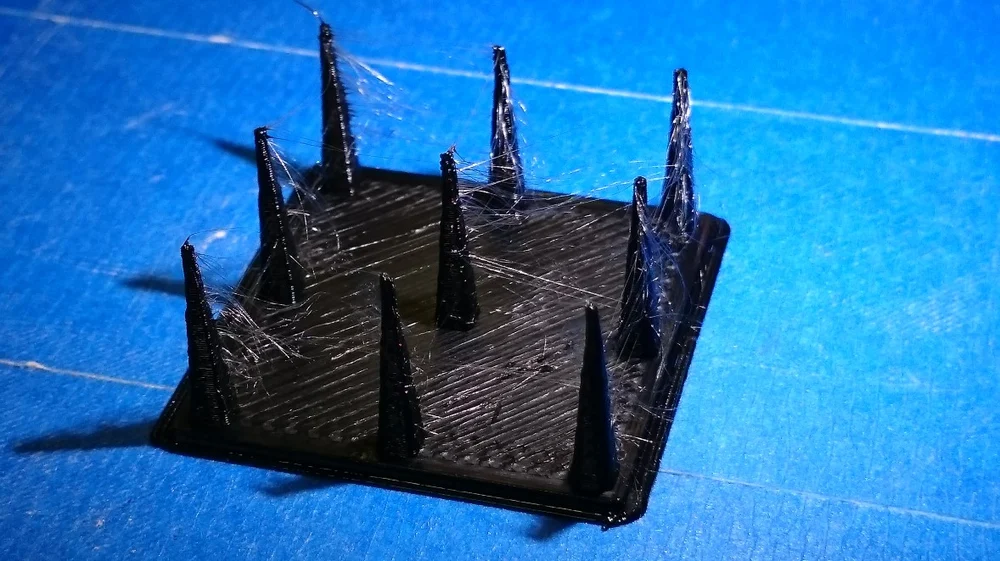
To determine the optimal retraction speed for your printer, print out retraction speed test at various retraction speeds, starting at 25 mm/s and adjusting by 5-mm/s increments. Look out for web or tree-like strings stretching between the spikes on the model. The perfect retraction speed should be the highest value that minimizes these artifacts without jeopardizing filament flow.
To better refine retraction speed, this setting is commonly split into two more secondary settings:
- Retract speed: This setting adjusts how fast the retract (the actual pulling back of the filament) occurs. This is usually the same as your overall retraction speed, and tuning it follows the same process.
- Prime speed: This setting adjusts how fast the filament is reinserted after the initial retract, in preparation for further printing. Increasing this speed will result in reduced print times and less blobbing due to extended exposure of the plastic to heat. Increasing it too much, however, may also result in insufficient heating of the freshly-reinserted filament before printing resumes. For most users, keeping this the same as the general retraction speed setting should work well.
Shells, Infill, & Layer Height
Your 3D printer’s speed isn’t determined only by “speed” specifically. It’s also significantly affected by how much plastic, and in what thickness, each layer of the 3D print is extruded. These settings are incredibly detailed, so we’ll only go through general information about how each affects print speed. For more, we have specific guides to 3D printing shells, infill, and layer height.
- Shells: The shells setting indicates how many perimeters of plastic are extruded to form the outline of your part. Increasing the shell count increases part strength, but also print times.
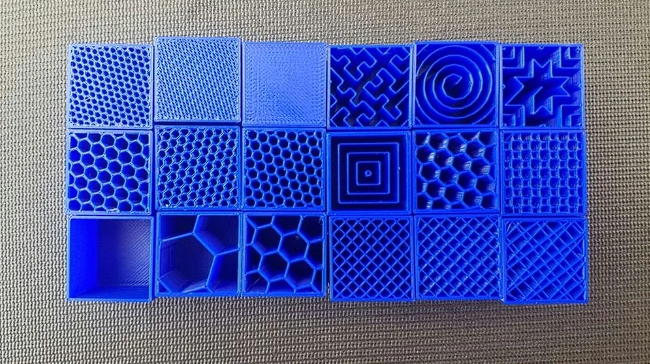
- Infill: Infill is the internal structure generated to save material when printing the interior of 3D prints. The infill pattern will marginally affect print speeds, while infill density will alter print times drastically. A higher infill density will increase part strength but also print time.
- Layer height: Layer height has a significant impact on how fast your prints come out. The greater your layer height, the thicker each layer of your 3D print is, and thus the quicker your print is completed. Adjust this based on how much fine detail your print requires.