Fed up with icky glue sticks and blue tape? Learn how to apply a PEI sheet to your print surface to obtain the optimal 3D printing results.
For nearly every maker, the relationship with a 3D printer is evolutionary, given that the experience improves as one grows more familiar with the machine. Some may be great right out of the box and provide a wonderfully warm feeling when that first model appears atop the print bed. Unfortunately, there are also certain obstacles that can appear on the path.
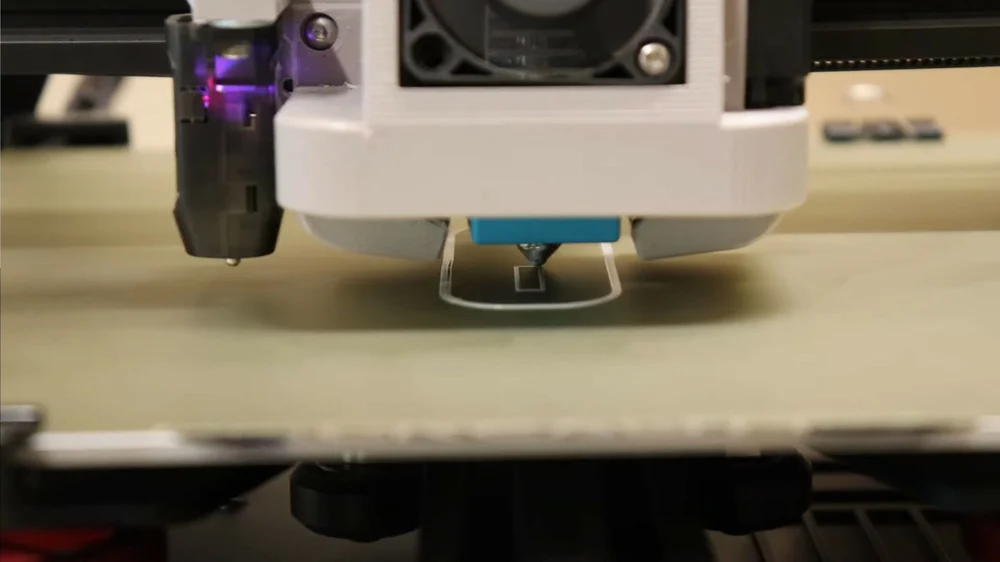
Not a few makers have felt dread as they watched the print head grind through the print bed because they forgot to re-level the bed after changing the filament. Or they experienced that sensation of seeing the model halfway done, only for it to suddenly slide out of place and refuse to stick to the build surface.
Needless to say, print adhesion is a critical part of the process. Initial internet searches will likely tell you to try out painter’s tape and glue sticks, but you might grow tired of having to clean the bed after each print or you may be looking for a solution that lasts a bit longer. Another viable option is to look into using a PEI sheet.
In this article, we’ll explain what a PEI sheet is, how to apply it to your print bed, and what results you can expect from this upgrade.
What Is a Pei Sheet?
Polyetherimide, more commonly known in its abbreviated form PEI, is a “relatively maintenance free” build surface that can be used for all types of filament on a heated or unheated print bed. It doesn’t require any additional adhesives such as glue or tape. In the 3D printing world, these PEI sheets are sometimes sold under the guise of brand names such as Ultem.
PEI requires “no surface prep” before use, which makes it very convenient to work with. The guidelines for use also suggest that using a PEI sheet on your print bed will eliminate the need for a raft or brim, as parts are expected to adhere directly to the surface without issue.
PEI has excellent mechanical properties, including radiation resistance, high and low-temperature resistance, high-temperature stability, and high wear resistance, as well as good flame retardancy, chemical resistance, and electrical insulation characteristics. Not to mention, it comes in multiple colors!
Pros & Cons
PROS
- It’s readily available, relatively cheap to purchase, and is easy to apply and remove.
- It can provide excellent adhesion for a printed item, removing the need for tape or glue.
- It provides a smooth surface finish (while it remains undamaged).
- It provides good thermal conductivity for a heated bed.
CONS
- It’s relatively soft and can be damaged by a poorly adjusted print bed or excessive scraping.
- It can adhere very strongly to a printed item, risking damage to both the bed and the item as well as taking a lot of effort to remove the model.
If you find that you’d like to give a PEI sheet a try, here’s how to install it.
How to Use a PEI Sheet
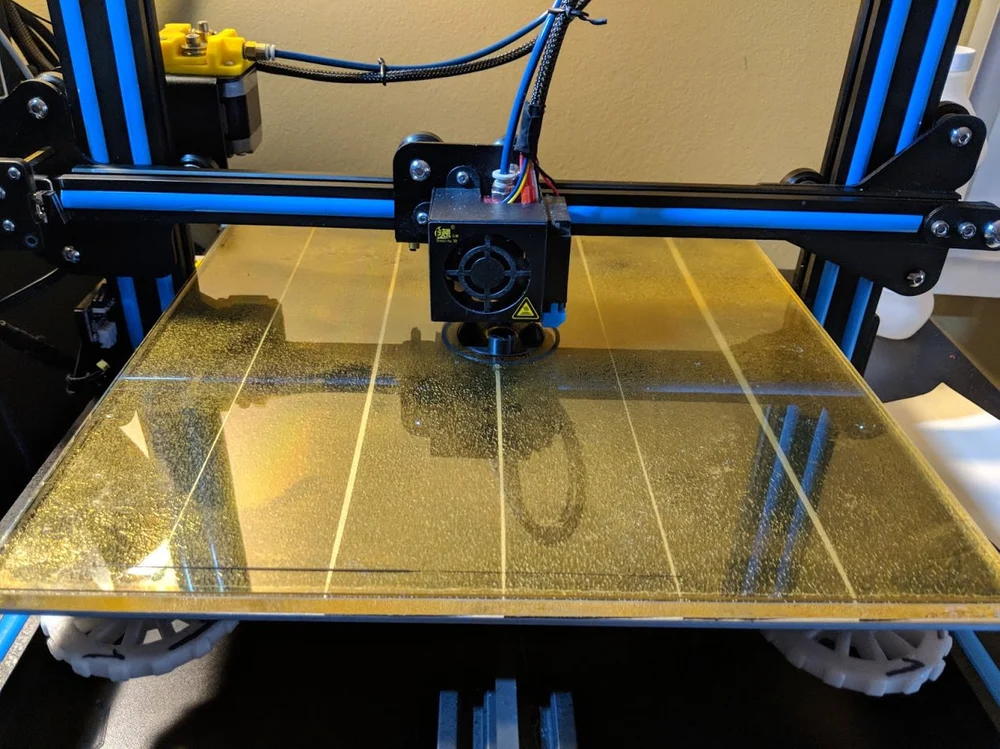
Step 1: Preparing the Print Bed
If your printer doesn’t have a PEI sheet, all you have to do is make sure the print bed is ready for a covering. It’s a good idea to clean the build surface before you apply anything to it. Check out some our tips in How to Clean Your 3D Printer Bed – 3 Easy Ways
REMOVING OLD SHEETS
If you already have some sort of covering or sheet on the print bed, your first step is to remove it. Depending on the type of print surface you have, the easiest way to do this is to set the bed temperature as if you were printing with ABS (110 °C). Wait until the bed is heated and then start in one corner and peel it off. Sliding a spatula across the surface (being careful not to scratch the aluminum plate) can assist you in breaking the adhesive sheet.
At this point, you should have to assess the build surface. If the remaining adhesive is just a thin uniform coating rather than uneven blobs, you can apply the new sheet directly over the top. If not, you have to clean it with some denatured or isopropyl alcohol, using a scraper to give the heated bed a smooth finish.
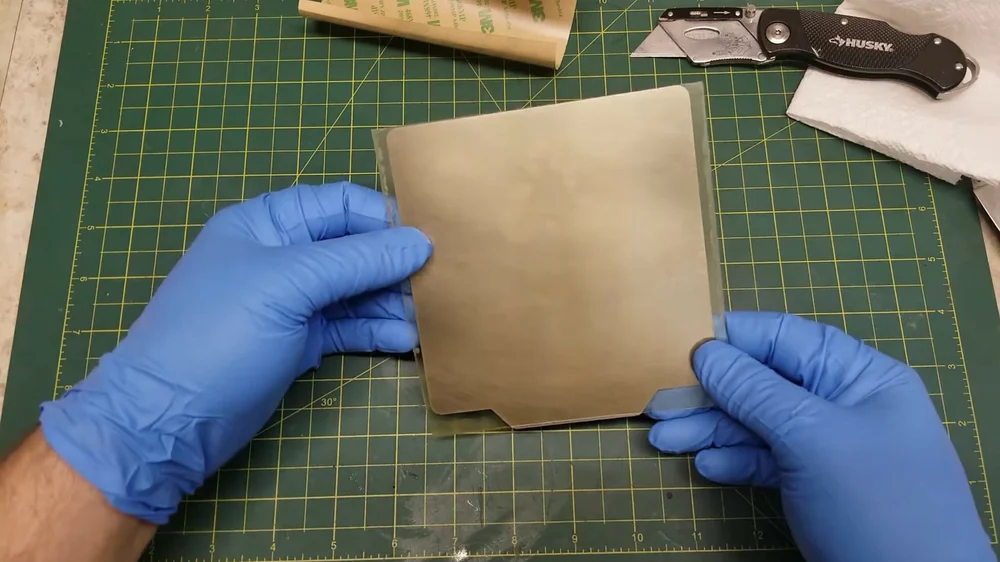
Step 2: Applying the New Sheet
There are two kinds of PEI sheets: with and without self-adhesives. Regardless of the type you select, you may have to do some trimming so that the sheet fits the print bed. You can do so with a knife or another type of cutting tool, trimming the corners if your adjustment screws are sticking up through the plate.
NON-ADHESIVE SHEETS
If the PEI sheet you’ve got doesn’t have an adhesive, you can simply set it to the build surface with binder clips or you can use a special adhesive (be cautious of compatibility with the build surface). Another non-adhesive option is a magnetic PEI sheet.
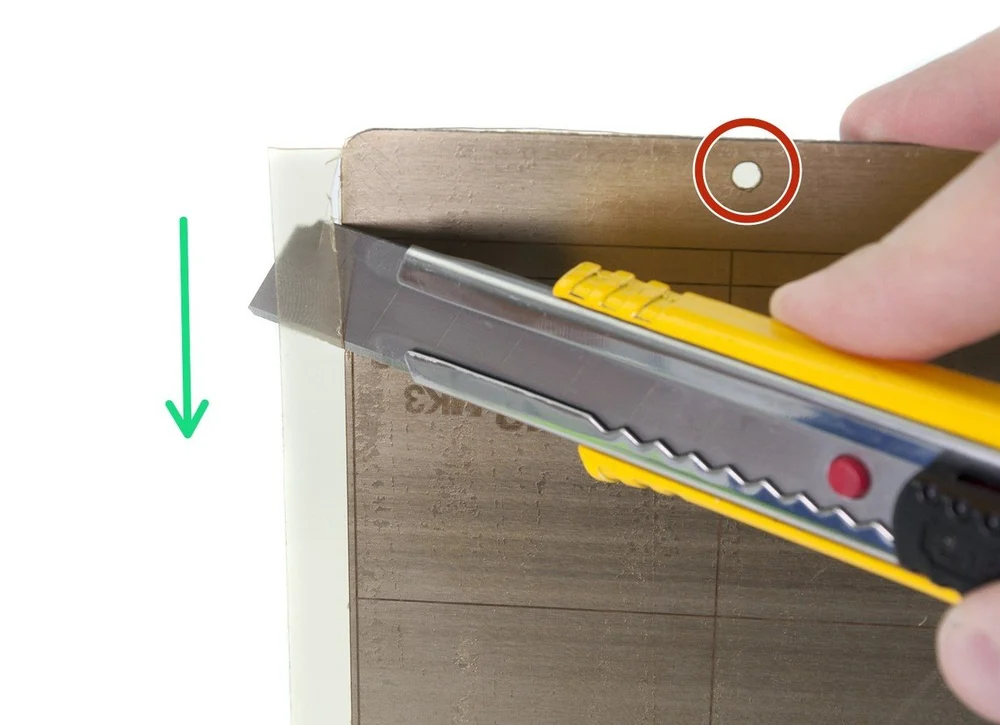
ADHESIVE SHEETS
If the PEI sheet is self-adhesive, remove the protective film by peeling back one edge of the PEI, but not too much though! It’s very important that you scrape any bubbles or lumps out as you attach the sheet to your print bed. Be sure to take it steady and apply small portions at a time, starting along one edge and moving throughout the bed.
Once the entire sheet is mounted to the platform, ensure no bubbles are showing on the surface. You can use your printer’s scraper to smooth everything out until the PEI sheet is as flush with the build surface as possible.
Step 3: Re-leveling
After the PEI sheet is applied, don’t forget to re-level the print bed (that is, if your printer requires manual calibration).
All in all, a PEI sheet is an affordable option that provides exceptional adhesion, but the success of your print will also depend on factors like bed leveling. Either way, if you plan on sticking to 3D printing in the long-run, a PEI sheet can save you from future frustration by making sure your prints stick to the bed. While it may not be a universal panacea for print bed adhesion problems, it may be just what you need.