Interested in making your own low-poly 3D models? Learn how to do it using two of the most popular 3D software: Blender and Sketchup.
Early Steps
With the technology available today in the video game industry, we are used to seeing life-like images in each game that comes out.
That’s because the graphics resources, like processors and graphics cards, evolved so quickly over the years, allowing the game developers to make more complex models to achieve better results.
But back in the mid-’90s, when the first 3D video games began to hit the market, it was common to see characters and scenarios formed out by straight and hard edges on our computers or game consoles. To us now, they look awkward and unrealistic. What we didn’t know then was that those simple shapes we were seeing on our screens would later become what we now call “low poly” models.
A polygon is a 2D shape made out of straight angles and lines that, when placed together, are able to create 3D shapes. Polygons are an essential part of every 3D model and as you can see, the higher the polygon count is, the more detailed and smoother the object will be and vice versa.
Low Poly as an Art Expression

What began as a technological constraint later became a form of artistic expression.
Many designers and digital artists around the world began to use low-poly art due to its capacity to synthesize the geometry of any organic object. They did this by reducing the mesh to get a really attractive finish and highlighting a minimalist style.
Nowadays we can see these low poly images in a lot of advertising campaigns, illustrations and also video games. If you want to see an example of some incredible 3D low-poly images, feel free to visit the web page of the 3D illustrator Thimothy J. Reynolds.
Believe it or not, you can apply this cool effect to any 3D model you want just by using different CAD software tools. In this case, we’re going to show you how to do it by using Sketchup Pro plugins and Blender modifiers. We’ll use a simple Pokemon model created by Diego Vicentin to show you the process, so let’s get started!
Making your own low-poly models in SketchUp
One of the biggest differences between Blender and Sketchup is the number of polygons they can handle. Blender is able to work with a larger amount of polygons in an easier way, so if the 3D model you’re working with is a complex one, like a detailed character, we recommend you skip to the Blender section below.
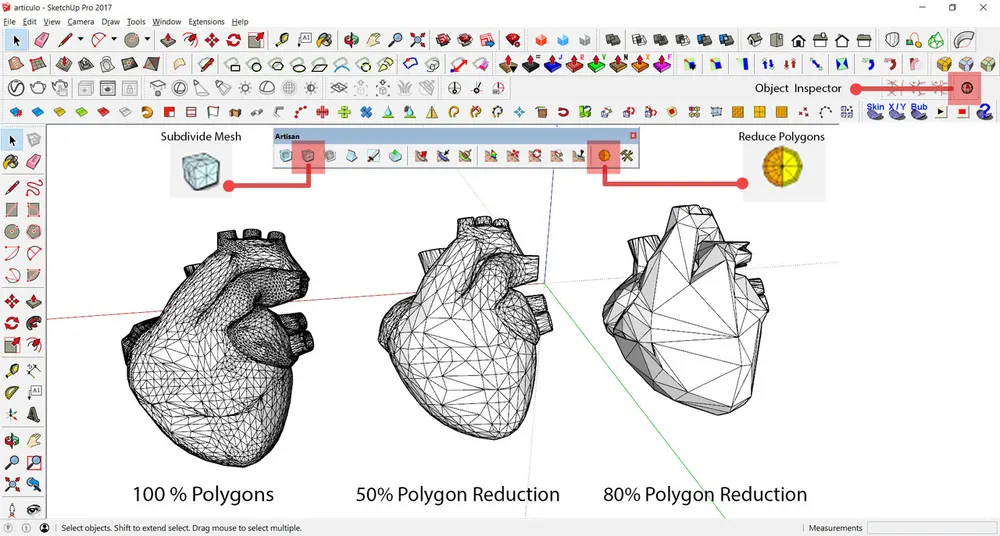
- The first step is to open our 3D model in Sketchup. We’ll need a plugin called Artisan, which is a toolset that allows you to create, manipulate and optimize organic shapes without problems. We can both reduce or increase the number of polygons in the mesh by using the tools ‘reduce polygons’ and ‘subdivide mesh’.
- Once you select the entire model and click ‘reduce polygons’, a window menu will appear asking for the percent reduction of the mesh. The bigger the percentage, the more evident the low-poly effect will be in our object. Play around with these percent values until you are satisfied with the result. We recommend not applying the tool more than twice to the same object because you can end up with an unrecognizable shape instead. You can always get back to your original polygon count by clicking the “subdivide mesh tool” or CTRL Z.
Making your own low-poly models in Blender
For Blender users, the process is very similar, but the tools have different names. In fact, you’ll probably find it easier to apply the low-poly effect using modifiers.
Blender has an object mode and an edit mode and both have different uses. In this case, we’re mostly working on the object mode.
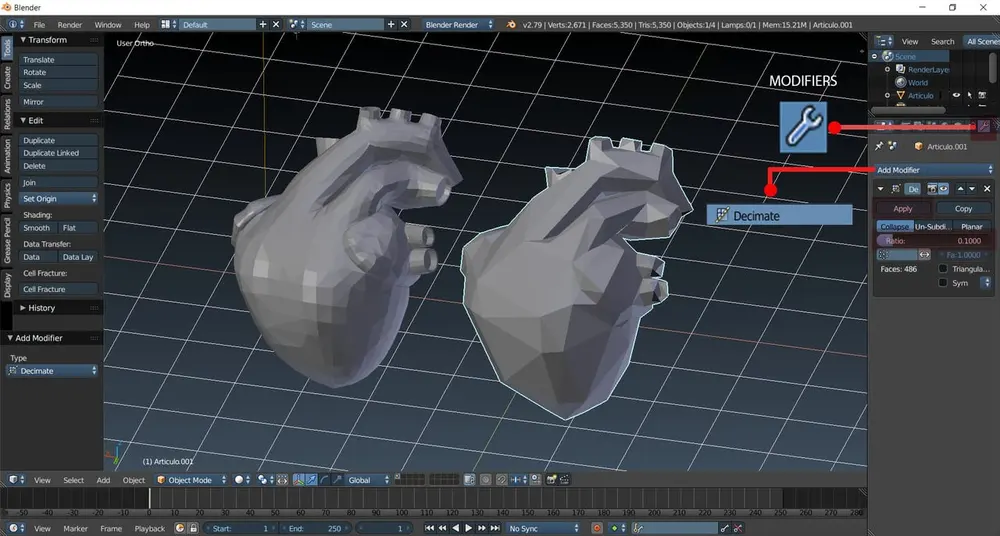
- First, select the object with a right-click and search for the modifiers menu, which has a little wrench symbol. Now in the modifiers menu, click ‘Add modifier’ and select the option ‘Decimate’. The Decimate modifier allows you to reduce the vertex and face count on a mesh using a slider that controls. This will give the object the low-poly appearance we’re looking for.
- Move the slider or enter a value to see how the shape of the object is changing. Once you’re satisfied with the result, press the button above that says “Apply” to make these changes permanent. We don’t recommend using a very low value because, again, you’ll end up with an unrecognizable shape. Probably a 0.5 to a 0.1 value will work.
Making Your Low-poly Creation Printable
Now you have your model ready it’s time to prepare it for the 3D printer. In Sketchup, select your entire model and convert it into a group by right-clicking and selecting the option ‘Make group’. With the solid inspector plugin, check your model to make it printable and avoid problems during the printing process. This plugin repairs some issues of the model automatically. Others do not and you have to repair them manually, but it tells you where the failure is with a red line. When the Solid inspector tells you that the model is fine you’ll be ready to export it to an STL file.
In Blender, hit tab on your keyboard with the object selected to go to the edit mode. Press the W key to select the option ‘Remove doubles’. This option will check and clean the model in case you’re having double vertex. Then export it as an STL file.
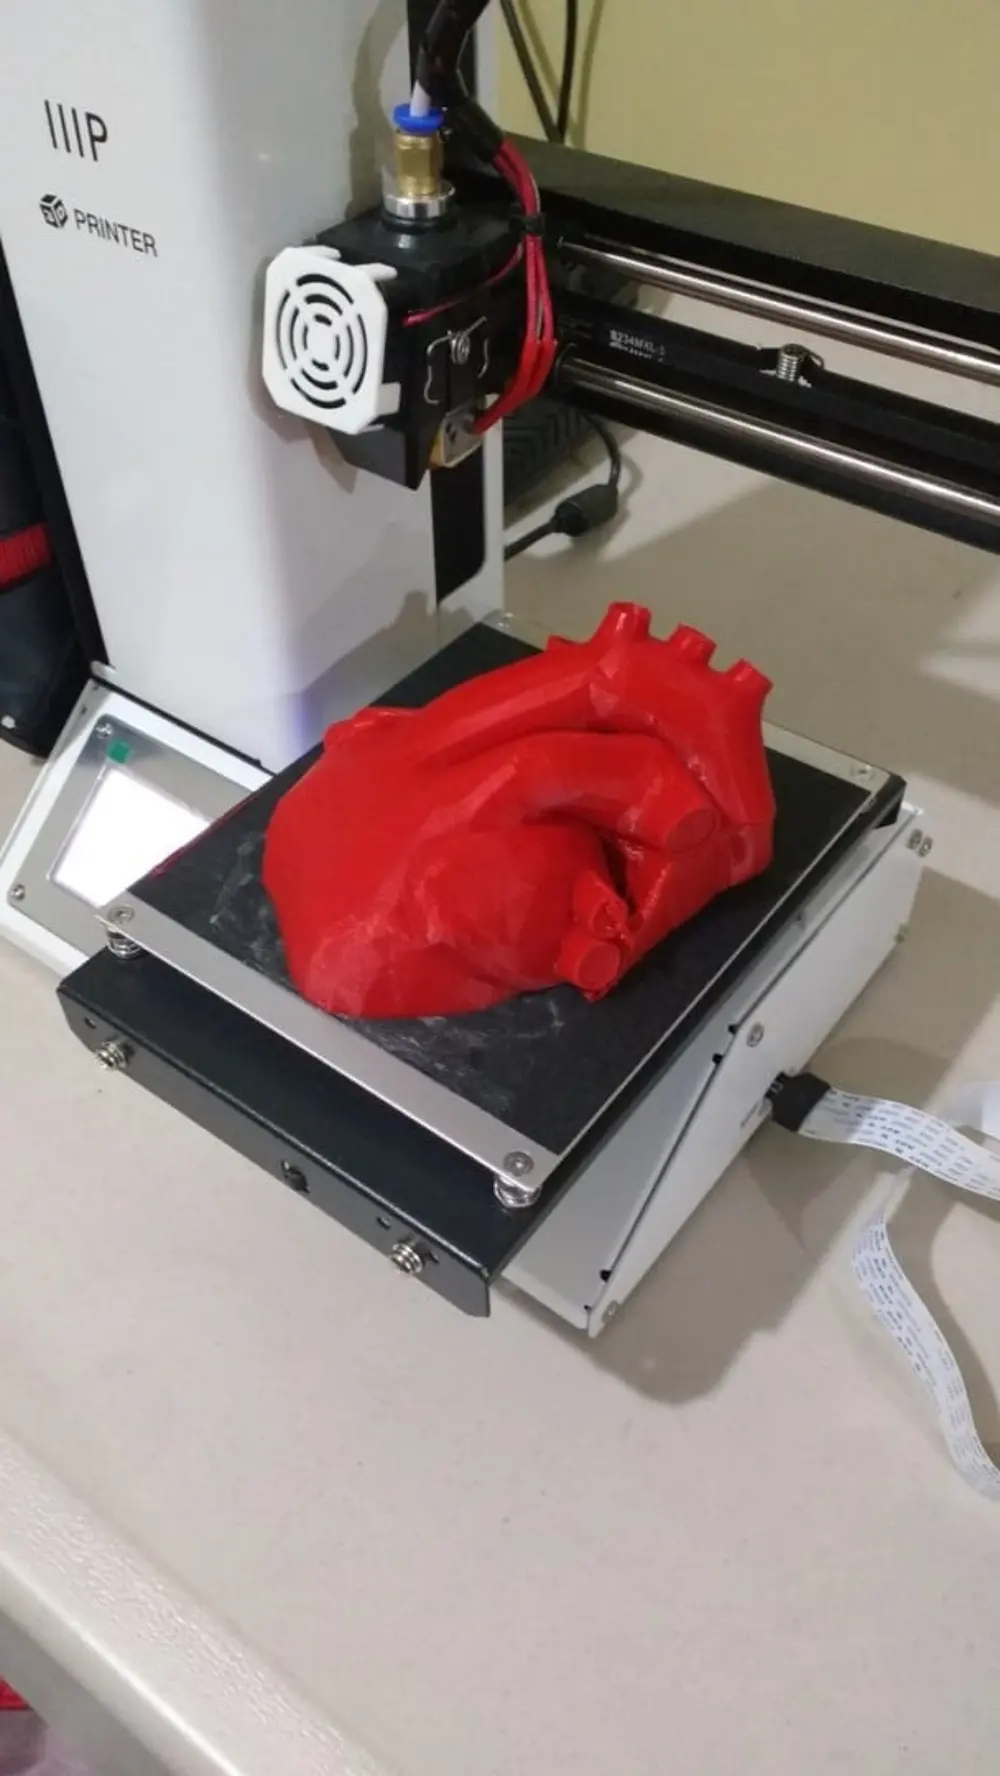
Finally, open the file in the slicer software of your choice and send it to your 3D printer.
Final Thoughts
Low-poly models are very popular and that’s because they look awesome, they allow you to visualize an object with a very basic geometry but without losing its essence. In terms of appearance, there is a visual honesty that engages the viewers and lets them recognize the object or to catch the idea very quickly.
Now you know a little more of where the “low poly” term comes from and why it’s considered an art expression by many. Most importantly, however, you’re able to make and 3D print your own low-poly models without any issue, so now is your turn to do it, express yourself and have fun printing!
For a cool starting point, try printing these low-poly Pokémon.