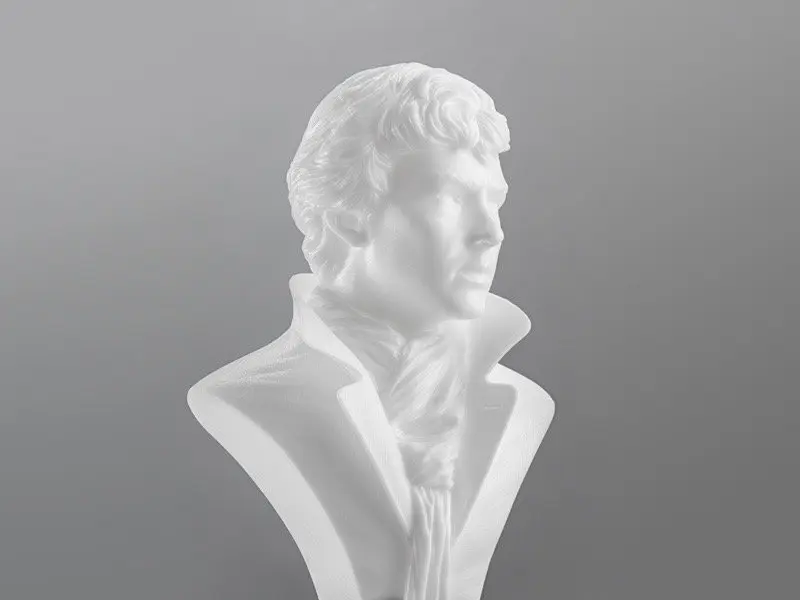
By default, stereolithography (SLA) 3D printers create fully dense parts. At times when you’re not printing functional parts that require structural strength, hollowing out your 3D model can be great way to save a considerable amount of material and time.

A few designs we recommend hollowing out:
- Art and sculptures
- Scale models
- Early stage conceptual models
- Large models and multi-piece assemblies
Using PreForm (free), and Meshmixer’s (free) hollowing tool you can prepare your model for printing in three simple steps.
Mesmixer has a whole lot more features to offer for editing STL files for 3D printing. Check out our in-depth Meshmixer tutorial that walks through 15 pro trips for both beginner and advanced users.
Step 1: Find the Correct Orientation
During the SLA printing process, your model is printed layer by layer and lifted out of the liquid resin as the build platform gradually moves up along the Z axis. Depending on your 3D printer, when you print a hollow object it could trap resin inside the print as the layers are solidified by the laser below the liquid. You can circumvent this by first finding the correct orientation to print your model and strategically adding vent holes to let the resin flow out.
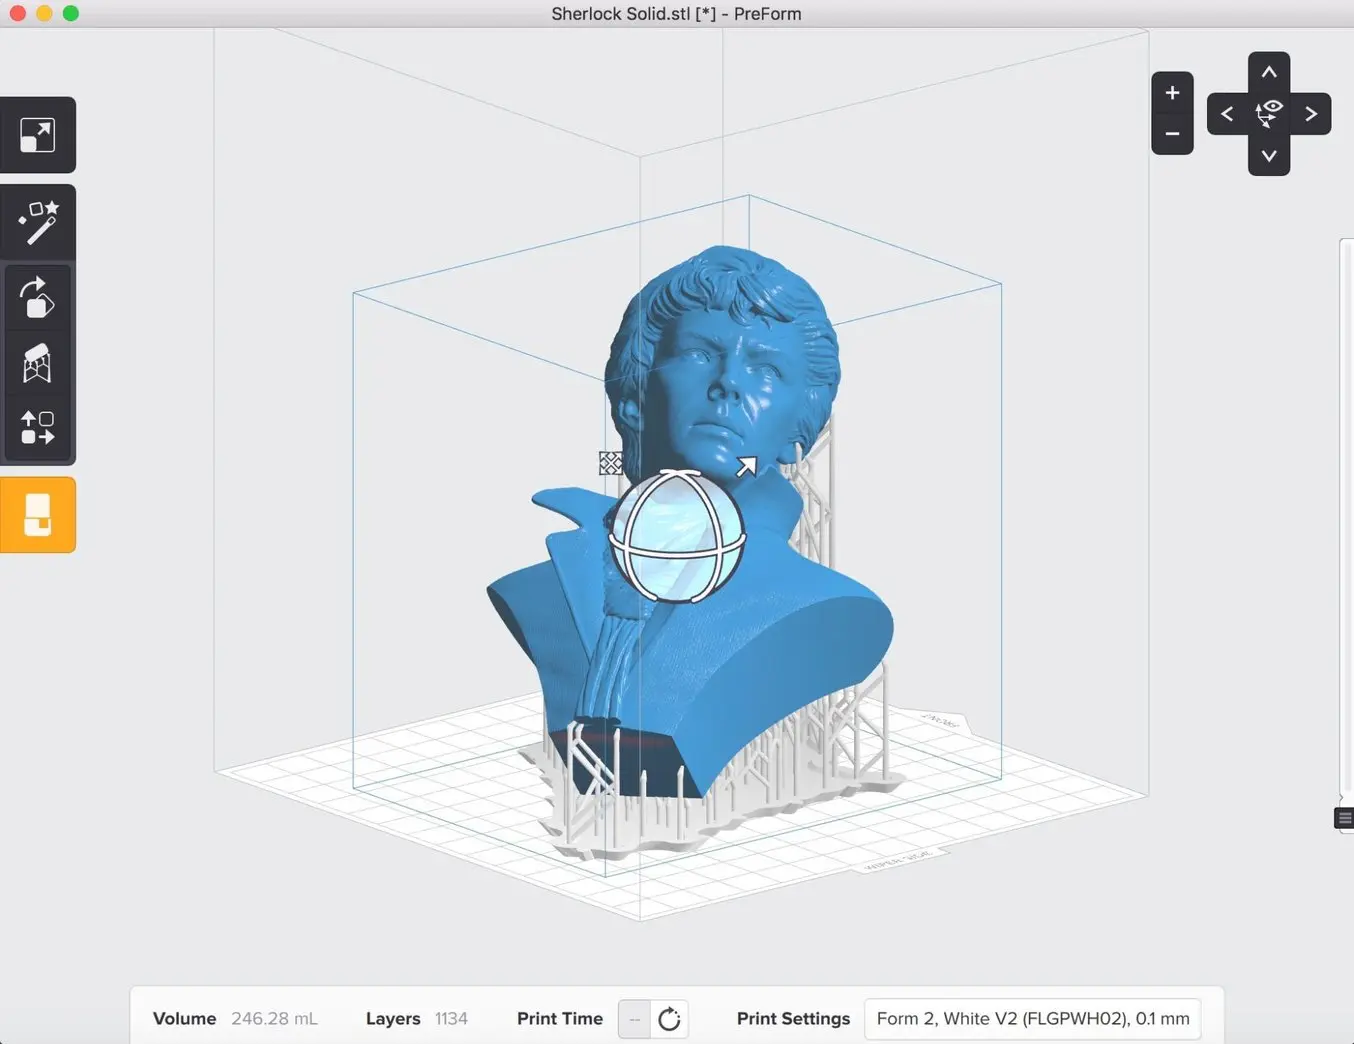
Open your model in PreForm and orient it the way it’ll print the best. The side closest to the build platform should be one that won’t be visible on the object or where a vent hole can be placed without influencing the function of the part. Try to avoid having multiple negative overhangs, as they would trap resin inside as well.

Step 2: Hollow Out Your Model Meshmixer
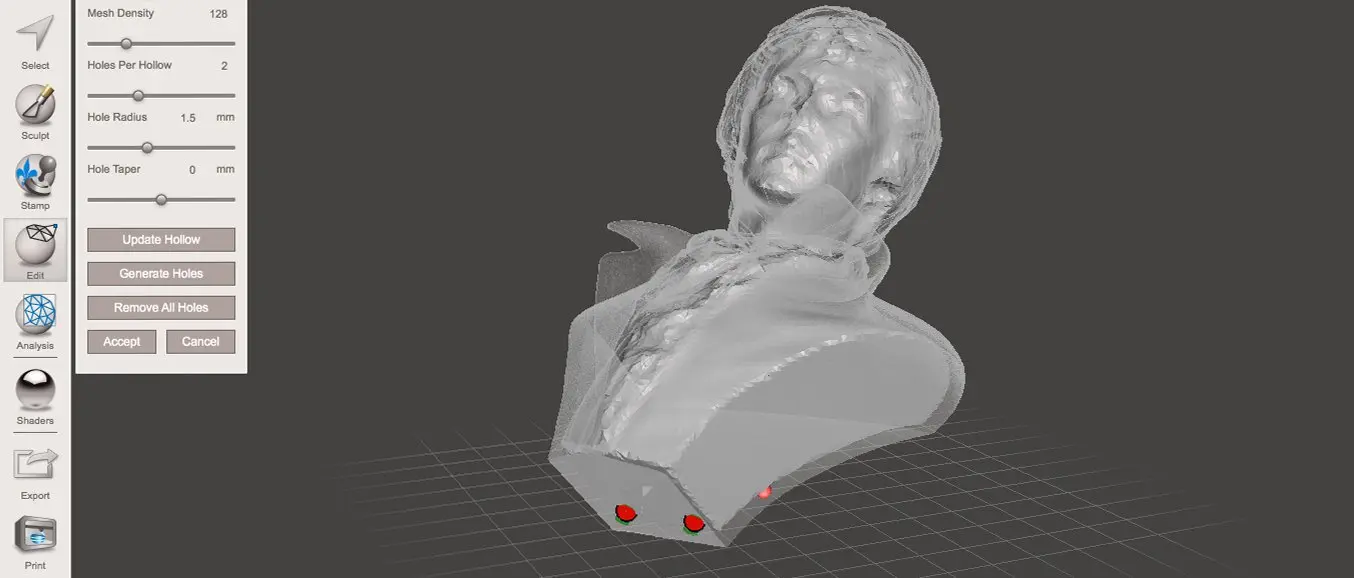
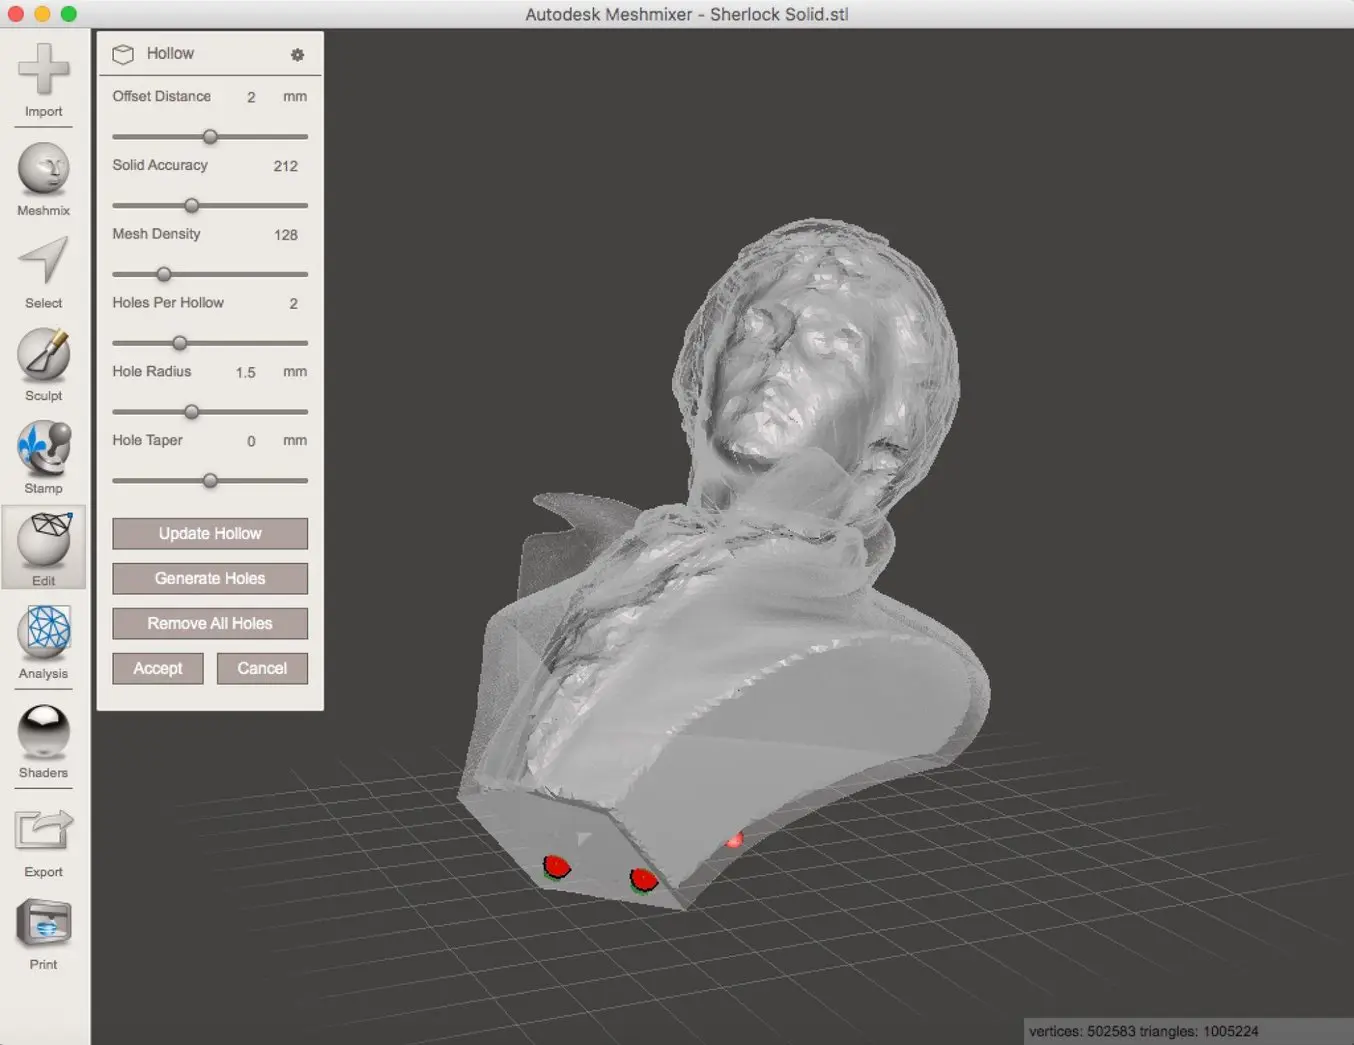
First, open your model in Meshmixer. You can orient it identically to your preset in PreForm, if it makes it easier to find the correct location for the vent holes (Edit > Transform). Look for Meshmixer’s hollow tool (Edit > Hollow) and adjust the settings based on your preferences for wall thickness. Meshmixer will create a shell inside your model according to the offset you specify.
What to consider for the best results:
- The wall thickness directly influences the strength of your print. Since there’s no internal structure or scaffolding within the hollow print, having a thin shell will render large models fragile.
- The thinner the walls, the less material your print will require and the lighter it’ll be. If you need a solid or stronger part, you can also opt for filling up the model with inexpensive epoxy or plaster after printing.
Next up is generating the vent holes. Place one as close to the build platform as possible and at least one more on a surface of your preference. This will help the resin and air to vent while printing the part, as well as isopropyl alcohol (IPA) flow through during the cleaning process. Sometimes, flat surfaces will be destroyed when a hole is added. To prevent this, use the Make Solid (Edit > Make Solid) function to generate an easily manipulable mesh. Note that your mesh may lose quality this way unless you use the sliders to preserve quality.

When you’re finished, accept the settings and export your model from Meshmixer in .STL format.
Step 3: Print Your Model
Now you’re ready to print. Import the modified 3D model to PreForm and orient it identically to the previous steps so that the vent holes are as close to the build platform as possible. From here on, the printing and post-processing follows the same path as regular SLA prints.
The actual time and material savings are dependent on your specific model and settings. In our example case, the results for a 112 mm X 85 mm X 114 mm model with 2 mm offset distance and 0.1 mm layer thickness are the following:
Overall Comparison
| ORIGINAL SOLID | HOLLOW | |
|---|---|---|
| Material | 246.28 mL | 77.37 mL |
| Printing time | 15 h 35 min | 7 h 47 min |

Learn More About SLA 3D Printing
You don’t have an SLA 3D printer yet? See the Form 3 and explore our materials page to learn more about Formlabs Resins.
Curious to see how SLA parts look and perform? Request a free sample part to experience SLA quality firsthand.