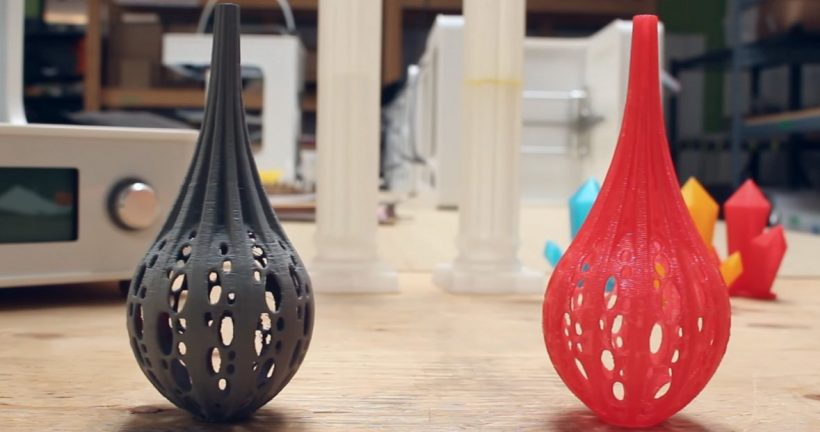
When producing your FDM part, often the finished look matters just as much as the functionality. FDM parts are ideal for functional prototypes, low-volume end-use parts and concept models.
However, when printing your FDM parts, it’s important to know not only how the FDM production process works, but also how to achieve aesthetically-pleasing results in the post-processing stage. In today’s tutorial we’ll explore a few practical tips on how you can effectively finish your FDM parts — as well as key things to watch out for.
1. Remove any support structures
The first stage in the finishing process for FDM prints is to remove all support structures, which are required to secure the geometry of a part. There are typically two ways of removing the supports for FDM prints: manually or using a solvent bath.
Removing the support structures manually is faster than a solvent bath, requiring only a pair of pliers to break the supports off from the print. However, this process can leave touchpoint marks that may need to be subsequently sanded.
Alternatively, the supports can be dissolved in water or a suitable chemical, although this process may take up to several hours. It also requires support materials such as Polyvinyl Alcohol (PVA) and High-Impact Polystyrene (HIPS) specially designed for this purpose. However, the advantage of a solvent bath is that it’s completely hands-free and does not leave any blemishes or marks on the surface of the print. Thanks to this, there is no need for sanding or polishing to remove support marks.
Things to keep in mind:
- If choosing to manually remove your part’s support structures, it is important to take this into consideration in the design stage so that the supports can be removed cleanly.
- If opting for the dissolving method, you will need a multi-head printer as the support material is added via a separate extruder.
- Unlike water dissolvable PVA, HIPS dissolves in limonene. Depending on your print volumes, limonene could potentially become a significant ongoing expense – so it’s important to take this additional expense into consideration.
2. Smoothing your print
Whether the support structures were dissolved or removed by hand, the surface will still require some degree of smoothing to remove support marks and layer lines. Depending on the purpose of your part, the level of detail and production volumes, there are a range of finishing options to smooth your FDM parts:
Sanding
This is a common post-processing option for removing visible blemishes. Make sure to choose the suitable grade of sandpaper — generally, you’d want to start with a coarser sandpaper and gradually move to a finer one. However, parts printed in fine layers may be sanded with a finer paper straightaway.
Tips when sanding:
- Always use a light touch and circular motion when sanding to achieve the best surface finish.
- Keep in mind that harsh sanding can affect the dimensional accuracy of your part and damage small details.
- Consider using wet sanding, as this prevents dust build-up; otherwise don’t forget to wear protective clothing.
Vapour smoothing
If you are going to plate your part with metal, vapour smoothing is a good choice for preparing the surface beforehand. However, while it’s faster than sanding, vapour smoothing doesn’t smooth layer lines and gaps. Also note that this technique only works with ABS-based FDM thermoplastic.
Bead blasting
If you require the surface of your part to be matte and smooth in a short time frame, bead blasting is a perfect alternative to sanding. Furthermore, with bead blasting it is easier to reach small features and internal channels than with sanding.
Tumbling
Tumbling is a good finishing option for more durable FDM materials. The advantage of this process is that you can finish multiple parts at the same time. Although tumbling can affect dimensional accuracy, this can be prevented by designing parts with thicker outer walls.
3. Filling the gaps
After dissolving the support material, small holes can often appear on the surface of a part. This is caused by the support material leaking into the part during the printing process.
Autobody filler will be the ideal solution for filling these gaps and holes. Once the filler has dried, you will need to sand your part once more to achieve a uniform finish and prepare the part for painting. Alternatively, for parts printed with ABS, you can create a filler of the same colour and surface quality as the rest of the part by mixing acetone with the filament you printed with.
4. Painting your part
Once the above steps are completed, it’s finally time to give your print some bright finishing touches. With FDM parts, there are two options available.
The first option is to paint your part by hand. Before starting, ensure that your part has been cleaned of dust and dirt and that layer lines and surface imperfections have been removed through sanding. A prudent choice for painting FDM parts will be an airbrush as this will ensure a uniform paint deposition. Paint your part in several thin coats, letting each one dry for around 30 minutes before the next coating. Once the last coat of paint has fully dried, a rule-of-thumb is to apply a layer of epoxy to make your part look bright.
On the other hand, you may want to explore the possibility of printing your FDM prints in full colour – although this will require a specialist printer or outsourcing to a specialist.
Source: https://amfg.ai/2018/04/24/achieve-perfect-finish-fdm-parts/