3D printing filaments come in various colors and finishes, with clear filament being one of the most intriguing. It allows for the creation of transparent objects, ideal for items like lampshades and vases that benefit from light or color passing through.
However, it’s important to note that clear filaments generally produce translucent rather than truly transparent parts. This is due to the layer-by-layer printing process, which introduces layer lines that obscure clarity. Thus, even a fully see-through filament won’t result in completely clear prints.
The degree of transparency varies by brand and material. For instance, clear PETG filaments tend to be much clearer than clear PLA filaments. PETG filaments, in particular, are known for yielding some of the clearest prints among 3D printing materials, making them an excellent choice for those seeking true transparency.
Thomas Sanladerer explored the potential of achieving strong and transparent FDM 3D prints. He was inspired by a user named Rygar1432, who had posted successful settings for producing clear parts on Printables.com. This inspiration led Thomas to experiment with similar techniques.
The common challenge of achieving true transparency in FDM prints is that they often come out more whitish rather than crystal clear. Thomas highlights the importance of layer bonding in enhancing the strength and transparency of the prints. Resin printers are not the only option for transparent parts, filament-based printing has a broader material selection and well-known properties.
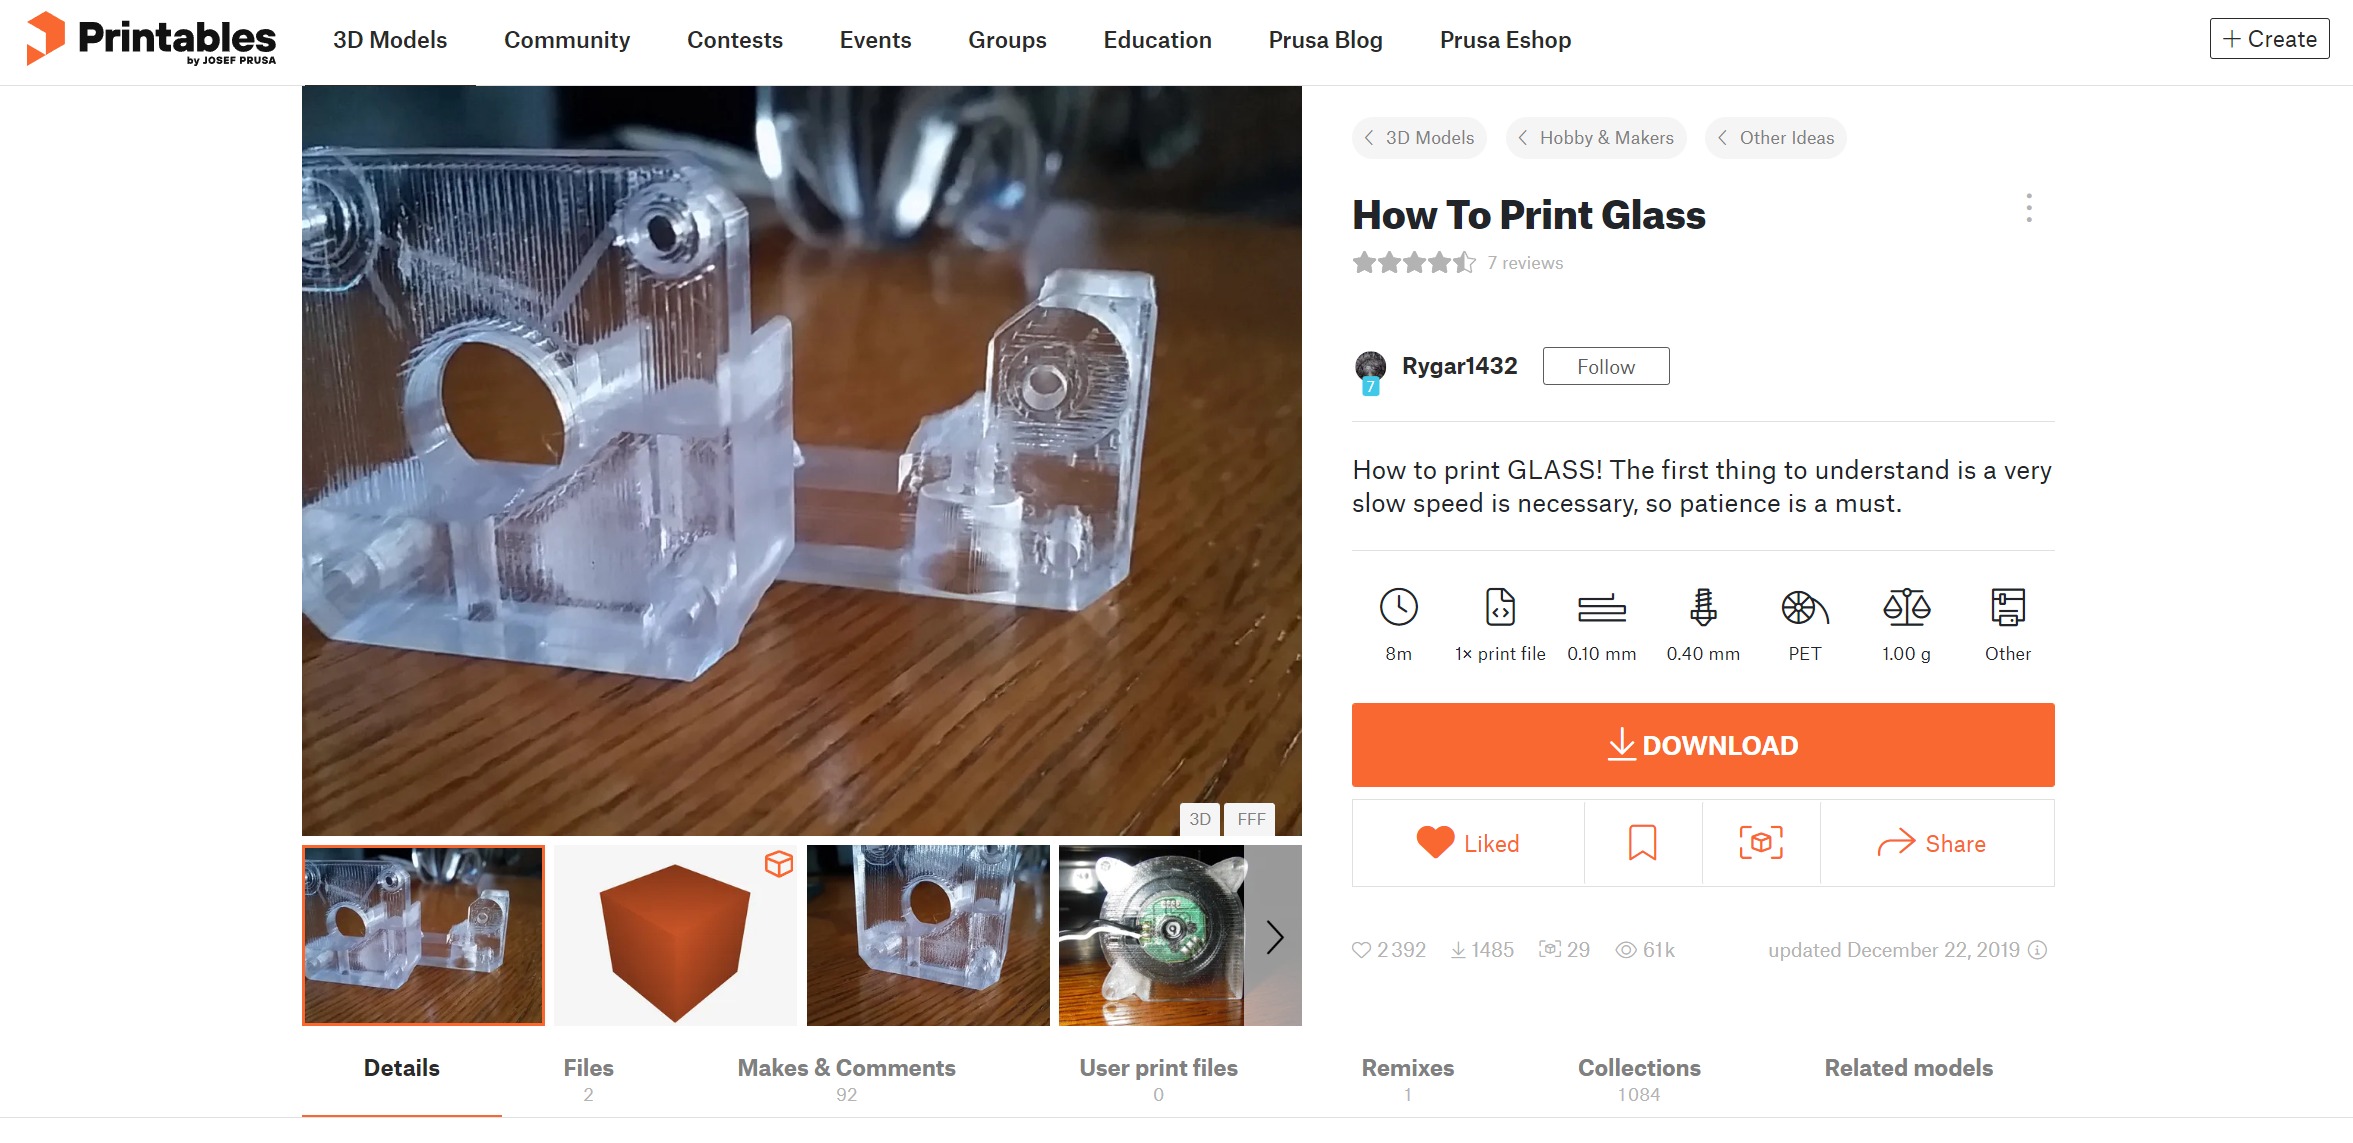
Skills for Printing Clear PETG Parts
Remember: The optimal settings will vary depending on your specific printer, filament, and desired part. It may take some experimentation to find the best combination for your setup.
Slicing Settings:
- Use PrusaSlicer and slice at 0.12 mm layer height.
- Set extrusion width to 0.50 mm for all features with one perimeter.
- Use Aligned Rectilinear infill at a 0° angle with 0 top and bottom surfaces.
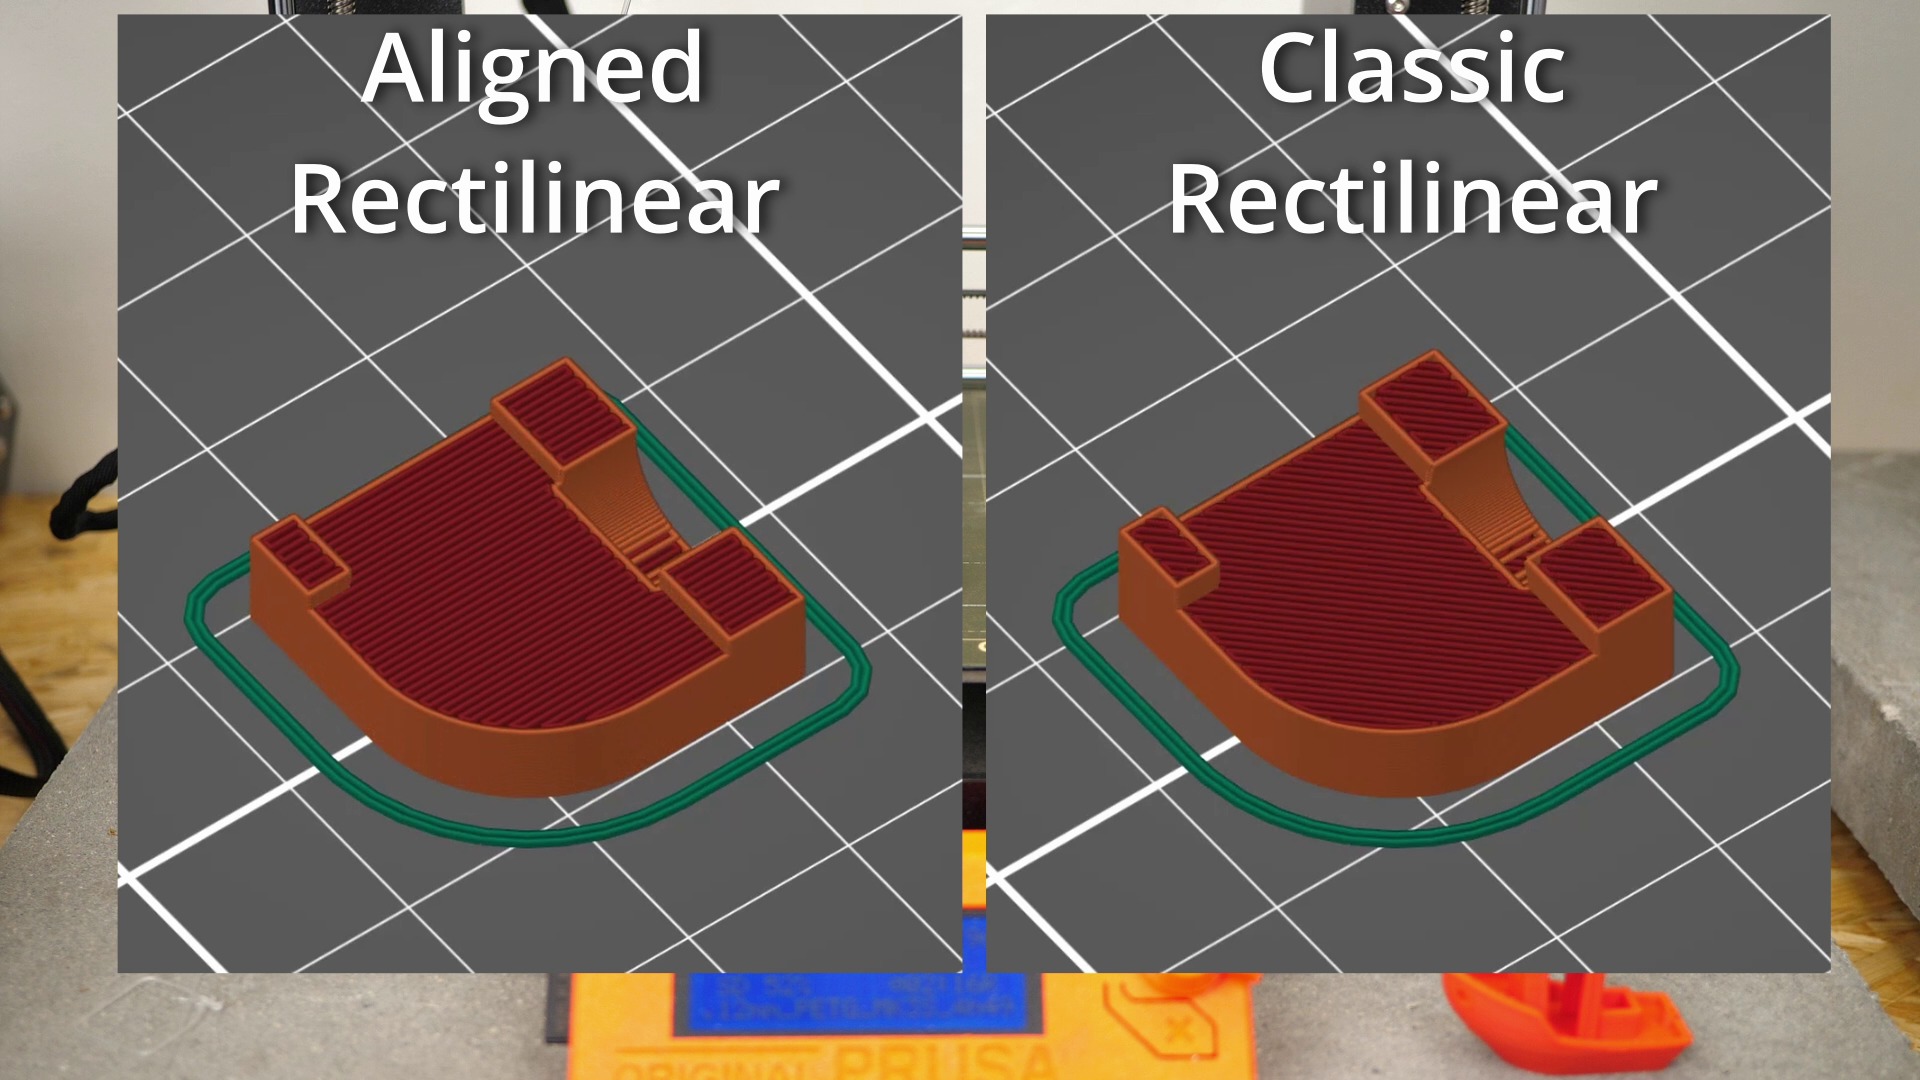
Extrusion Multiplier:
- Experiment the extrusion multiplier between 91% and 105%. In his case, slightly above 100% helps fill gaps and ensures complete layer adhesion.
- Higher extrusion multipliers (above 100% flow) result in clearer parts but watch out for over-extrusion, which can cause rough surfaces.
Temperature Settings:
- Find the optimal temperature for your filament. Too low can lead to under-extrusion, while too high can cause bubbling.
- A temperature around 220°C is a good starting point for PETG.
- Ensure the filament is dry to avoid microbubbles and achieve consistent clarity.
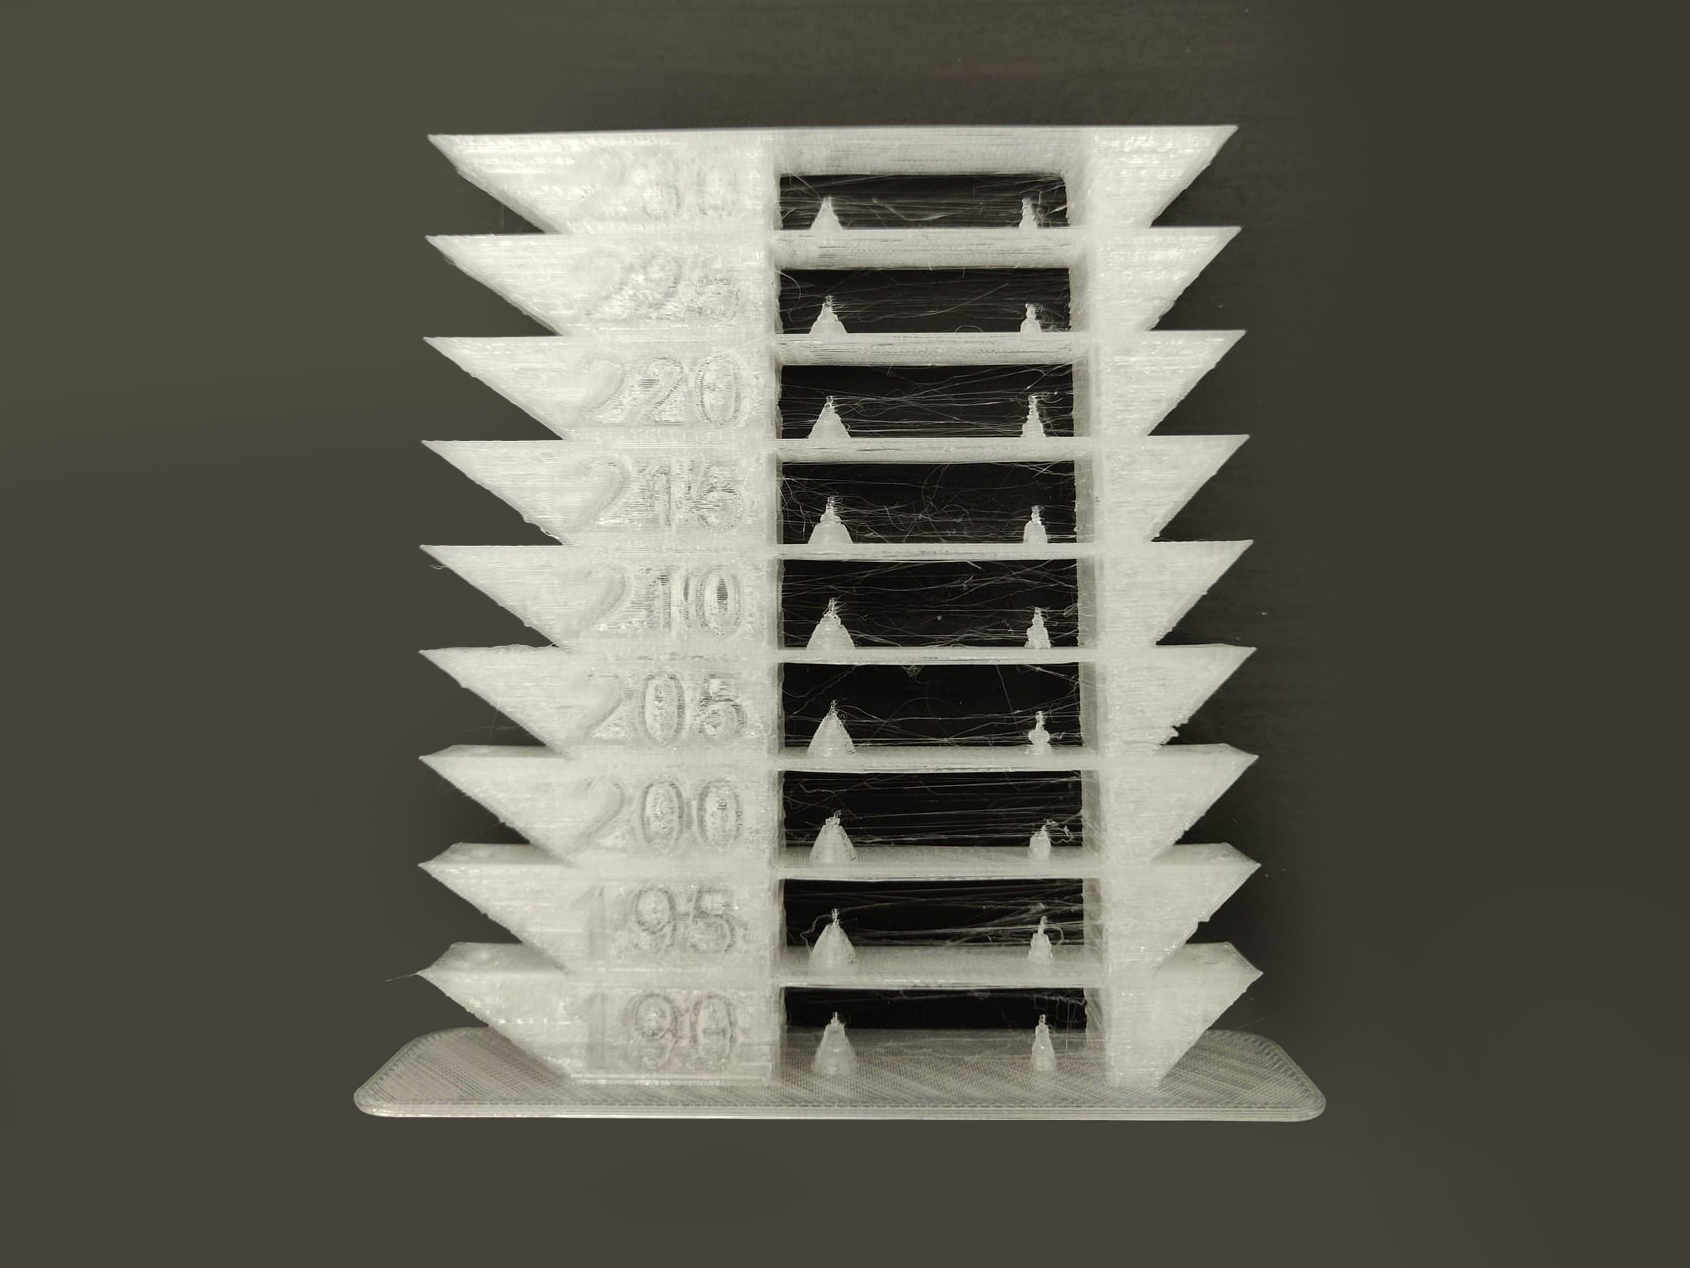
Print Speed:
- Lower printing speeds allow for better layer adhesion and reduced micro-bubble formation.
- Limit print speed to around 15 mm/s for optimal clarity.
- Speeds higher than 15 mm/s can still yield acceptable results, indicating some flexibility.
Cooling:
- Minimize or turn off part cooling for the clearest parts. Cooling can introduce stress and hinder layer bonding, affecting transparency.
- Partial cooling (20%-50%) can improve part quality without significantly reducing clarity.
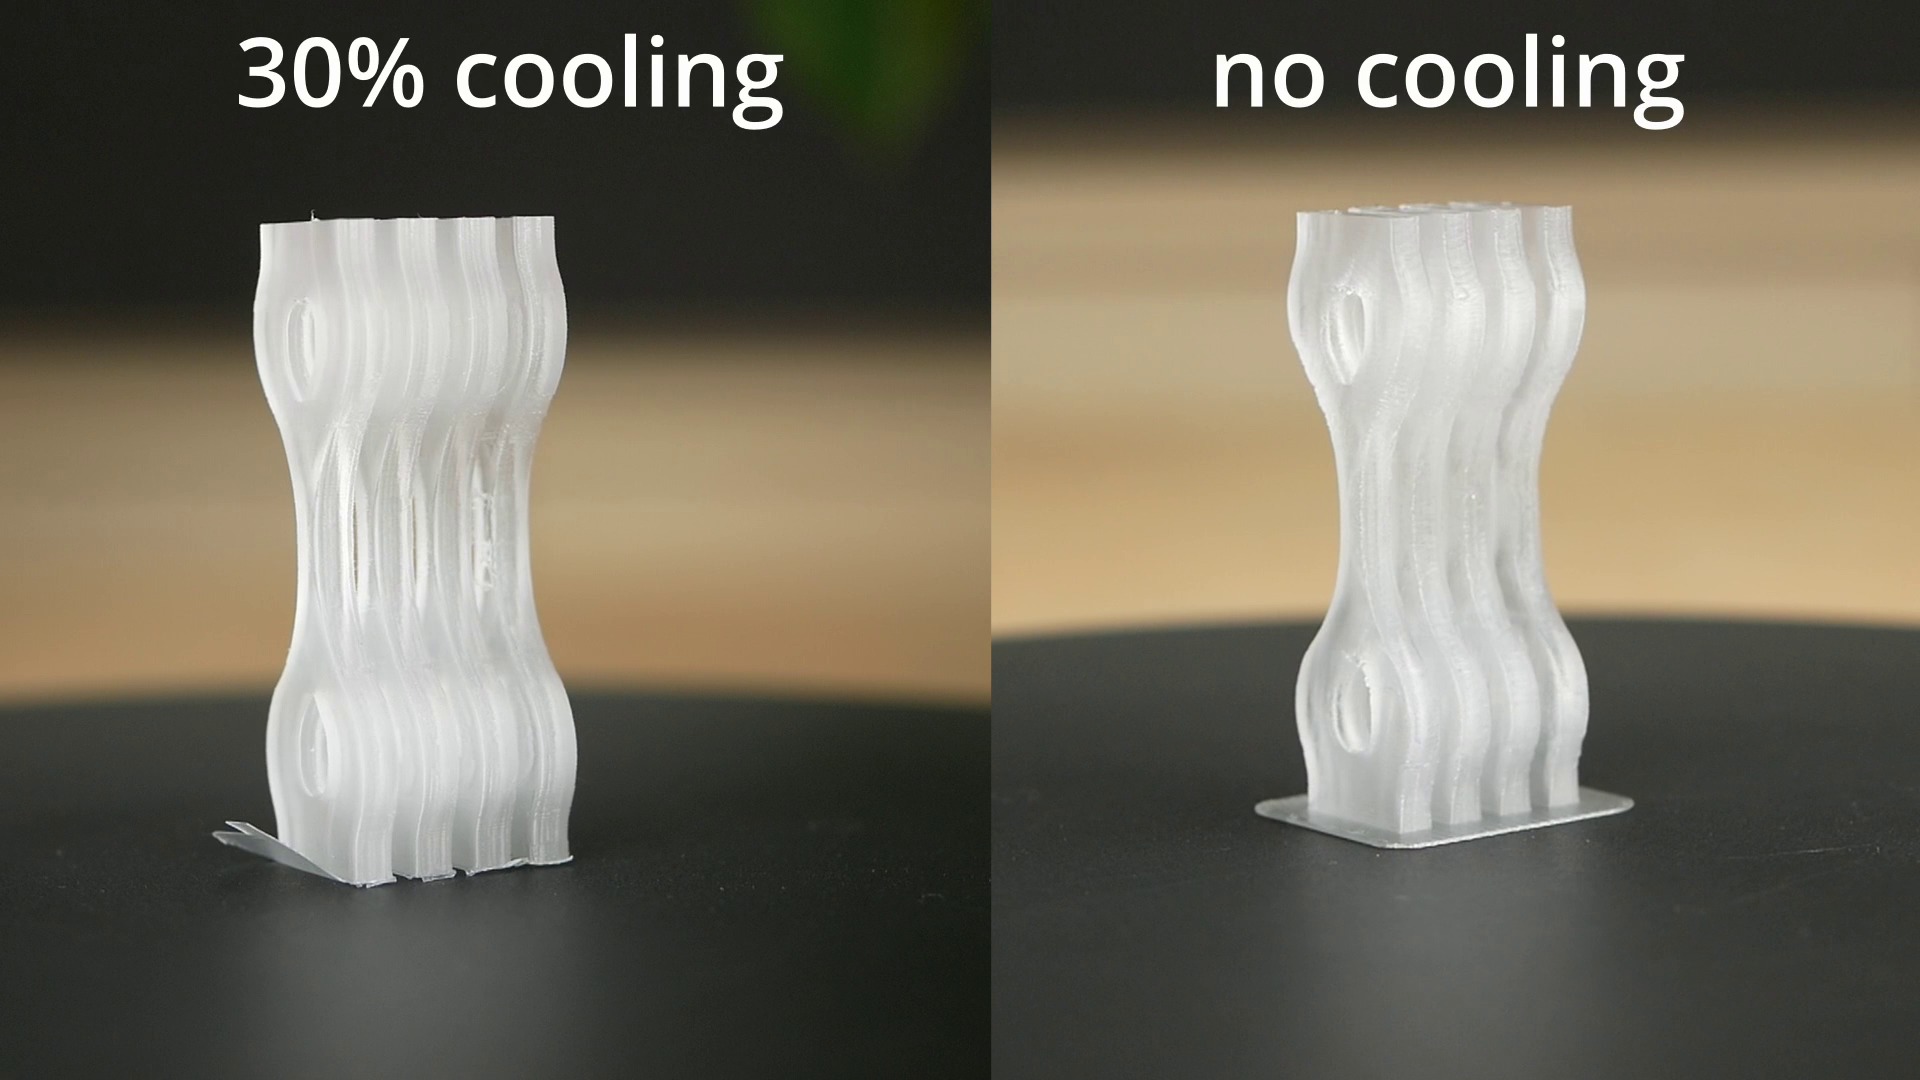
Polishing:
-
Polish parts to enhance their clarity, especially the bottom layer which may appear matte from bed adhesion methods.
Material Preparation:
- Use fresh, high-quality filament and ensure it’s properly dried.
- Moisture in the filament can lead to poor print quality and reduced transparency.
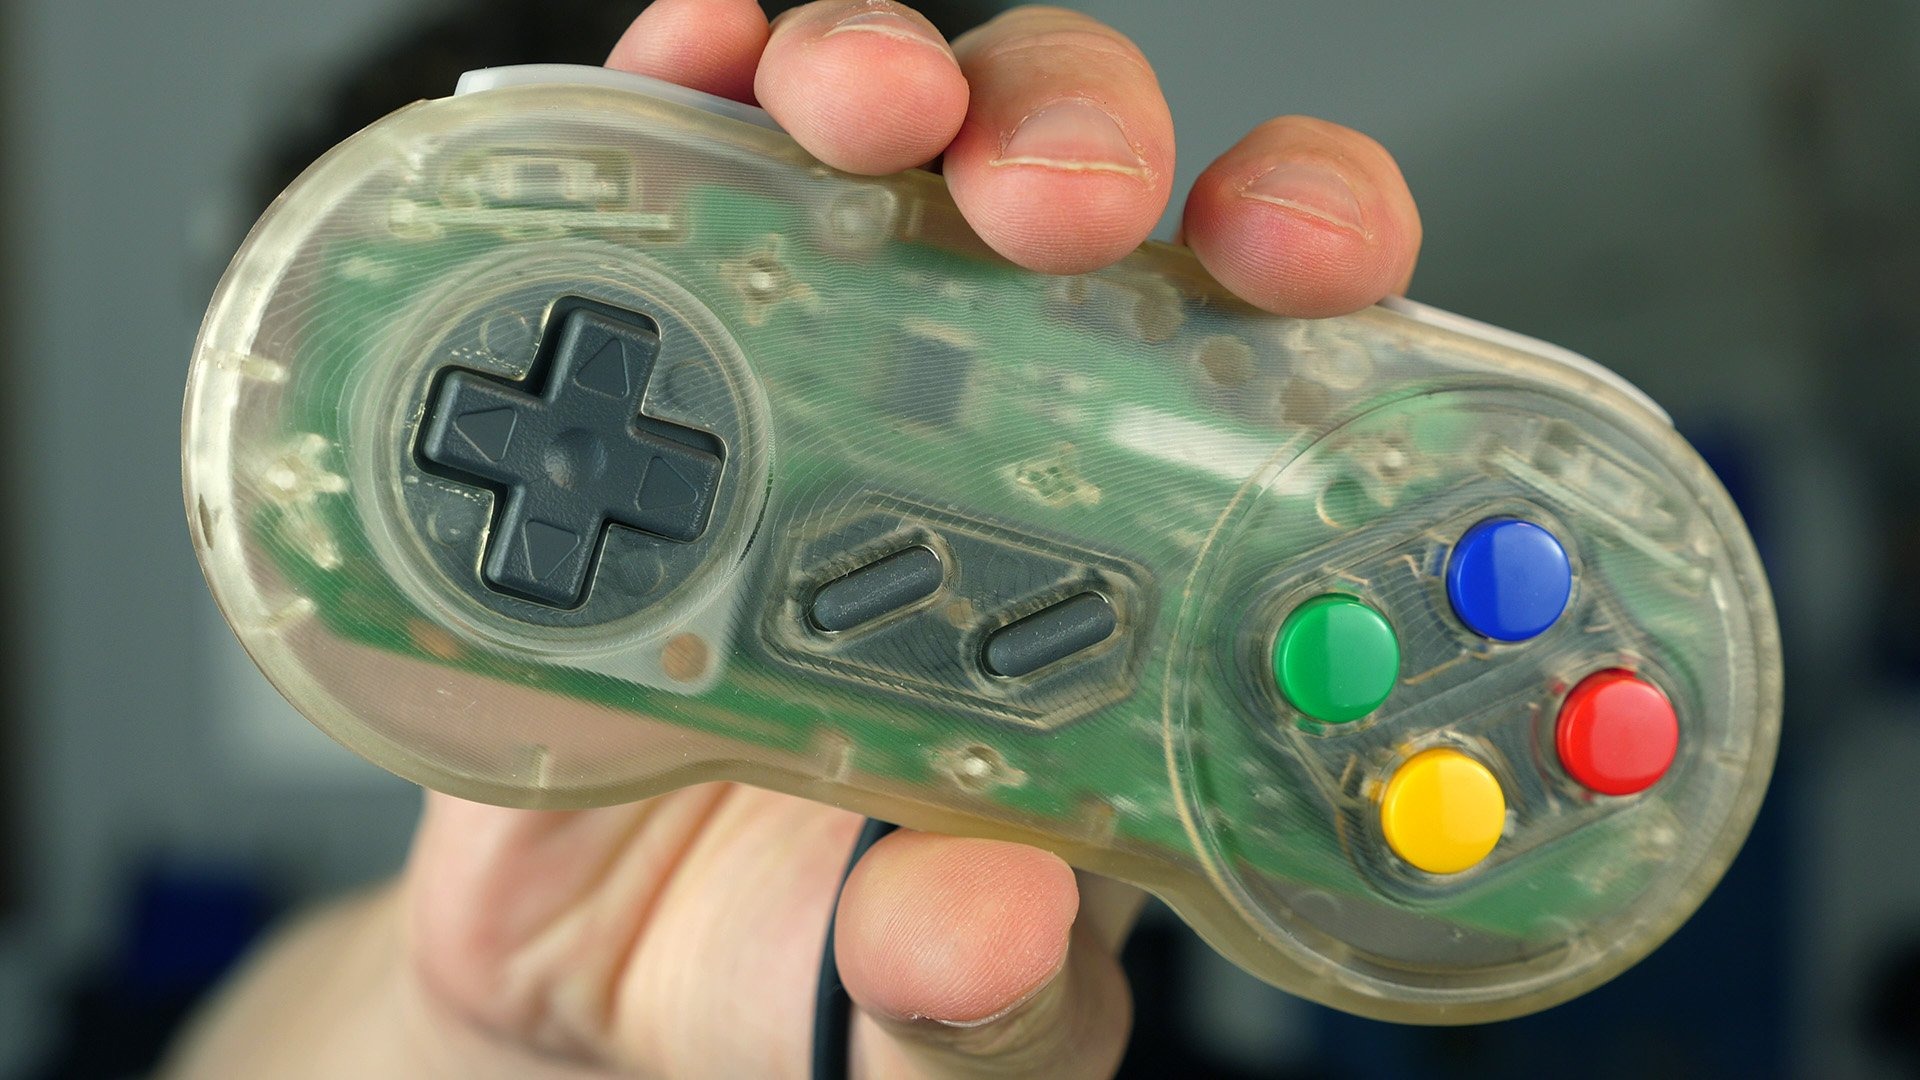
These skills will help you achieve the best clarity and strength in your PETG prints. If you have any further questions or need additional tips, feel free to let us know!
Ready to bring your designs to life with the clarity and strength of PETG? FacFox’s precision 3D printing services deliver stunning, high-quality parts that exceed expectations. Experience the difference of working with industry-leading technology and expert craftsmanship.
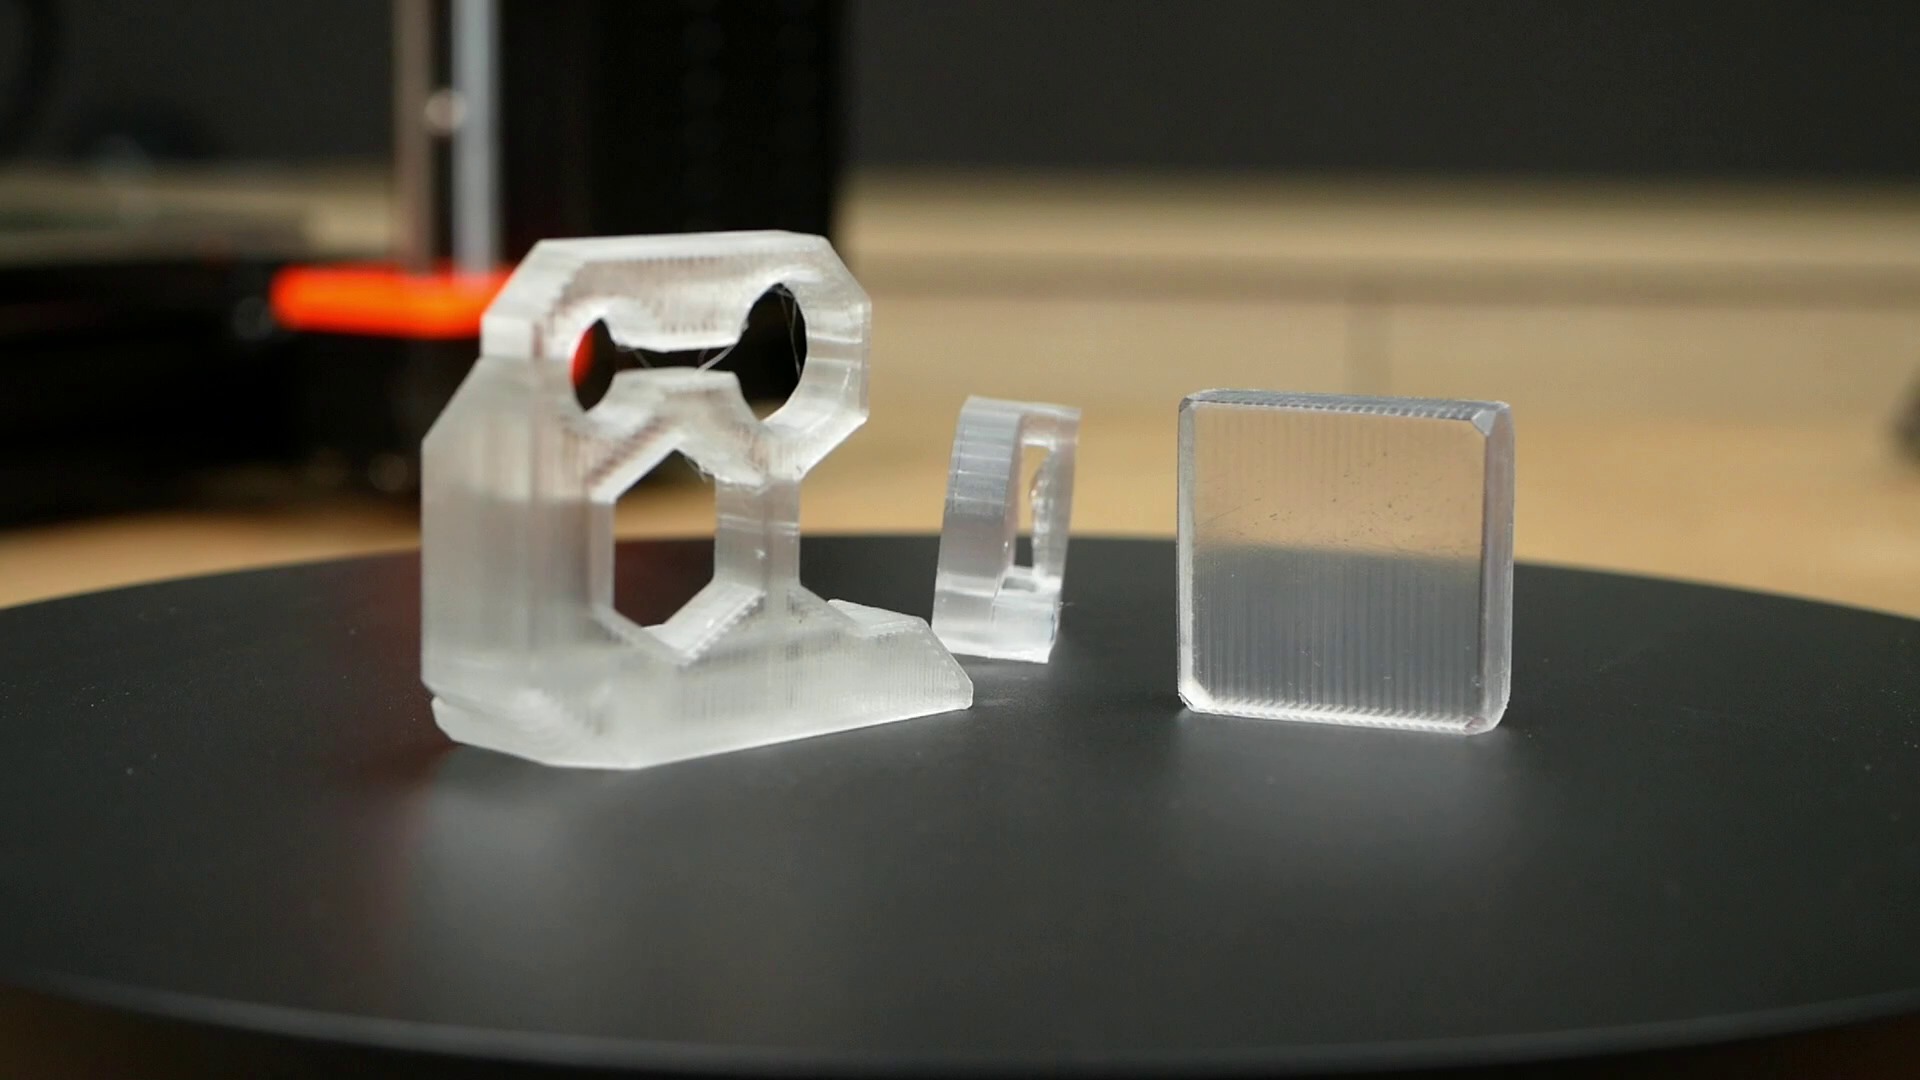
Source: Transparent FDM 3D Prints are Clearly Stronger! — CNC Kitchen